Router Table Clamps,Build Your Own Wooden Window Frame Map,Gouge Chisel Screwfix Zip Code - Try Out
Align the lift bracket flush with one end of the lift base, and mark the centerpoint of these parts. Then switch to a 1"-diameter Forstner bit to drill a counterbore into the inside face of the lift bracket.
Its depth should match the thickness of the captured nut piece 9. Once the lift frame has been assembled, thread the crank assembly through the lift bracket, fitting the rod through the base hole and screw them together.
Biscuit and glue the mounting block, lift sides and base together to form the lift framework. Orient the mounting block so the slotted side faces out. Use the remaining two big nuts to attach the crank to the end of the threaded rod.
Wind the rod through the captured nut and fit it into the lift base hole. To mark out the screw positions on the lift plate, the author set four wood screws in the holes in his router's motor cap, these will keep the lift plate from spinning during cranking after final assembly. The motor cap on my Festool router has four deep machine screw holes molded into the top.
In order to prevent the router lift plate piece 10 from spinning around when I turn the lift crank, I drove four wood screws partially into the plate, aligning their heads with the hole pattern on the motor cap.
That way, the protruding screw heads engage the router without actually attaching to it. To complete the lift assembly, fit it over the carriage bolt on the rear mounting block, tighten the wingnut to secure it, and crank the rod until it is against the lift plate. Set the lift plate on top of the router, and bolt the router lift to the table. Crank the rod until it seats in the lift plate hole.
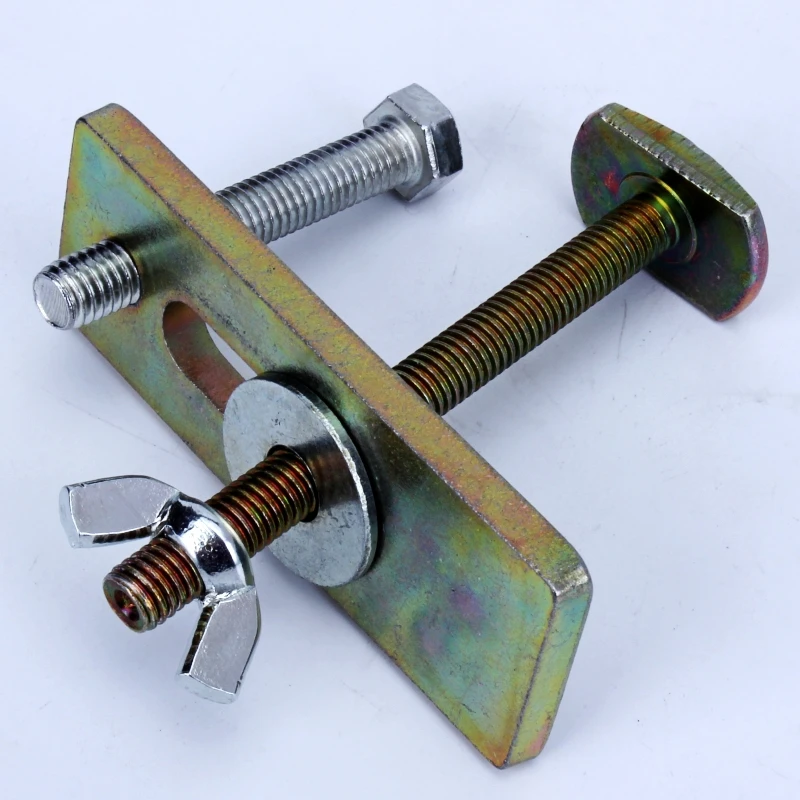
Cut two slots through the base of the fence near each end, this is where you will mount the fence to the table and be able to make any adjustments. My split-fence is easy to build. Cut the fence base and back pieces 11 and 12 to size, and lay out pairs of attachment bolt slots in both of these parts.
Four triangular braces pieces 13 stiffen the fence back and square it to the base. Pull out your biscuit joiner and cut 20 slots in the base, back and braces. Then, glue on the braces. Drill a counterbore hole through each fence facing, centered through the horizontal slots on the fence backing, then attach your facing with carriage bolts, washers, and wingnuts.
Next come the fence facings pieces I suggest that you cut them from one long strip of plywood to ensure that their thicknesses will match perfectly. Mount the facings on the fence back with carriage bolts, washers and wingnuts pieces Drill two carriage bolt holes through the table to fasten the fence through its slots.
Last comes the dust port plate piece Cut it to size, and bevel-miter the ends. Cut a hole through it that fits your shop vac hose nozzle. Fasten the plate to the fence back between the middle braces with a hinge piece You still need to cut a larger opening in the visible-m-inlineop for router bits to pass through. Depending on your bit collection, a single hole may work with every bit you Clamps For Husky Router Table Format own. Or, you can make insert rings. It is well suited for smaller work surfaces, like the shop-made jigs and benchtop router tables.
The clamps edges are covered with rubber pads so as to get smooth and pre-finished woodworking results. The rubber pads ensure a firm grip and also protects the work material from marks and disputes. It perfectly holds the work material in place for flawless and consistent routing outputs.
The pivoted construction of the clamp allows hassle free clamping. Lastly, the product components are constructed with sturdy Aluminum metal. Check Out: Best Parallel Clamps. The handy tightening 5-star clamp twist knob ensures neutral adjustability. Lastly, the Aluminum-based construction of the T-Track frame ensures highest durability for long-term use.
Powertec Aluminium Cam Clamp consists of 2 vam levers, steel and rubber washers of two each, and 2 T-bolts of 3 inches. The tool is designed in such a way that you get the instant clamping and smooth release facility for woodworking fixtures and jigs. It is an ideal option to do high speed clamping followed by repetitive work.
The cam clamps are well-suited to hold down any clamping projects, or optimize the router, t-track, or drill press table fence. Other added assortment of applications include general purpose requirements of workshop, bench top operations, and many more. Interesting Read: Practical Ways to use clamps The construction of the product includes quality die cast aluminum.
The clamp finishing is ensured by a uniform blue anodized coating to withstand wear, and improve longevity for permanent usage. Maintains the clamping load around the flush-mounted T-Slot T-Track. The product flexibly adjusts into T-Track and instantly secures with the hand-knob turn. This clamp is generally used in the metalworking cum woodworking projects for holding the job and correctly positioning it.
So, it is a very dynamic type of clamp and also perfect for clamping fixture jigs and fixtures. The overall sturdy construction of the clamp with aluminum adds durability to the product. Added to that, it comes with 2 types of sliders to be able to conduct different mechanical works. Note: Before purchasing a clamp, make sure that it perfectly slides into your T-Track profile.
Check out the size details of the same for your chosen option. This type of screw-based clamps will fit into the desired t-track and securely keep the workpiece by twisting the knob. It is a versatile device that works flawlessly to meet any array of applications, that include, drill press, router table, jig and saw assemblies.
It is an almost universal model supporting the t-track models of incra, Kreg, Peachtree Mini and many others. Get to know about the best woodworking clamps here. This useful CNC machine tool keeps away the bit from spinning and grabbing the workpiece workpiece. So, it improves the safety level of both the DIY hobbyists and professionals.

|
Small Carpentry Plane Quotes Buy Drawer Slides Js |

SamiR
08.03.2021 at 21:33:45
Gunesli_Kayfush
08.03.2021 at 20:48:57
G_E_R_A_I_N_8KM
08.03.2021 at 17:49:17