Marking Knife From Hacksaw Blade Ii,Ambient Air Cleaner Woodworking Design,4212 Porter Cable 12 Dovetail Jig Video File,Lee Valley Small Drawer Lock Bit Windows - You Shoud Know

The initial shallow cut helps guide the blade. Also I have found softwoods more challenging than hardwoods because of the hard and soft aspects of the growth rings. Thanks Michael, I think that should help. Congrats on finding your knife. I searched for quite a while before I found one that I liked. I tried a couple of expensive ones as well. I am searching for good drill bits as well.
Keep us posted if you find them. Thanks for the tip, Richard. They are not laminated but they are made of good, old Sheffield steel. Their unlaminated carbon steel blades are good too, easily sharpened to an impressively sharp edge. I ordered the same knife recently and am pondering whether to make a leather sheath for it. How would you guys store this thing, both to protect yourself and the brittle tip?
About the drill bit…The center bit might fit the bill, although AFAIK they can only be used with a brace because of the square shaft, so not suitable for eggbeaters. The others all have uses in the shop. Since I use it for everything from cutting clippings from news papers to whittling pegs, it is always in my pocket.
I had one that was broken, so I turned a handle for it on a small lathe I have, then ground it back with a grinder. Nice steel that sharpens great. I did a crude single edge fairly pointed right down to the hole in the middle of the flag. I even use it for a skew chisel from time to time. Soon as anyone sees it, they go home and make one.
Try it. Your email address will not be published. Save my name, email, and website in this browser for the next time I comment. Notify me of follow-up comments by email. And finding a good marking knife. The drill bit hunt is still on, but I have finally got on top of the iron dagger. The handle was made of tape and rag. So what was wrong with my bit of snapped off hacksaw blade? Tools That Need No Box ». Comments Hi Richard, nice making knife mate, I have one the very same.
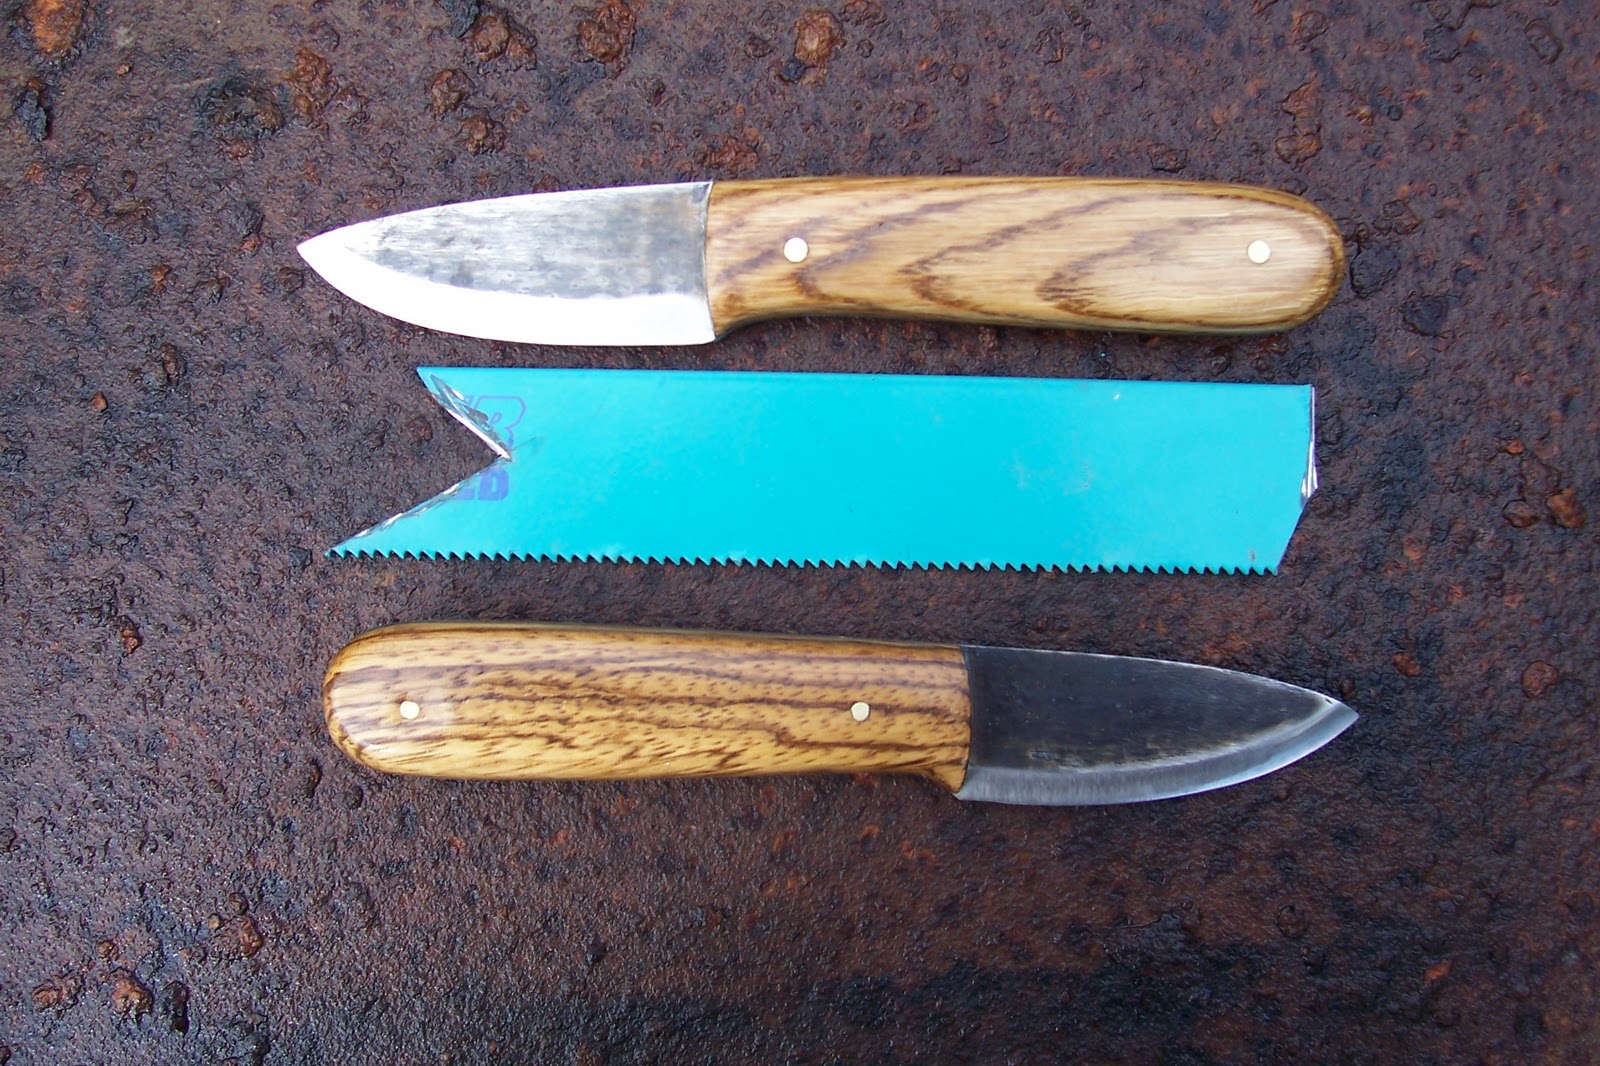
I clamped the saw blade to my work top and cut out the rough shape with the angle grinder. Careful the metal will be super hot after cutting. Then I used a vise and file to get any of the large burrs off. Using the stationary belt sander and my burnt fingertips, I sanded all the edged smooth and shaped the knife as best I could. Then using the finishing sander and by hand, I worked my way through a bunch of grits until I was happy with the level of smoothness and polish.
The compare photo is between the vs grit steps. I also used this step to compare my knife with my store bought one to make sure I was on the right track. I used my small parts sled on the table saw to cut the wood down to be just slightly larger than the blade so I had plenty of room to sand everything flush later. I picked 2 evenly spaced points on the handle for the brass rods and drill them out.
Then I used double sided tape to attach and drill out the holes in the wood one side at a time. I made sure that the wood protruded a bit on all sides so it didn't end up short anywhere. While the handles were still held by the double sided tape, I test fit the brass rods and found them to be nice and snug.
I then marked and cut the rods slightly longer than they needed to be and disassembled everything and prepped the epoxy. Starting on one side with the brass rods already inserted I added epoxy and stacked the blade and other side of the handle making sure the rods stuck out just a Marking Knife From Hacksaw Blade Youtube bit on each side. Using claps I made sure everything was aligned properly and I let it cure for a little over an hour. Perfect time for a lunch break.
After the epoxy was fully cured, I took a file to the brass and got it as flush as possible with the handle. Then I hit all the sides on the belt sander until everything was flush and smooth as can be. I couldn't sleep, so I made knives. For Burning Man gifts. Ingredients: 1. A dull hacksaw or bandsaw blade 2. Electrical tape or really wide heatshrink tubing Tools: 1.
A piece of paper 2. If you are not familiar with grinders or otherwise do not know proper grinder safety, please do not attempt this and ask someone for assistance. Draw with a pen an outline of the hacksaw blade on the piece of paper. We used a blade so dull that it was described as "polished". Choose a point shape and any details you Marking Knife From Hacksaw Blade 10 may want.
We used square cut for these illustrations. Use your hand to figure out where would be comfortable to hold from and where your thumb will go. Using the paper template, mark on the blade where you plan to cut it, and the thumb notch etc you plan to grind out. Score the band with a file at the place s you need straight cuts.


|
Best Woodworking Plans 60 Good Beginner Wood Carving Projects 13 Hinges And Latches For Small Boxes Key |

Lady_baby
30.03.2021 at 23:45:52
Ragim4ik
30.03.2021 at 16:25:24
Anar_sixaliyev
30.03.2021 at 12:12:58
BAKULOVE
30.03.2021 at 11:35:33
Sharen
30.03.2021 at 12:33:28