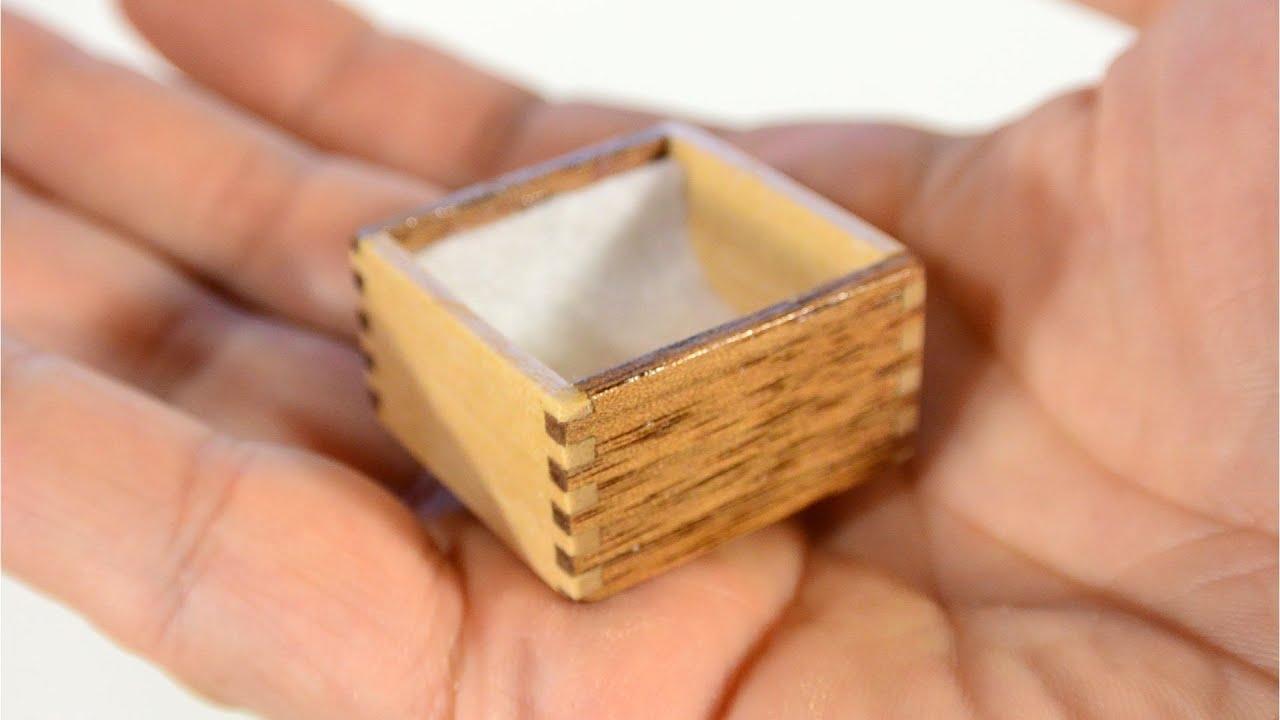
Making Tiny Wooden Boxes,Bowl Turning Chisel Set 01,Wood St James Project - How to DIY
About Lovely Etc. Contact Me Privacy Policy Shop. Share Tweet Pin. Tools paintbrushes pencil grit sandpaper wood glue table saw hammer and brad nails or nail gun. Instructions Cut all of your wood pieces on a table saw to the measurements listed Tools For Making Wooden Boxes Us above. Or you can easily adjust these measurements up or down to make any size box. Once the pieces are cut, sand any rough edges.
Prime and paint all the pieces. Or you can stain them if you prefer. Lay one of the sides of your box face down on a table or flat surface. Glue with wood glue. Repeat with the second side and the other 2 supports. Let the glue dry. Lay the front of the box facedown on the table. Using wood glue on the 1"x2" supports, attach the two sides of the box to the front.
Apply wood glue to the final supports and attach the back piece. Hammer four brads into each side of the box to further secure the plywood to the supports. Attach the bottom of the box using wood glue and nails. Notes These instructions can easily be adjusted to make a wooden box in any custom size you need.
Recommended Products As an Amazon Associate and member of other affiliate programs, I earn from qualifying purchases. Compact Jobsite Table Saw. Did you make this project? Comments I love how you explained the simplicity of a wooden box and how you can make it in any size you might need. Leave a Reply Cancel reply Your email address will not be published. While every effort has been made to ensure the accuracy and effectiveness of the information displayed on this website, Lovely Etc.
The publisher will not be liable for direct, indirect, incidental, or consequential damages in connection with the information displayed on lovelyetc. This website is not intended to substitute for advice from a professional.
I work hard to be honest and upfront in all of my posts here at Lovely Etc. Lovely Etc is a participant in the Amazon Services LLC Associates Program, an affiliate advertising program designed to provide a means for sites to earn advertising fees by advertising and linking to amazon.
You can read my full disclosure policy here. All of the photographs you see here are mine unless otherwise credited. I love for others to share my work so please feel free to use one photo with a link back to me. Pinning and sharing is always encouraged!
Please do not reproduce other Lovely Etc. Joints are hand cut for accuracy and strength, or for aesthetic detail. A dovetail created by machine is very obvious and does not have the finesse or closeness of hand cut dovetails. Many modern design requirements depend upon contemporary furniture making skills. Curves and compound shapes are made possible by laminating thin pieces of wood together over shaped forms to produce light, thin and strong components.
Long, elegant and flowing lines are only possible using modern methods. Shaped components are veneered using vacuum bags, enabling professional veneering to be done on almost any surface without the need of expensive factory machines. Hand power tools enable repetitive jobs to be done, providing more time to concentrate on finer detailing done by hand. Timber is flattened and prepared by a workshop Jointer to produce the lines from which all other measurements are made.
Create an account. Edit this Article. We use cookies to make wikiHow great. By using our site, you agree to our cookie policy.
Cookie Settings. Learn why people trust wikiHow. Download Article Explore this Article methods. Things You'll Need. Related Articles. Article Summary. Method 1 of All rights reserved. This image may not be used by other entities without the express written consent of wikiHow, Inc.
Choose your wood. You can use repurposed wood from previous projects, boards from broken down pallets, or you can purchase and cut new wood. Consider what your box will be used for. For example, if you're making a jewelry box, consider thin pieces of cedar, ash or oak. Save larger pieces or boards for bigger boxes. This will also prevent you from having to do too much trimming. Gather your supplies. Keep all your basic tools in your workspace.
If using power tools, make sure that you have access to power outlets. At the very least, you'll want a ruler, hammer, nails, wood glue or putty, and of course, your boards. If using power tools, use caution and always wear eye protection. Measure and mark your boards. First, you'll need to decide on the size of your box.
Specifically, you'll want to determine how long, wide, and tall to make your box. Then, mark the measurements on your boards using a ruler and pencil.
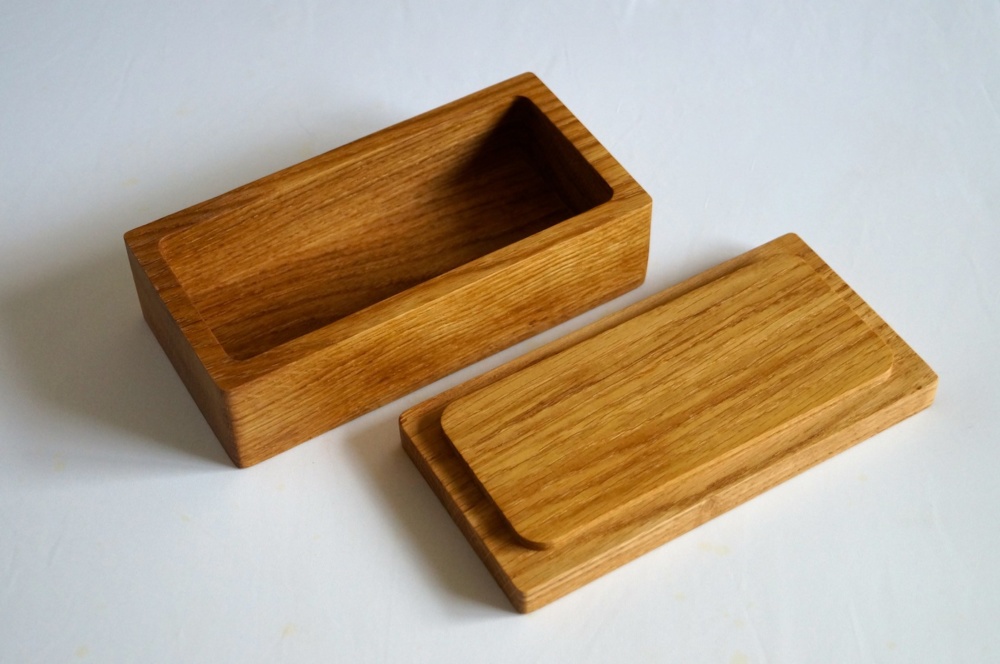
If you're building a box for a specific purpose or to hold a certain item, measure the item to ensure it will fit inside your finished box. Cut your boards, if not already to size. Use a hand or circular saw to cut the boards according to your measurements. Remember you'll need four boards for the sides, one for the base, and one for your lid. Power tools can make the job easier, but are not necessary.
You can easily make your box using a screwdriver, carpenter's square, hand saw, and hammer. Assemble the side pieces using a butt joint. Join the sides together at a right angle using glue between the joints for durability. At this point, it should look like a square with no base or lid attached yet. Next, hammer or drill in finishing nails, wood screws or dowels. Use a wooden dowel to pin the pieces together in an "L" shape.
After the sides are pinned, cut the dowel flush with the sides. Attach the sides to the base. Make sure the sides sit evenly on the base or are snug around the base, depending on your design. Use glue to attach the base and sides. Hammer or drill in finishing nails, wood screws, or dowels. Allow your box to dry thoroughly before sealing or using it. Attach a hinged lid to the box.

|
Used Large Bench Vise For Sale Toronto Make Gears Out Of Wood Effects |

STUDENT_BDU
08.04.2021 at 19:13:51
PRIZRAK
08.04.2021 at 14:59:32
anastasia
08.04.2021 at 14:50:28
Doktor_Elcan
08.04.2021 at 11:40:58