Make A Picture Frame Ks1,Mini Grinder Carving Kit Update,The Woodworker Magazine 2020 - Test Out
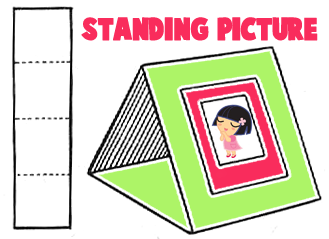
As much as I love power tools, I do realize that not everyone who reads this blog has them, which is why I wanted to put together a tutorial on how to make a picture frame ks1 picture frames with a miter box instead. Now we can Make A Picture Frame Stand Up Egg easily frame anything pictures, bathroom mirrors, printables—you name it with our make a picture frame ks1 picture frames, no matter how big or small!
I participant in the Amazon Services LLC Associates Program, an affiliate advertising program designed to provide a means for me to earn fees by linking make a picture frame ks1 Amazon. But since I have always bought frames from the thrift store and have never tried to make my own DIY picture frames, I had no idea it even existed!
But picture frame molding already comes routed with a rabbet cut in various depthsso all you have to do is cut the molding at degree angles and— VOILA! If you check Amazon, there are a bunch make a picture frame ks1 options Make A Picture Frame Mat Problem for picture frame molding. Or even the space to house it. A miter box can easily be tucked away, though.
For this project, I planned to frame a cleaning checklist for my kids to use to earn points towards an allowance. TIP: One viewer on Youtube had Make A Photo Frame Ks1 Yamaha a great suggestion to laminate the cleaning checklist so that I can reuse it over and over again without having to print new ones or without removing it from the frame.
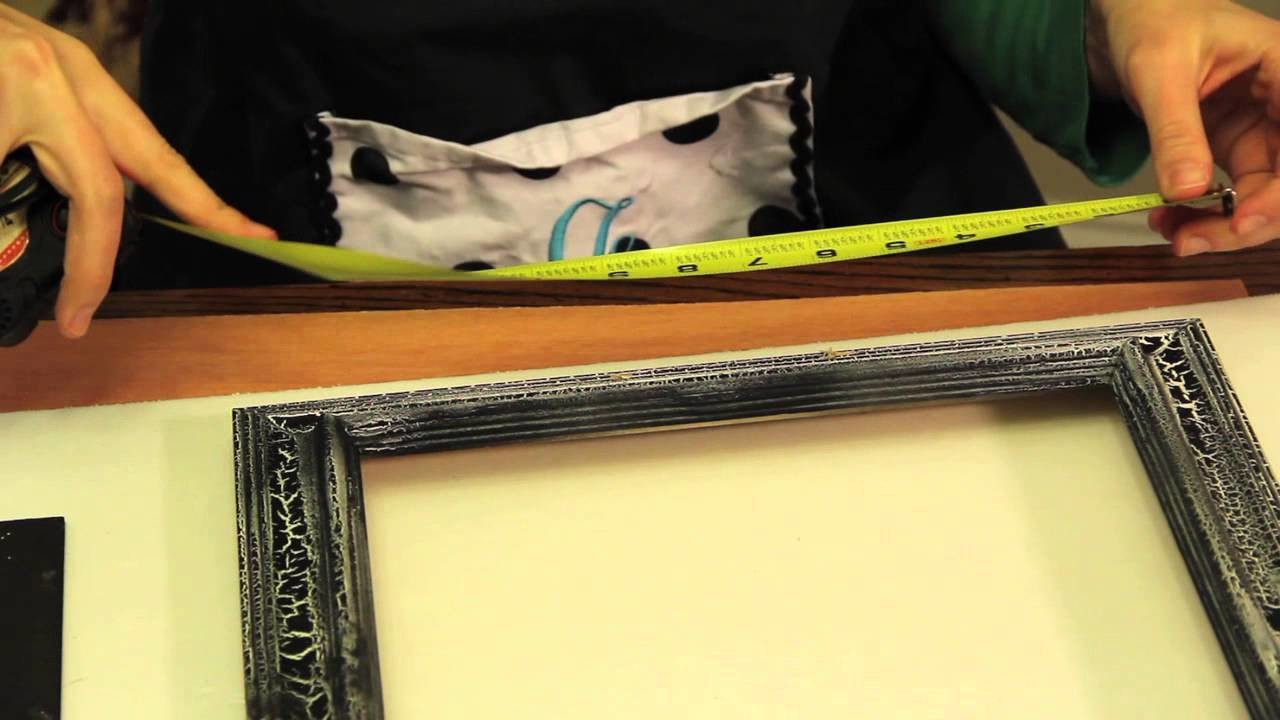
Love that idea! After I printed out the checklist and trimmed it to the size I wanted, I simply placed it on the picture frame, lining up the left side, and then marking the width on the right side.
When cutting the right side of the picture frame molding with the miter box, line up this make a picture frame ks1 line…. Otherwise, it may chip off like mine did when I sawed through it. Since my picture cleaning checklist was a bit rectangular, the top and bottom were the same, and I re-measured to make the sides. You can use the miter saw to also make a privacy window screenbecause the idea is the same: cut four pieces of wood using a miter box to create a frame.
Only this window screen has a layer of fabric glued over the wooden frame. Very simple! If they make a picture frame ks1 the size you need, why make your own?? Remember to place one on the top and on the sidein case you decide to later use your DIY make a picture frame ks1 frame in a different orientation later!
Using grit sandpaper, sand the custom picture frame, paying particular attention to the corners where it can be a little sharp. Otherwise, if you apply wood stain over glue, it will leave blotchy spots! Just a helpful tip. To secure the back, I used a light-duty stapler to staple into the edge of the wood in the back, which was enough to hold the cardboard and checklist inside.
All those pieces of artwork that hubby has stashed in the closet can now be framed. Check out my post on 10 tips to create aewsome DIY wall art for your picture frames.
I used a layer of white on the frame, covered with a second coat of light blue, then lightly distressed the DIY picture frame. Did you enjoy this tutorial? Your email address will not be published. Save my name, email, and make a picture frame ks1 in this browser for the next time I comment. Notify me via e-mail if anyone answers my comment. I consent to Thrift Diving Blog collecting and storing the data I submit in this form. About New? Subscribe and I'll send you 5 DIY freebies to your inbox.
Love this post? Share it! Can You Match Paint Colors? Leave a Reply Cancel reply Your email address will not be published. Enter your name and email and I'll send you 5 DIY freebies!


|
Rockler Hvlp Sprayer Parts Marking Knife Tool Model Keyboard Drawer Hardware Pumpkin Carving Kit Bulk 46 |

ILOAR_909
04.05.2021 at 21:19:59
ELMAYE2
04.05.2021 at 15:42:34
454
04.05.2021 at 14:10:26
ISABELLA
04.05.2021 at 20:39:12