Groove Cutting Router Bit Key,Cyclone Vs Single Stage Dust Collector Object,Best Raps Of All Time Zip,Different Types Of Hand Planers Keywords - Step 2

To prevent the tear parts, always have a scrap material at both ends. Save my name, email, and website in this browser for the next time I comment. Skip to content. Ensure that you move the router in the right direction. It is a common mistake for Groove Cutting Router Bit Question both amateurs and professional woodworkers.
Always ensure that you move the router against the bit rotation by doing that. It ensures that you have full control over your tool and also smooth cutting. Mainly, the router moves in clockwise direction thus ensure that the route moves in the same direction. Have the appropriate bit. The bit of your router will be determined by the depth and the width of your groove. The diameter of the cutter should be equal to the groove that you require.
In case that the groove is large that the router can accommodate, you can make extra passes. Avoid the tear away. Tear outs will always occur at ends of your wood. To avoid this, attach a scarp material on both ends. It ensures that your starting point is on the scrap metal and it is also your finishing point.
Never force your router. At times the router may fail to go through the wood. In such a situation some people may prefer to apply an extra force which results in burnt wood. To avoid such undesirable outputs on your wood, ensure that you do not force the router into the wood. Release the plunge lock. Most woodworkers fail to release the plunge lock after they are through with the router.
It may result Groove Cutting Router Bit 01 in a damaged router or decreases its efficiency. Always ensure that you release the plunge lock immediately after you finish cutting the wood. Clean your router for storage. When storing the router, ensure that it is free from all the debris and tiniest particle of dust. Step 1. Clear the working place The blade of the router is very sharp.
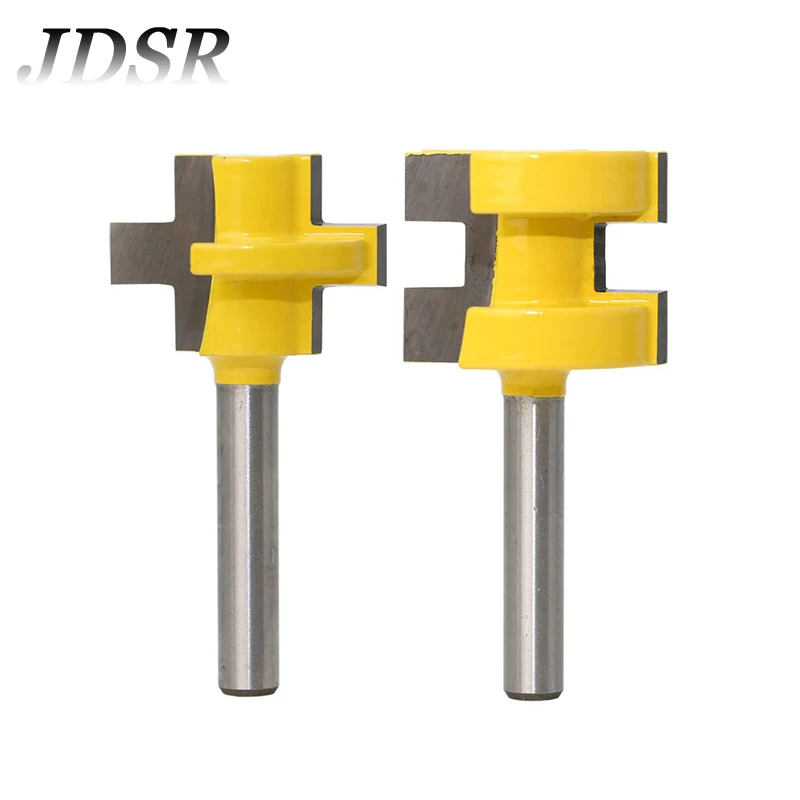
Step 2. Wear the safety elements The safety elements include gloves and googles. Step 3. Choose and attach the bits The shape of your bit is the same as the shape of the groove that you require.
Step 4. Set the router depth The router depth should be equal to the depth of the groove. Step 5. Draw a line on the point you require the groove Using a ruler draw a straight line on the point that you require the groove on the wood. Step 6. Fix the scrap material Place a scrap material on both Flush Cutting Router Bit Keys ends of the wood to avoid the tear parts. Step 7. Cut the wood Place the wood router at the starting point, which should be on the scrap material.
Which is the right direction to move the router? How do you choose the appropriate router bit? To have your groove you can get some extra passes on the wood Q3.
How can I prevent the tear away parts? Turn off router. Adjust Groove And Tongue Router Bits Keyboard the height of the bit to fit the groove profile shown on the previous page. Attach the fence guide to the router table to keep deck board straight. Clamp featherboards to the table and the fence to keep the decking snug against the fence and to help resist kickback.
Turn on router. Hold deck board firmly against the fence and push past the bit moving from right to left. Use push sticks or pads to keep your hands away from the bit. Turn off the router when entire board is grooved. Tip: To avoid burn marks from the router bit, feed the board at a steady rate without stopping.
The rate of feed depends on the bit and type of hardwood. Make sure the top of the clip is level in the groove. Find a Dealer U. Dealers Int'l. Request Samples. Photo Gallery. Contractor Buckets.
Router Bit Slot Cutter. Sign Up for our Newsletter. Router Bit Edge Groove Cutters.


|
Used Delta 6 Inch Jointer For Sale Nym Apg Cash Drawer Mounting Bracket With |

AnGeL
13.02.2021 at 12:30:21
TIMON
13.02.2021 at 23:53:40
AVENGER
13.02.2021 at 10:58:54
Justin_Timberlake
13.02.2021 at 14:50:30
mcmaxmud
13.02.2021 at 22:19:24