Fine Woodworking Adirondack Chair Plan Of,Bowl Carving Router Bit Zone,Bessey Parallel Clamps Home Depot 60 - And More

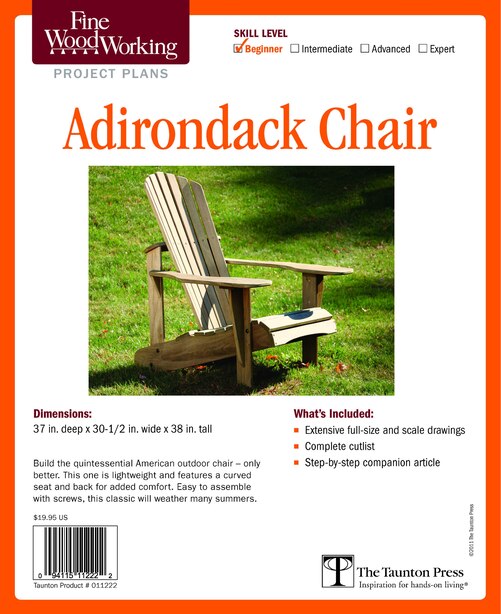
The adirondack lawn chair using cypress tom shows how to cut a comfortable curve Fine Woodworking Chair Plans 85 into the seat and back of this chair. It s advertised as a comfortable elegant option with a contoured back and seat.
I bought some red cedar from a mill close by my house and unfortunately i dont think that i have enough to finish two chairs so i will need to go back sometime soon. The mitered joint on the arm rest is an additional detail which makes for a smooth slanting arm that resolves into a drink holder. Ana white has a free adirondack chair plan that gives you the option of making the more traditional curved back or a straight back for a more modern look.
The adirondack lawn chair. These adirondack chair plans show you how to cut a comfortable curve into the seat and back of. Build this contemporary take on a classic design. Simplest adirondack chair plan from ana. Beauty comfort and strength come together in this chair designed by michael fortune.
This is an optional purchase to. This week on classic woodworking tom mclaughlin shares his contemporary take on a classic design. I promised my wife years ago that i would make her some adirondack chairs and i am finally getting around to it.
In traditional chairmaking the legs rails seat and back are part of a single unit. By separating the seat and back from the legs and rails you can build the. This free adirondack chair plan can be downloaded as a pdf file that contains figures a materials and tools list cut list and written instructions. This won t give you any critical measurements to build the chair the plans are required for that these are full size printed templates on heavy cardstock.
Adirondack plans must be purchased first or at the same time. I clamped both back sections to the assembly table to make sure they stayed the same distance from the ground no twisting of the frame. Spring clamps keep the legs in place while you are drilling.
Next it was time for the back legs and upper cradle. There was no information to tell you what angle you should cut the tops of the back legs After a few minutes of cussing, I figured this angle had to be the same as the angle found at the lower cradle.
I was able to find this angle by taking a piece of scrap and cutting it until it was the same as where the lower cradle rests 25 degrees. It doesn't seem like the type of information you should leave out of a plan. The arm rests are pretty simple to put on, but there is no mention as to where the arm rests should sit on the front legs.
I tried to position the arm rests with about 1. The next chair I will make will most likely only have a half of an inch overhang. For my fat butt, it is a little bit of a tight squeeze right now.
Next the addition of the back slats. This part was fun, but the plans fell short a little here as well. When attaching the back slats, the plans say to install the middle slat and then the two outside slats and then space the others out evenly. I don't like just eyeballing these spaces so I followed the same spacer setup for cutting the arch. Worked like a dream. Here is the final product before adding my exterior oil type coating to it.
It is extremely light weight and my wife just loves it. She is calling it her "drinking margaritas and reading a book by the pool chair".
It seems like a mouthful, but what the hell do I care. I love those craftsman clamps too sears were clearing them and I bought a bunch different lengths had I known I liked them so much would have bought all they had I should look into buying a few more as well.
I do have one clamp that won't tighten when it hits a certain area of the bar. For some reason, it will advance when it is squeezed and then when you release, it goes right back to the starting spot. It is annoying. Bet the house smelled great. I built my hybrid workbench late fall. I liked the ron paul design, but wanted it smaller, mobile, more permanent and with storage.
I've always liked your workbench that you built, so I had to try to make something nearly as nice. Thanks Jimbo. I just went and bought some more cedar last night to build another chair. I was one happy camper driving home. Thanks for link John. Did you have to do anything special to Fine Woodworking Adirondack Chair Plan Etc drill the dog holes? Assume they are. I was reading along and all of a sudden it had holes and I backed up but did not see where you mentioned it.
The Festool guys are always talking about doing the holes as they are always trying to copy the MFT system. Looks like quite a task. I don't think that I need the accuracy of the MFT system, so this worked okay. Its not the best setup for dead nuts straight holes.
The attachment has a little movement in it, but not enough to affect the dogs. I love the epoxy. It is a little bit soft, so it can be dented, but the nice thing is, once it gets beat up, I can just sand it and add another coat or two.
I needed it to strengthen the plywood. Pulling dogs out can make the dog hole edges snap off. It would have been better to make it out of solid wood and then there wouldn't have been an issue. This is such a helpful Page. I just thought I share a product that really love, at least give it a change. You can post now and register later. If you have an account, sign in now to post with your account.
Paste as plain text instead. Only 75 emoji are allowed. Display as a link instead.


|
Globe Home Broadband Router Login Best Woodworking Marking Tools Installing Concealed Drawer Slides Css Carpenter Wood Design Job |

Azeri_Sahmar
11.08.2020 at 21:25:50
ukusov
11.08.2020 at 21:43:46