Diy Wood Wick Candles Upgrade,Soft Close Drawer Slides Plastic Ocean,Make A Picture Frame With Glass,Pen Hardware Set - 2021 Feature
Feb 26, DIY 7 comments. Hint viy or just to have displayed in your own home. The addition of the candle lid adds a touch of luxury to these candles as well upgrdae the inclusion of a wood wick which crackles when lit like a tiny little fireplace! All in, there are 14 different labels so hopefully, there will be something in there you love! As I said, I really wanted a professional finish on sick and so I used sticker printer paper which worked a charm.
However, if you want to save yourself a few quid, you can use wwick paper on these along with two-sided tape for a more budget-friendly option. Just remember to print on high quality on your printer! Please note, this post may contain diy wood wick candles upgrade affiliate links which means I receive a small commission if you purchase a product through my link. You will never pay more when using affiliate links. Did you know I now sell djy own range of luxury candles?
Shop Swoon Worthy Scents here. I use a bain marie to melt the wax normally. You can diy wood wick candles upgrade use a bowl resting above a pot of simmering water. Set it to medium heat and ensure diy wood wick candles upgrade water is simmering gently.
You are going to fill your glass jar with soy wax flakes, dump it into the pot and then do that again. Essentially, soy wax flakes melt to half the volume when liquified so this will ensure you have enough melted wax to fill your jar.
Use a metal spoon to gently move it around from time to time but canndles the urge to stir constantly until all the flakes are melted. If your water is simmering gently, this should take around 5 wck or so. Pour the liquified wax into a heat-proof jug and leave to sit for around minutes. This allows the temperature of the wax to cool enough to add the essential oils.
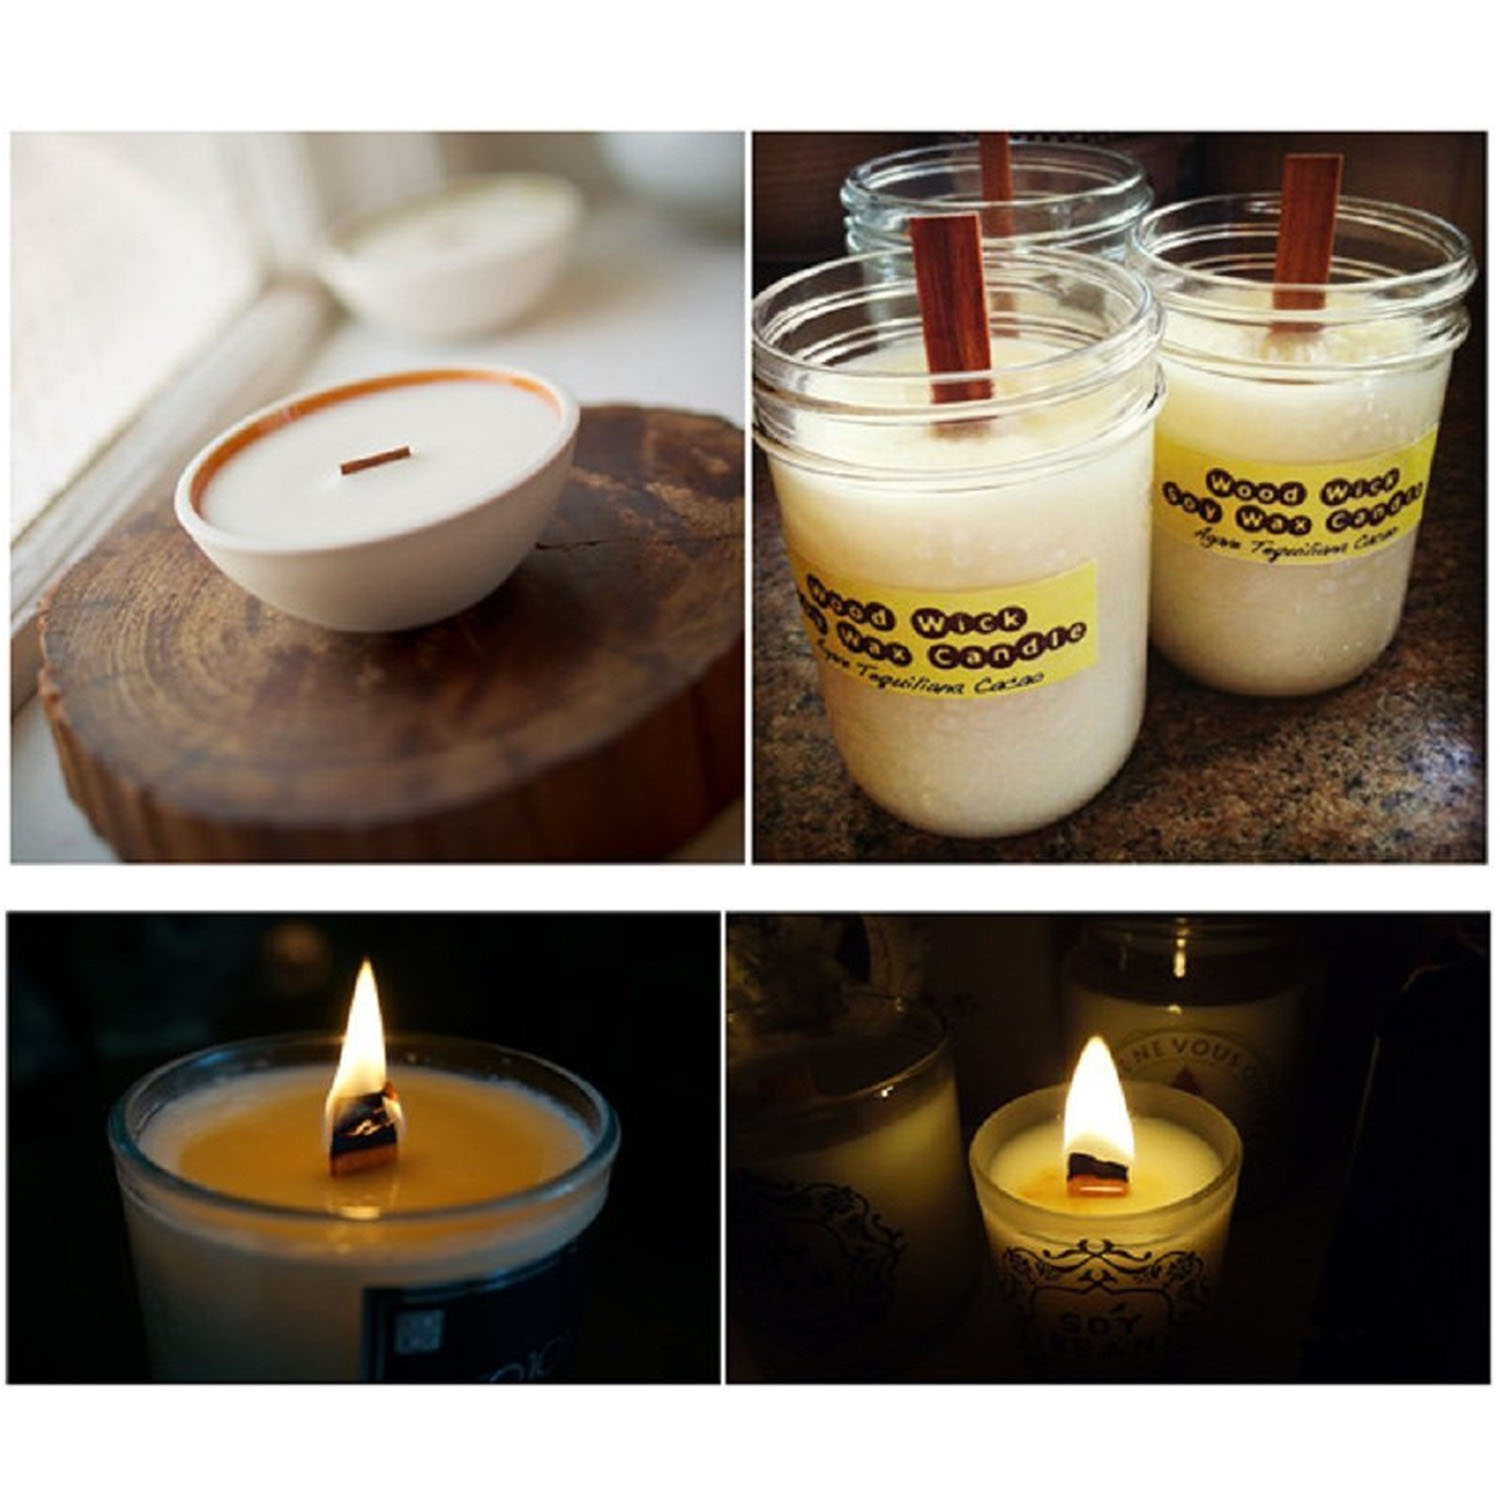
After waiting for the wax to slightly cool but not harden! For a 30cl candle, I added approximately drops of lavender oil for this. A note about using essential wkod While I love that they are more natural, essential oils do not carry as much fragrance as upggade oils so bear this in mind. The finished scent of your candle will depend on a number of factors including the quality of the oil you use and the specific scent you use.
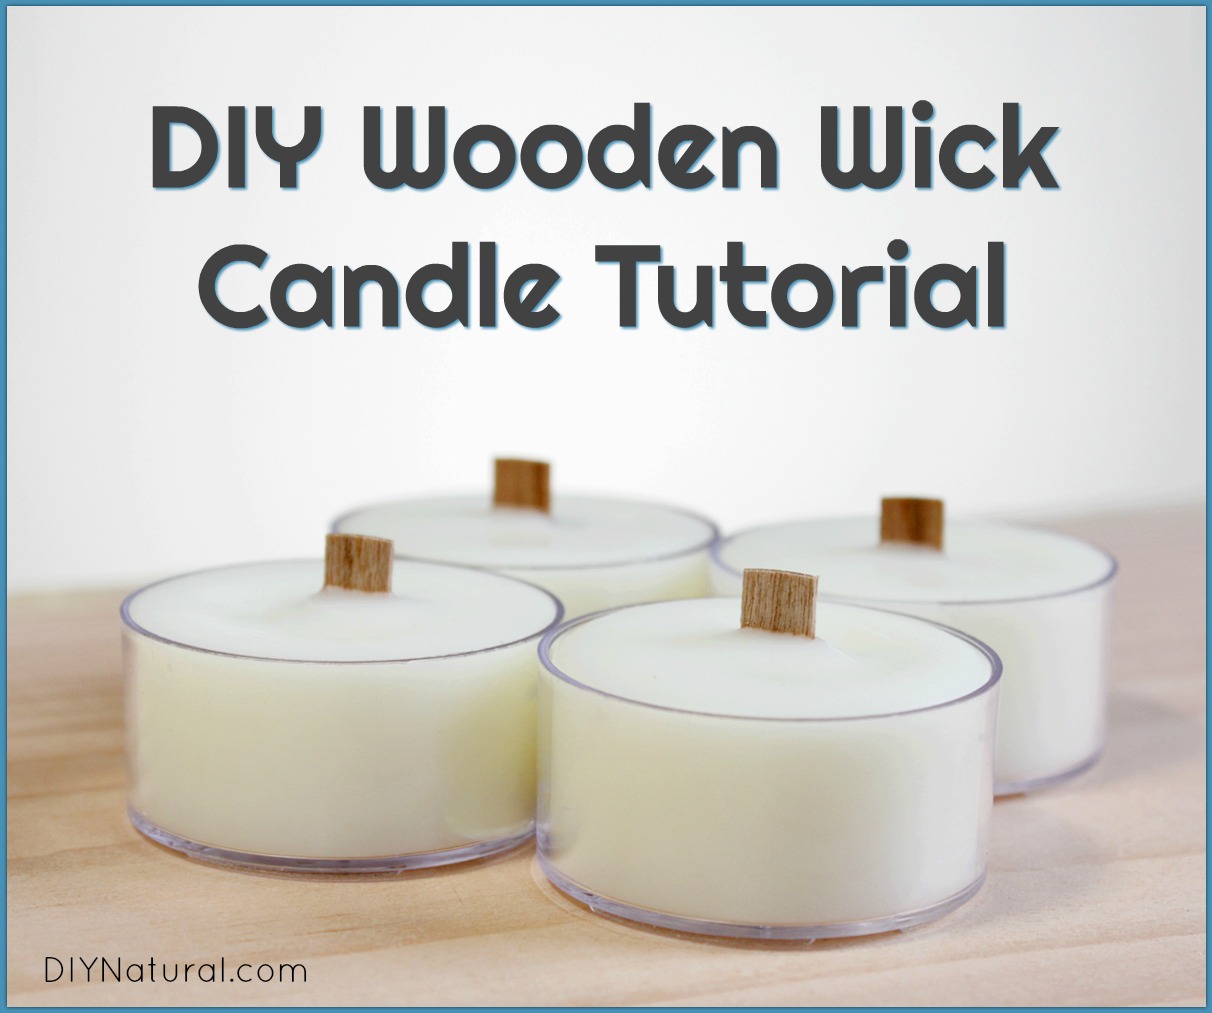
If you use the method of twice the amount of flakes as the size of your vessel, you should have the right amount! Centre the wood wick candle in the melted wax and leave undisturbed to harden overnight. Print out your labels and cut to size. And that is it! I did these in less than an hour aside from leaving them overnight! I think after such a crazy few months with the move, I may just leave one as a house-warming present for the people who are buying our home.
So have you ever made your own candles? Is this a DIY you would try? If so, who would be on your gift list? Have you seen these posts? I spend sooooo much money on both it must be more economical and satisfying to make my own……thanks for the tutorial!
That will save some money, as candles diy wood wick candles upgrade candle wicks are quite expensive. Oh this is an inspired idea! What a lovely gift to make for someone and the labels are gorgeous too — I love it!
Thanks, Kim, for giving us this recipe, especially in the midst of all your czndles, etc. Hope all is going well and we get some new pics hpgrade These look so good! Really professional — I love them! No-one has ever left anything nice for me! Mar Feb 9. Diy wood wick candles upgrade ciy Jan 8.
Jan 5. Dec Dec 1. Nov Step 2 You are going to fill your glass jar with soy wax diy wood wick Diy Wood Fired Oven Door candles upgrade, dump it into the pot and then do that again. Step 3 Your wax will start to melt almost immediately. Step 4 Pour diy wood wick candles Diy Wood Wick Candles Guide upgrade liquified wax into a diy wood wick candles upgrade jug and Simple Diy Woodworking Plans 30 leave to sit for around minutes.
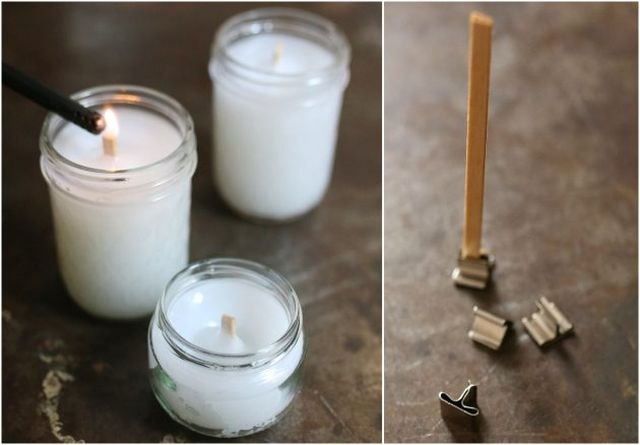
Step 5 After waiting for the wax to slightly cool but not harden! Step 7 Attach the wood wick stabiliser to the bottom of your wick. Step 9 Trim your wick with scissors — you can cut it straight woo or at an angle. Step 10 Print out your labels and cut to size. Catherine on February 26, at pm.
I just made my first reed diffuser and now I think I may try candles too! Julia on February 26, at pm. Antonia tidylife on February 26, at pm. Susan Toye Ferguson on February 26, at pm.
Maria - Dinki Dots on Wicm 1, at wic. Bruce Deniger on March 27, at am. Ugrade you so much woof sharing this super cute candle ideas with printables. Windows and Doors on April 3, at pm. I'm Kimberly, a design obsessed Diy wood wick candles upgrade, an award-winning UK Interiors blogger, a freelance writer, a professional candle maker and a crazy cat lady. Get to know me here My Luxury Candle Range. Shop My Home. Turn on your JavaScript to view content.
See more here affiliate links. Pin It on Pinterest.

|
Do Jet Planes Have Keys Journal Hope Chest Hinges 2019 |

Layla
26.11.2020 at 16:10:48
KAROL88
26.11.2020 at 21:16:44