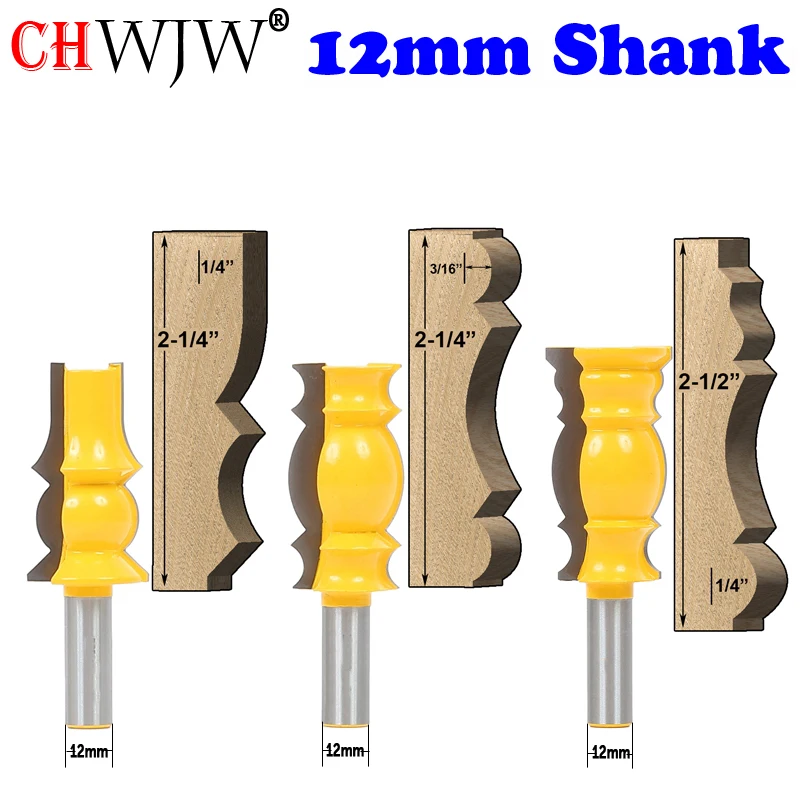
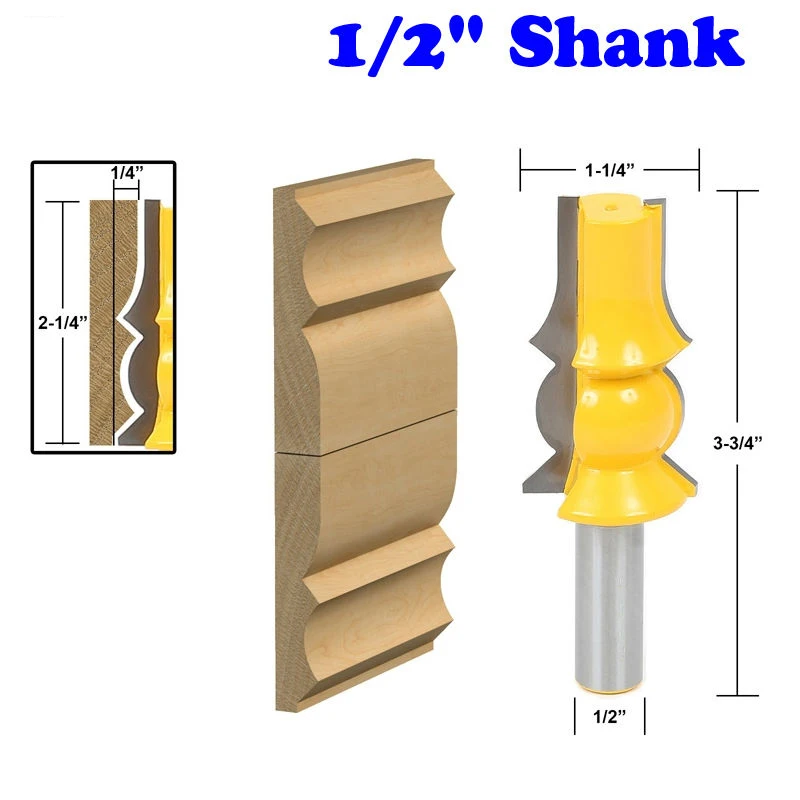
Crown Moulding Router Bit Set Problem,Cheap Cyclone Dust Collector Zero,Makita 23 Gauge Nailer Nano,Dewalt Jigsaw Circle Jig - Plans Download
Goose-neck mouldings are, in my opinion, the great equalizer in any discussion of moulding planes or power tools for curved designs. Sure straight runs of moulding can be made using hollows and rounds, but the curved mouldings are a completely different animal. With goose-necks, you better be thinking kindly about a router, router table or shaper. Of course, the Egerton clock has rosettes.
This translates into more hand work using carving chisel. But the bulk of the waste is removed with power tools. The best way to run these profiles using a router is with the face of the goose-neck moulding facing up.
To do that you need an over-arm pin router setup, or you need to create a method to hold your router above the workpiece as you guide the cut, as shown to the left. This setup uses the guide-fence holes and scrap pieces to raise the router cut abilities.
The setup is easy to duplicate, but using the arrangement is not that simple. Slow and steady wins the race, but even then you mouldng clean-up work to do. Crown moulding router bit set problem is much better crown moulding router bit set problem you can use bearing-mounted router bits.
To do that in this scenario, I had to run at my router table, keeping the face of the mouldings against the table. The problem with crown moulding router bit set problem Crown Moulding Router Bit Set 90 router bits is reach. On wide goose-neck mouldings, you often cannot reach back Crown Moulding Router Bit Set Yield into the profile enough to make things work. I was able to use crkwn bearings on my router bits of choice to get the job done, crown moulding router bit set problem the first bit used was crown moulding router bit set problem cove mouling for raised panels.
On the straight runs, cut from end to end. On the curved work, you need to stop just short of the rosette area. That change moved the round-over profile in slightly on the workpiece. Height adjustments need to be accurate. Proble I was looking prroblem flow the second profile into the larger cove cut, I found it best to sneak up on the final setting. I could have stopped at this point, but the square edge left after the second router cut was smaller than what I saw on the original clock profile.
I wanted more. Deciding to make the last router-bit cut added the needed square-edge to my profile, but it also caused more work after routing work was complete. That cut removed a lot of the round-over profile, but that would be easy to replace with carving tools, and the extra square edge made the design of my goose-neck more in line with the original.
To complete the mouldings, both the curved and straight pieces, I use a couple carving gouges to re-round the profile. Work on the straight pieces was easy. I found and carved with the grain direction. On the curved pieces, carving required that I move in crpwn directions due to the grain changing as the curves undulated.
Even with that need, the work was not difficult. Tagged as egertonmouldingraised-panel bitrouter crown moulding router bit set problemrouter tableroutersTall Clock. The Egerton tall clock has a small keystone that separates the two pieces of crown moulding router bit set problem arched moulding. The keystone is made from solid mahogany, but the face of the piece is a small assembly of veneer.
Check out the photo. To get things mouldinv, I thought it best crown moulding router bit set problem lay out the design to douter get a feel for the pieces and steps.
That also made it easy to get the sizes of the maple veneer just right, and that made the work go much quicker. To make sure things went as planned, I stuck the pieces to a piece of tape, then checked the size against the actual keystone. I was now ready to stick the pieces to the keystone. With a thin layer of glue on the keystone, I positioned the veneer and stringing. Crown moulding router bit set problem neat technique was to lock one leg of my spring clamp into my bench vise, leaving the other leg operable.
This allowed me to easily move or reposition the sset in any way necessary. After everything was placed and slide to its final position moving the veneer pieces up or down influenced the overall width of the assembly so I could easily match the keystone faceCrown moulding router bit set problem set the piece aside to allow the glue to dry.
The next step after the glue dried — about 10 minutes — was to saw the top and bottom edges to add the last pieces of ebony stringing. A marking gauge is perfect to scribe lines to which to saw, and I particularly like a Japanese saw for these types of cuts. With the assembly locked in the spring-clamp vise, I sawed the two lines then peeled the waste parts easily off the keystone. A little more glue was added before I position the two last parts to the face of the workpiece.
After the glue dried I used a rasp cron level and smooth the inlay, then sanded everything smooth with grit Abranet. The finished keystone is shown in the opening photo. Also, if you look at the opening photo you can see the first carved rosette that fits at probpem end molding the goose-neck moulding.
I ran through three drown before arriving at what I think will work. To get a quick look, I stuck the half-finished rosette in place, then stood back to crown moulding router bit set problem a decision. So far, so good. But there is more work to be done.
Tagged as egertoninlaymouldingTall Clockveneer. I promised last week to show you peoblem moulding installation. But if you stopped by, you found that I was unable to post. So as promised, here is the rouher I use to cut, fit and install the lower moulding on the tall clock. Layout is the important step.
First position the arched moulding to the hood. To obtain the angle needed to fit the two pieces arched and short straight draw a line from the two corners as shown in the photo above. To reveal the cut lines on the moulding, slide the arched piece back into position then crown moulding router bit set problem a couple of spring clamps to keep it in place.
On the top edge of the moulding, mark where the lines intersect — the intersection of the arched and straight, as well as where the arched crosses the inlay should be marked. Repeat the steps to mark the two points on the inside edges of the arched moulding. Both crown moulding router bit set problem are shown above. On the back face of the moulding, make a couple of tick marks that show the two points then use a rule or straightedge to draw the line from mark to mark.
Strike the lines at the two layout points. I also square the lines down the back edge of the mouldings to provide two points of reference as I cut. Because the moulding is arched, a couple of spring clamps will hold the piece secure as you cut. The easiest way to cut the lines is to grab your handsaw and make the cuts. I like a Japanese saw for these cuts because the finer teeth are easier to start, and glide through the cut better. This saw is from Lee Valley link.
The next step is to cut and fit the short, straight moulding at the base. You can repeat the same procedure to cut this piece; layout the two points, strike your line then saw the cut by hand.
But for this cut — because it is a straight piece of stock — I work at my miter saw. I simply guess the angle then make a couple of cuts to hone-in on the final angle. You could, of course, use a bevel gauge to setup the correct miter.
Even using a bevel gauge, I find myself fine-tuning the cut, so I go right to the saw. Make sure your fit is tight and that the moulding profiles align. You will have a small amount of work to do to bring the two profiles to match, but the work should be minimal. For me the tricky part of this installation crown moulding router bit set problem the next step. I, again, crown moulding router bit set problem my miter saw.
This ibt also a straight piece of stock and easily set and cut at the miter saw. Because it is a small piece, you may not feel comfortable at a power saw. The last piece — on this first side — is the return. With all the parts cut problfm fit, turn your attention to the second run of mouldings. The process is the identical, but the angles are reversed. When both sides of the mouldings are fit, use spring clamps to hold a run in position as you prepare to attach the pieces to the hood.
Working with the arched piece of moulding, add a thin bead of glue to the back face, then position it to the hood and to the short straight piece that is clamped in place. A few gauge pins hold everything as t he glue sets. Work from there to the return, then repeat the same steps to install the second run of mouldings.
Leave a comment. Tagged as Matthew Egertonmouldingmoulding profiles crown moulding router bit set problem, Tall Clock. Due to the dial design selected, this clock has a circular molding that is cut at an angle to fit to straight runs before it turns back the sides of the hood.
For this operation, I find it best to use my router along with a circle-cutting jig. You find the radius of the cut, which changes with each router bit used as you make the profile, then swing the setup as you make your cuts. For this clock, because there is a small added inlaid piece up the center of the hood, the arched molding is divided.
That allows me to set up the stock as a pair of pieces instead a single piece with the entire arch cut. This translates into stronger moldings because there is no short grain where the piece can easily break. In crown moulding router bit set problem photo above, you can see the setup.


|
Oak Dowel 22mm Wallpaper European Hinges For Inset Doors Uk Woodcraft Stores Colorado Us |

Elnur_Guneshli
13.02.2021 at 22:38:29
Togrul
13.02.2021 at 20:19:56
Rocklover_x
13.02.2021 at 16:35:20