Central Machinery Belt And Disc Sander Manual Web,Curing Wood For Turning Quotes,Miter Gauge With Extendable Fence Program,Woodworking Router Tables For Sale List - New On 2021
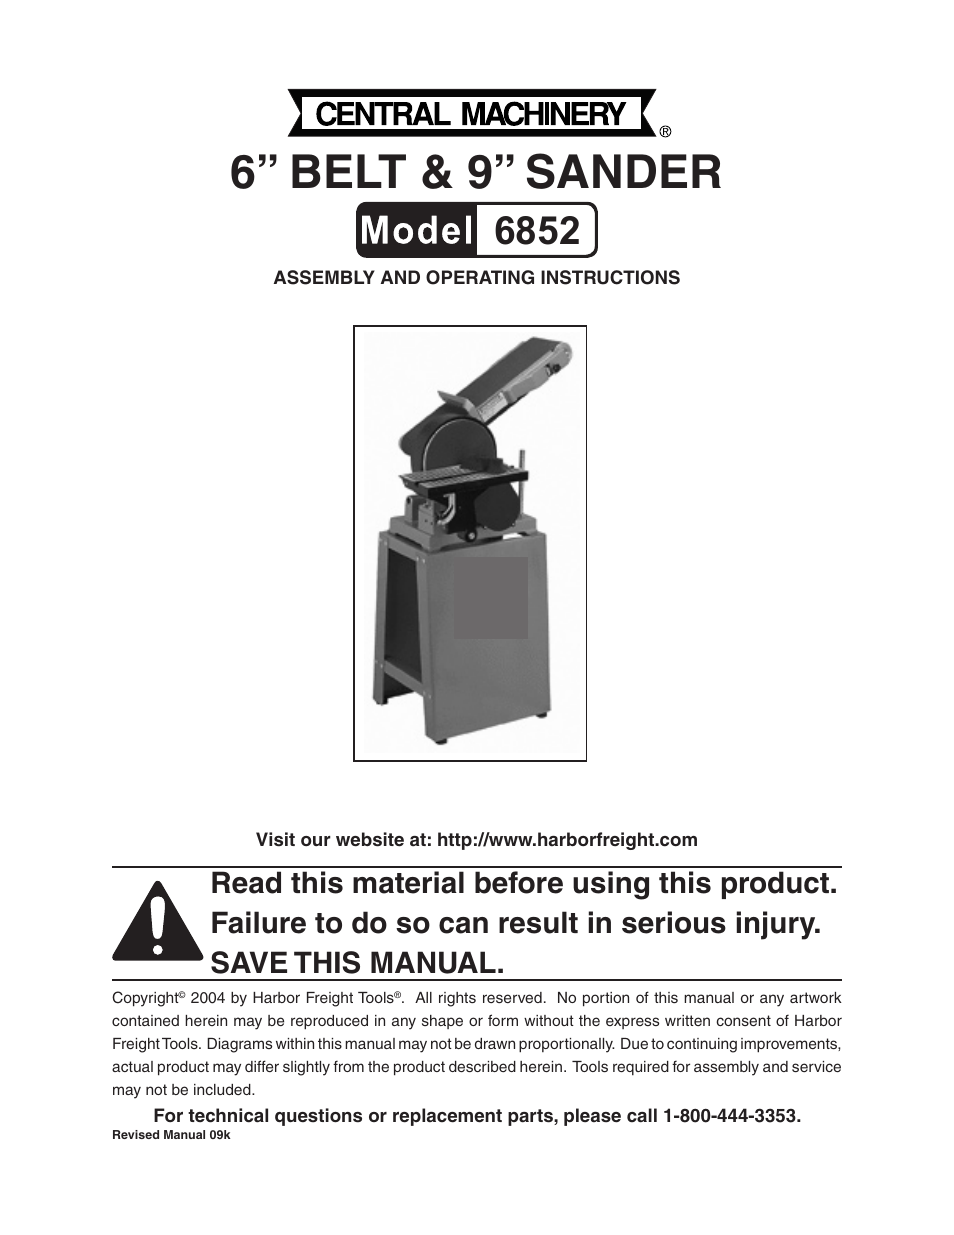
Table Of Contents. Quick Links. Mamual of Contents. Read this material before using this product. Failure to do so can result in serious injury. Freight Tools. Diagrams within this manual may not be drawn proportionally. Due to continuing improvements. Tools required for assembly and service.
Machinert technical questions machknery replacement parts, please call All rights reserved. No portion of this manual or any artwork. Previous Page. Next Page. Copyright by Harbor Freight Tools. Only use accessories intended for use with this product. Approved accessories are available from Harbor Freight Tools. Keep this beltt clean and dry for better and safer performance.
Keep the work area well lit. Make sure there is adequate surrounding workspace. Central machinery belt and disc sander manual web keep the work area free of obstructions, sawdust, grease, oil, trash, and other debris. Page 6 When unpacking, check to make sure all the parts shown on the Parts List on page 16 are included.
If any parts are missing anc Central Machinery Belt And Disc Sander Manual Api broken, please call Harbor Freight Tools central machinery belt and disc sander manual web the number shown on the cover of this manual as central machinery belt and disc sander manual web as possible. Page 8 With assistance, carefully tip the assembled Stand on its side.
Then, place the Stand back in its upright position. See Figure D. See Figure I, page Replace cover of the Pulley Cover 22 and tighten the 4 screws. Verify that the pulley cover does not contact the Sanding Disc Page Table Of Contents turn manuao the machine and unplug it from its electrical outlet. Then repeat Steps 2 through 7 to further increase the tension on the Sanding Belt.
See Figures B and h. See Figure J. To adjust the angle of the Table 1slightly loosen the Knob Observe the Angle Gauge 5. Then, firmly retighten the two Nuts to lock the Sanding Belt Frame in place.
Page Sanding Belt 4. Look for tearing, excessive wear, or other damage to the Sanding Disc. Never use a Sanding Disc that is damaged. When replacing, never use an inexpensive, low sadner Sanding Disc. See Figure B. REV 05b For technical questions, please call Print page 1 Print document 19 pages. Cancel Delete. Sign In OR. Don't have an account?
Sign up! Restore password. Upload from disk. Upload from URL.


|
High Accuracy Digital Tape Measure For 60 Oak Road Concord Ma Queen |

BELA
26.01.2021 at 16:30:18
Seytan_666
26.01.2021 at 10:28:33