Best Router For Epoxy Table,Woodworking Bench End Vise Data,Best Wood Chisel Mallet Market,Watco Stains Oils 02 - How to DIY

Almost in every luxury items for woodworking, Dewalt will be on the top. No doubt, it is the best router for table mounting available on the market. It comes with stunning power therefore able to deliver impressive performance. The reason is that the motor of the router is able to generate 1. As the tool also comes with the speed adjustment system, therefore, it enables you to use this router for different and hard application as well as projects. So, there is no room for mistake and inaccuracy just because of controlling its offers to its customers.
The tool is also superior in the visibility as well because of LED lights. It also remains stable and quiet even you will use this for heavier applications as well.
So, you can say it is the best router for table mounting for professionals. It is one of the best fixed based routers for table mounting. So, you are able to use this tool both for yourself as a hobbyist and professional woodwork. If you are a beginner and looking for an excellent tool for wood crafting then this tool is the best because of easy to use as well as good features.
It comes with the cam motor, therefore, it is able to deliver stunning performance. It comes with both plunge and fixed bases. But you can purchase this only with fixed bases. On the other hand, its motor is capable of generating 2. With the help of this motor, setting the depth adjustment is a breeze and changes between the bases can easily be accomplished.
It has the variable speed of the motor that is between 8, to 24, RPM. So, there is no doubt that it is the best router for table mounting. Bosch is always a luxurious option for the people who are looking for a router for their professional work. It is the best option for you if you are looking for a router with an easy-to-use and impressive performance.
You are able to work well with the router whether you are a beginner or a professional. It is capable of generating 2. The tool has fixed bases depth but variable speed between 8, — 25, RPM.
There is no doubt it is an excellent choice for people to use these different projects and applications. On the other hand, it is the best fixed as well as the plunge based router. So, it is easy to change the bits of this model too. But the tool is more comfortable and adjustable with the fixed base. Under the lights of these qualities, it is the best router for table mounting. If you are a beginner at woodworking for a versatile router, then, there is nothing best than of Makita.
It is well suitable for small-time and lightweight routing work, therefore not the best option for the heavy-duty workload. The tool is available in the compact as well as lightweight design.
So with the weight of 3. The motor of the router is able to produce 1. Due to its special electronic speed load circuitry, it is capable of delivering more than standard and professional finish. On the other hand, you can also use a plunge base on it as well. It is strongly equipped with user-friendly features. This tool is the best option for the woodworkers which want the excellent experience of routing.
With the help of this router, you can also enhance the accuracy of routing and woodworking. It basically works on the plunge base but also Best Router For Epoxy Table Yellow can carry out fixed base routing as well.
So, it is the best router tool for the money. With the motor of 2. On the other hand, you can get precise results and greater control over the results. It is much durable because made of toughest material. So, it also comes with the 2-year warranty.
It weighs only 9. Therefore, there is no doubt it is the best router for table mounting. It is the third one of this brand included in our list. So, it is the symbol of their excellent products available in the market. Versatility, ease-of-use, durability, an embodiment of durability are some of the properties of this brand.
It comes with a few basic things needed to start your work with routing. As the tool is very stable during working as well. On the other hand, it comes with the rubber handles, so you can carry and work with this router for a long interval of time.
You can use this router table on your left as well as right-hand. With the motor of 1. So, it is not only the best router for table mounting but also the best router table combo for you. The tool is famous for its durability because the motor and the base is made of aluminum. As it comes with the motor of 11 amp so it is capable of generating 1.
It has single speed motor that revolves 27,RPM. As there is no doubt that it is made of durable material but also comes with the three-year warranty. On the other hand, it also comes with the auto-release collet system so it is easy to remove the bits of the product. Because of its ergonomic molded grip, you are able to work with this equipment for many hours. Therefore, this is the best router for table mounting. It Best Router For Epoxy Table Model is the best option for those people who have very high-level experience in the woodworking.
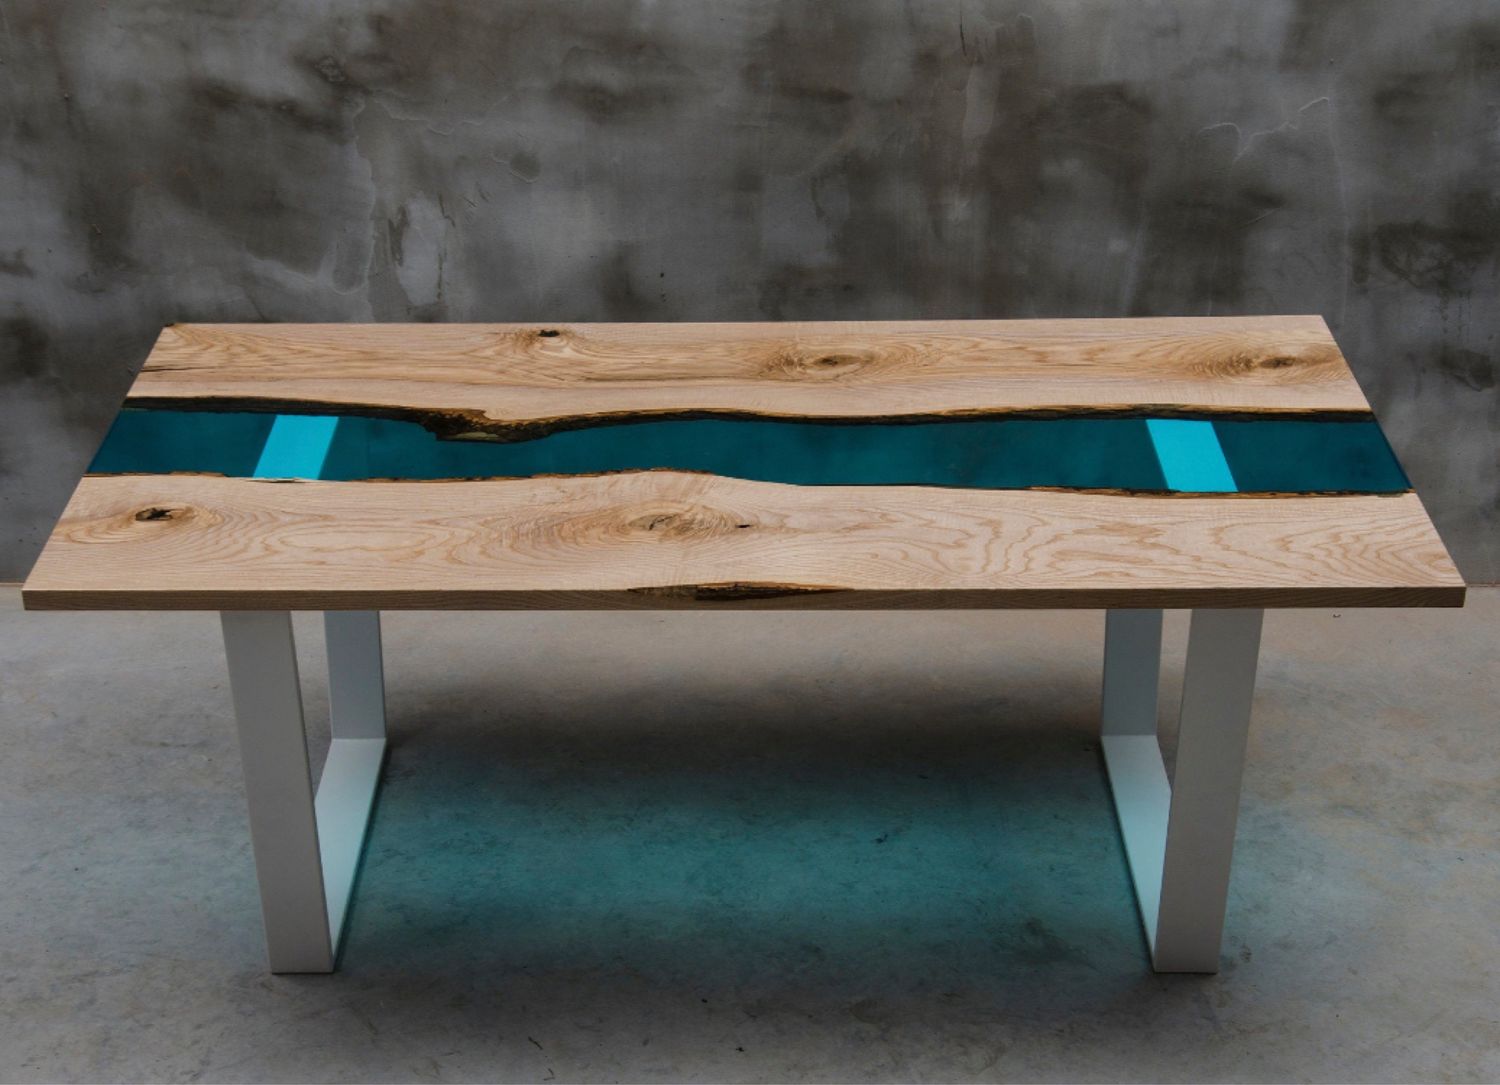
But intermediate wood crafters are also able to use this tool for a long interval of time. The tool is the embodiment of performance, convenience, durability, and functionality. The portability of the increase because it is made of aluminum. When we build one of these tables, we are trying to mimic nature the best we can.
You may think you can just add your own natural edge by carving it to replicate a natural curve. However, In my opinion these never look right. The reason is, all natural curves of the tree have corresponding natural curves in the grain. If we try and mimic the curve with no corresponding grain, it will look like we faked it, which we did.
This can be a pretty big inconvenience, especially if you only have one or two slabs and they both have straight cuts on them. This of course, is just my opinion. So ideally I like to match one curve in with another piece curving out at around the same area. This way it most naturally mimics a true river.
This can be particularly helpful when adding islands in your river or other fragments to mimic a bay for instance. When your layout is finalized, mark your shape on the slabs with chalk or pencil. That way I have one inch room for error on each side. I am required to get my clients measurements exactly right. If you or your client can handle a little undersized, you could chance making your marks a little closer to the final size.
I have a pretty good shop for a guy in his garage. One of those tools is a Festool track saw. I would consider some sort of circular saw a must have though. You could potentially do this with just a jig saw or even a handsaw gasp!
Whether you are using a track saw or regular circular saw, just cut along the lines you marked. The table will be cut down to its final size after pouring the epoxy. However, the cleaner and straighter you can make these cuts, the less epoxy you will end up wasting. You want to make your table with only good, hard wood. No soft or rotted wood. Unfortunately the really cool pieces for tables like this often have rotted spots, big knot holes, or other parts that need to be addressed.
The good news is, when working with epoxy, you can always fill a void or low spot with resin. For the bark and really soft spots, a dull chisel and hammer is all you need. Just go to town until you get the bulk of it off. My favorite tool for cleaning up slabs is an angle grinder with a stainless wire wheel though. One reason I love the angle grinder and wire wheel, is that it removes all the soft wood, and leaves all the hard wood.
I also use smaller wire wheels attached to my drill for the hard to get spots. The Porter Cable Restorer is actually a really good tool for the money as well. Their stainless wheel is aggressive enough to get the rotted wood out.
While their nylon wheel is delicate enough to remove light stuff without even marking the wood. FYI, the stainless wheels on the grinder and restorer will leave light marks on the wood. This step is up for a bit of debate. However, I always seal my edges with fast drying resin. The main reason for not sealing your edges is that you can get a better bond without sealing. As the resin has a chance to really penetrate the wood as it cures. The main reason for sealing the edges is that you prevent any staining that can happen from dyed resin penetrating the wood.
Especially lighter woods. To seal my edges I use West System marine resin. Usually the fast dry hardener. No measuring, just a couple pumps in a keg cup.
Use large silicone glue brush or a disposable fiber brush. Just slather it all over the edges that will be touching your colored resin. It is also a good idea to seal your end grain with epoxy during this step. The end grain acts like little straws and can suck up color and stain several inches yes inches into your table. Sealing the end grain with epoxy will totally prevent this.
This one just takes a minute, and can save a project. Paint the entire slab s with dewaxed shellac. As the shellac won't bond well to river epoxy. The reason you seal the entire slab with shellac is that it will prevent any staining that could happen from any drips or splashes that inevitably come with pouring gallons of resin.
I make my forms from melamine. It's pretty cheap, readily available from Home Depot, and I can usually get tables out of it before having to throw it away. All you need to do is build a box the size you want your finished table, plus whatever cushion you added in.
I highly recommend adding fast dry caulk to all edges when assembling your box. This makes it aquarium tight, and will greatly help with preventing any leaks. I suggest using caulk over silicone or construction adhesive. Those can actually work a little too well. And can make taking your form apart next to impossible. After caulk I will attach with construction screws using a pilot hole and countersink.
This will help with disassembly. Now go back and add a seam of caulk on all edges and corners. Press your finger in and drag it along, just like you would do adding caulk to your bathtub. A good tip is to wait overnight before pouring any epoxy. This will ensure the caulk is dry enough to do its job. However, mold release is designed to be used with resin, and will never react with it.
So I don't take any chances here. The one exception I will allow for is using the house wrap tape. Tuck tape in canada, Tyvek tape in the USA. Resin won't stick to the house wrap tape, and you should be fine without mold release. I still prefer not to use tape, and just add the mold release. The tape leaves little lines and creates a little more resin waste underneath the slabs. Applying the mold release is pretty easy, but there are a couple things to know.
The spray is very fine and stays airborn a long time. So I cover my wood to be used, or spray in another room. I apply two coats. Remember those edges you sealed with epoxy? Now you need to go back and scratch em. The glossy, slippery edges can prevent a really good epoxy bond. So go back with a scotch brite pad, sanding sponge, or even your Porter Cable Restorer with that nylon wheel and scuff up any parts that are shiny.
The better job you do here, the better your bond will be. Drop your pieces into your form now. The reason I do this is to help save a little epoxy. If you table isn't perfectly level, you will end up having to overfill one end, just to match the level on the other end. Now is also a good time to clamp your pieces in place to prevent them from floating later.
You want the wood to be able to move with the resin. As epoxy cures, it will shrink a little. Quick tip on epoxy before starting. No matter what manufacturer you are using. What happens is the part A liquid crystalizes and basically becomes partially or completely solid.
There is an easy fix. All you need to do is to submerge half way up is fine the sealed container in warm water for an hour or so. I use a shop sink, but a bathtub would also work. This will liquify your resin again, and be good as new. Since you may not know if your resin has crystallization at the bottom of the container, I do the warm water trick on every container I buy. This deep pour resin world is still a pretty new medium.
So epoxy companies are constantly improving and tweaking their formulas. Lately, I generally use Liquid Glass epoxy. It cures super hard, super clear, yet has enough flexibility to not risk separation from the wood due to seasonal expansion and contraction. But I have gone up to 2. This is a big enough section I have since written a whole blog post on the topic.
I also have a link to full video in the blog. Take width measurements every six inches down the length of your river. Then divide by the total number of measurements taken to find your average width. Now measure the length of your river. Then measure the height of your slabs use the shortest one if they are different thicknesses.
Now we have what we need for a LxWxH volume calculation. I punch these numbers into a volume calculator that takes inches in, and gives liters out.
Some epoxy will seep under the slabs, and some will go around the edges. Here is a good link for calculating volume. Once you calculate how much epoxy you are going to need, go ahead and mix in part A and part B in a bucket large enough to handle all of it.
I measure my parts with a graduated bucket from Home Depot and then pour into a 5 gallon bucket. I like the plastic paint mixers that attach to your power drill best.
They clean up easy and mix very well. Use a long stick to scrape the sides and bottom as you mix. Avoid getting the paddle near the top as that will induce more bubbles. I recommend mixing at least four minutes on low speed. This is totally a matter of taste! I love plain old black. And liquid dyes give me a very nice even black. If you want some fun blues, greens, pinks, or any vibrant color. You may want to go with a powdered pigment.
There is no limit to how many colors you can come up with, so have fun with it and come up with something that matches your style. Powdered pigments mix well in water if you want to play around a bit before going all-in with your expensive resin. When you mix your pigment into your epoxy bucket, its a good idea to check your color by dipping in a clear plastic cup and pulling out a sample. Resin looks much different in a deep bucket vs a clear cup.
And the cup is much closer to the thickness of your table. Everyone loves those instagram videos of guys dumping huge buckets of epoxy into their form, splashing it everywhere in a tidal wave of what looks like purple syrup. Unfortunately, you are also introducing lots of air in the form of bubbles. And while most of the bubbles will pop naturally as it cures.

|
62 Old Oak Road 3d Crafts To Make Out Of Wood 9th Wood Shop Bbq Diners Drive Ins And Dives Us Whittling Knife Set Near Me You |

mfka
10.06.2021 at 18:10:14
Pantera
10.06.2021 at 20:56:23