36 Radial Arm Saw You,Build A Benchtop Router Table Quit,60253 E Branding Iron Ct - Tips For You

The problem with radial arm saws and sliding compound miter saws is that the rotation of the blade tends to propel it in the same direction as the cut. Consequently, a blade with a hooked or positive rake angle tries to pull itself through the cut — even without your help. To compensate, some pros pull the motor and blade forward, then position the workpiece, and push instead of pull the blade through the wood. But another option that will make cutting with your radial arm saw much easier and safer is to install a blade that has teeth with a zero or negative rake angle.
Not only will the saw be safer to operate, but without the shock caused by a jammed blade, your saw will also need less adjusting. Its thin kerf size allows for fast cuts. Plus, its anti-vibration slots bring comfort during use. Overall, the Oshlun has a great cost-benefit ratio for a high-quality carbide blade with a negative rake angle.
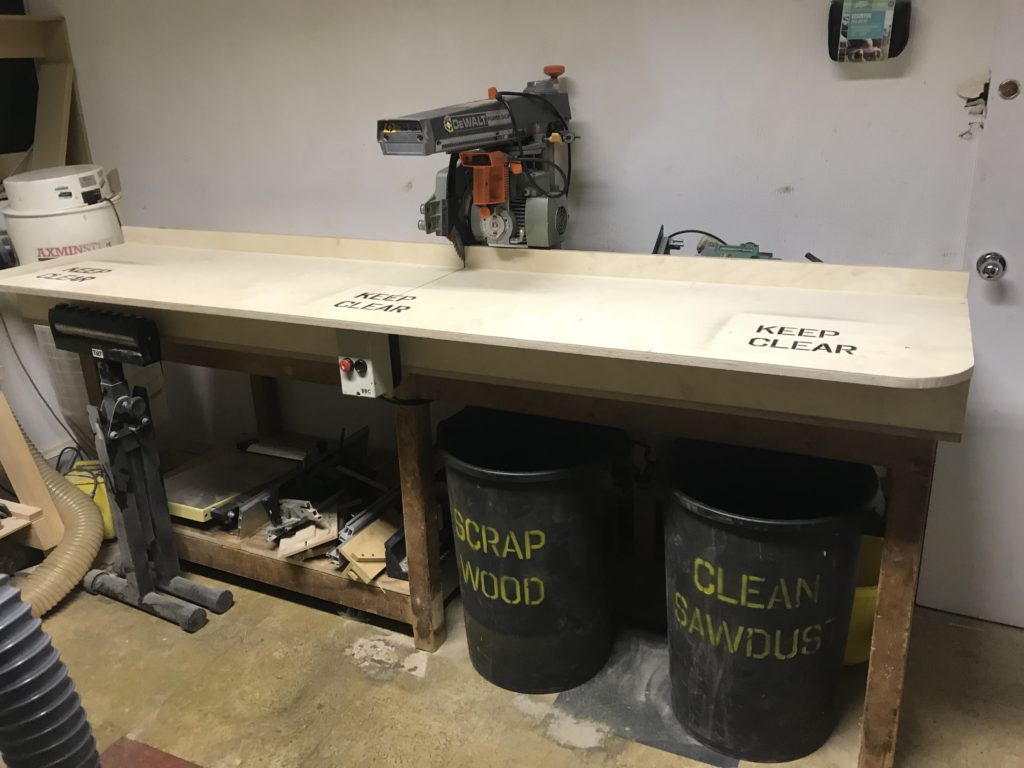
A radial arm saw with a in. Blade can cut boards up to 3 in. It can also cut several boards laid side-by-side in a single pass. Pull firmly and evenly for the crispest cut opening photo. Many can cut at angles exceeding 45 degrees Photo 1. Radial arms do a fair job of cutting lumber, plywood and paneling to width — but it can be awkward.
Always feed the board against the rotation of the blade Photo 2 Use all safety devices, goggles, and extreme care. Except for a few professional tools, the radial arm saw is the best tool around for making combination bevel and miter cuts Photo 4.
When using a dado blade to cut a deep groove, make two or three passes, lowering the blade slightly each time. You can also make dado cuts with a normal blade. Make the two outside cuts first, then remove center waste with a series of cuts. A radial arm saw has knobs, levers, and cranks galore. Make certain each one is adjusted and locked before using the saw.
What can you use a radial arm saw for? There are other uses, too: Miter cuts. The saw arm can be swung left or right for angle cuts of 45 degrees or more. Hold the workpiece firmly against the fence.
Rip cuts. The blade can be rotated and locked at 90 degrees for ripping. Use splinter and anti-kickback pawls to prevent binding and kickback. Bevel cuts. The blade can be tilted and elevated for decorative cuts. Compound miter cuts. Radial arm saws can be set to bevel-cut and angle-cut at the same time for special projects. Drum sander. This is one of the many attachments designed to fit on the accessory shaft or blade shaft of a radial arm saw motor.
I just discovered this Intstructable. Mine is a bit later model, about , and I found there is no play in the table when I loosened the hold down screws i. Does your earlier model have slots rather than round holes for the screws, such that the table can move to allow the adjustment? Reply 2 years ago.
I just bought this saw, its particle-board table top was destroyed, so i went all out and built a rolling 6' long table its also taller to accomodate my height. Question: 1. How do i fix the blade brake? I currently use a piece of scrap to slow the blade. Also is there a better dust catching method? Seems the forward vacuum hose only catches half of the sawdust.
Reply 3 years ago. I have never serviced the blade brake on my saw, although I know it is less effective than when it was new. I always expected I would order new parts from a Sear's parts depot.
It may be possible to improvise with available materials. I do not know of a good solution to the dust problem. Your table looks really good. I need to make cabinets for one of our rooms, so quick built this from lumber left over from a project. The blade stay pretty accurate, but not perfect. Seems a random problem. A very small amount of sawdust between the work and the fence will introduce an inaccuracy. I missed that more than a few times when I started using a radial arm saw.
I may need to lengthen the right side of my bench, so i can place blocks so all my carcase side pieces come out the same. I recently purchased a used Craftsman RAS. Everything works well but I cannot move the arm from the 90 degree position after releasing the latch.
Could the index pin be seized in the 90 degree position? Any ideas? I can only guess. I suppose that is possible, but even then, the arm should have a little play in it right to left and vice-versa when the knob is loose. If not, remove the cap over the column as in steps 1 and 2.
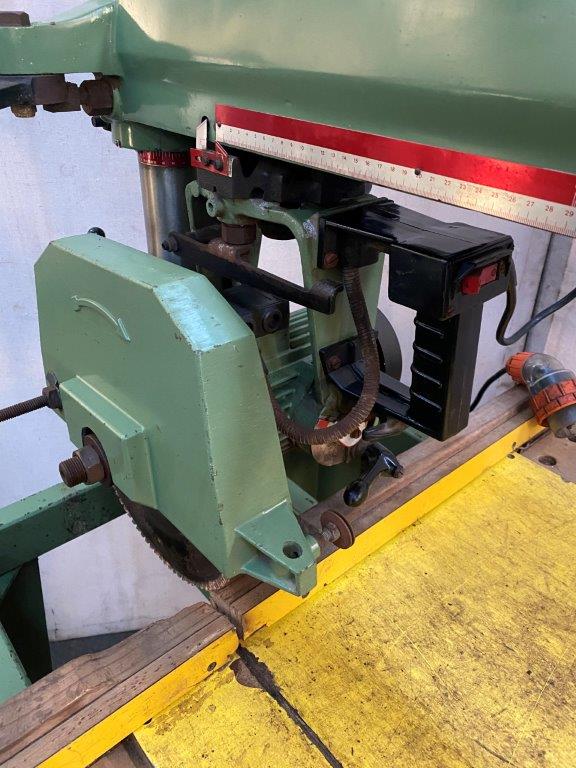
There may be rust between the column and the arm. Let some penetrating oil soak in and give it enough time and enough oil. Some tapping with a hammer may help. I recently purchased this exact saw, but for the life of me cant figure out a few of the knobs and adjustments. Do you mind answering a few questions?
Reply 4 years ago. This will be a very brief answer to get you started. The maker of the saw color coordinated the colors on the knobs with the angle scale indicators related to that knob's action, so, the green dot on the chrome spoon handle on the motor yoke releases the motor yoke.
Then raise the indexing pin with the green knob and swivel the yoke to one of the other available positions. All knobs, levers, and angle indicators of the same color relate to the same adjustment. Let me know what is still a puzzle after you study the colors and the items of the same color. When I cut with my sears 10 radial arm saw, my cut is clean across the top surface, but ragged on the bottom side.
What adjustments do I have to make? Reply 8 years ago on Introduction. John, I assume you have this problem when you pull the motor carriage toward yourself to make a cut make a crosscut. If you were making a rip cut motor turned parallel to the fence and pushing the wood across the table into the blade you would notice the bottom surface cuts cleanly, but the top surface has some roughness and splintering where the blade exits the wood.
Any circular sawblade on a power saw will do this whether it be a radial arm saw, a table saw, or an electric handsaw also known as a circular saw.
The reason is that when the teeth cut entering the wood the fibers are being pressed down into the rest of the wood as the cut is made.
But, on the other surface the teeth are cutting as they exit the wood and they pull some of the fibers with them to cause splintering and a rougher cut. You cannot eliminate this problem, but there are ways to minimize it by means of strategy and some controls. Most wood projects require a good side and a side not really seen after the project is finished. When crosscutting you can plan your work so the side that needs to be good is cut as the teeth on the blade enter the wood.
With your radial arm saw that would mean the good side is on the table facing upward as you pull the motor carriage back on the saw arm. Make certain your saw is properly aligned so the blade does not heel. If it does heel, there will be a tendency to splinter as the teeth exit the wood, even on a cross cut.
Rip cuts on a radial arm saw are made with the teeth exiting the top surface at the leading edge of the cut. Normal practice would be to have the good surface down when cutting if at all possible. Using a finer blade a blade with more teeth reduces the splintering you mentioned. So does pulling the motor more slowly for a slower cut. Cutting with the grain reduces splintering while cutting across the grain increases splintering.
Using better quality woods with a tighter grain pattern reduces splintering, while cheaper open grain woods tend to splinter more when cutting. Some sensitive cuts, like cutting across the grain on veneer plywood, can be greatly improved by scoring the cut line with a straightedge and a sharp knife, but this requires aligning the scoring knife mark very precisely with the path the saw blade will cut.
I hope this helps you. Reply 5 years ago. One way to minimize the problem is to use a backer like a thin plywood under your cut under your entire work piece to keep it level. Then as with a new rip cut, you have no existing kerf cut void under your work in which to lose wood fibers. The underlayment supports all of your work so as to virtually eliminate edge splintering. You'll get a very clean cut as it holds the edge grain while cross cutting just as with a virgin rip cut in a new RAS tabletop.
The wider the kerf cut under your crosscut work, the greater the potential for splintering. I made this discovery when I replaced my cutting table top in the middle of a project and saw the marked reduction in splintering. Now I frequently use a backer on fine cut work. I have a similar saw and it is not cutting square. By Phil B Follow. More by the author:. About: I miss the days when magazines like Popular Mechanics had all sorts of DIY projects for making and repairing just about everything.
Did you make this project? Share it with us!

|
Kreg Table Saws Plus Best Router Table Dovetail Jig Kit Veneer Rolls Uk Youtube |

body_love
01.02.2021 at 17:30:14
MAMBO
01.02.2021 at 21:29:44
sindy_25
01.02.2021 at 16:50:37
ZAYKA
01.02.2021 at 13:25:45
E_L_I_F
01.02.2021 at 23:32:15