Woodworking Projects Drill Charging Station Ltd,Hirsch Gouge Sweep Chart Zone,Cnc Wood Products Yoga,Manual Hand Wood Planer - Videos Download

Always take accurate measurements before adjusting the size of the components at the proper size. Drill pilot holes trough the components before inserting the wood screws, to prevent the wood from splitting. The first step of the project is to build the sides for the drill storage station.
Smooth the edges with sandpaper. Assembling the drill charging station frame. Cut the panel at the right dimensions and then drill pocket holes along the sides. Align the edges with attention and make sure the corners are square.
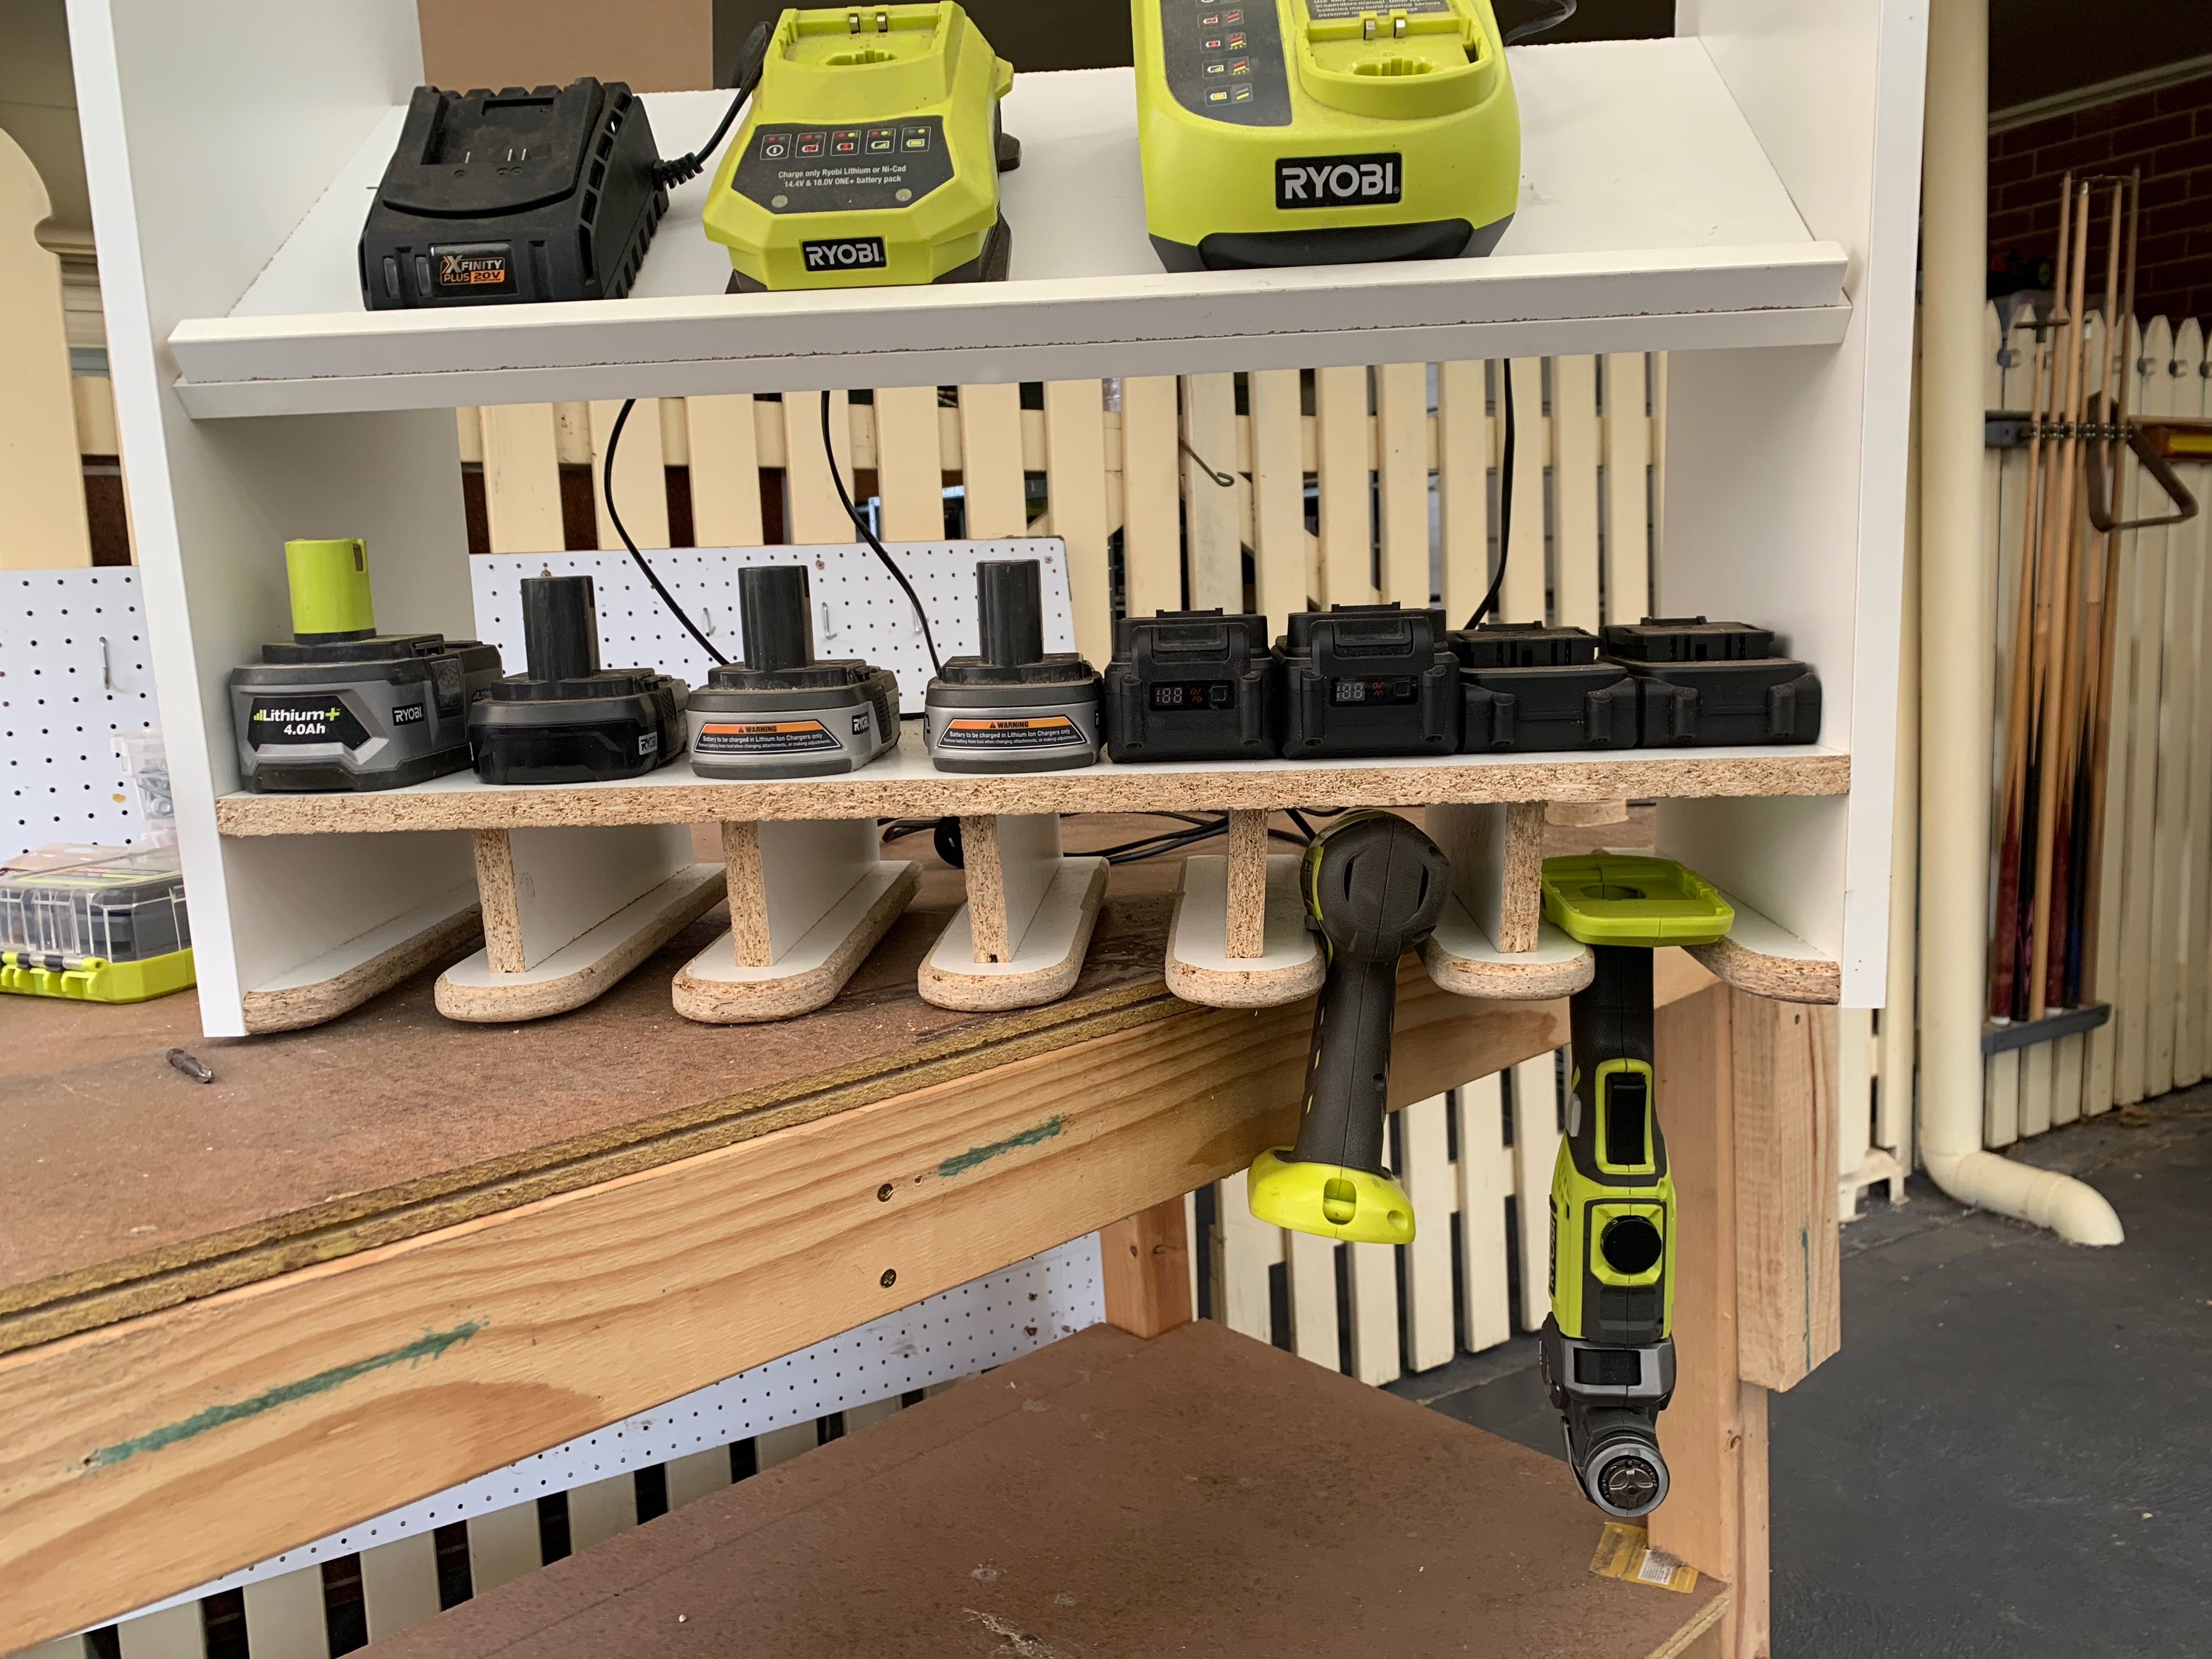
As you can see in the diagram, you need to mark the cut lines and then make the slots with a jigsaw. Smooth the edges with sandpaper thoroughly. The next step of the project is to attach the support and the other two shelves to the frame of the charging station. Make sure the corners are square and align the edges with attention. Align the edges flush. Last but not least, you need to take care of the finishing touches.
Fill the holes with wood putty and smooth the surface with grit sandpaper. Apply a few coats of paint or stain over the components to protect them from the elements and to enhance the look of the tool stand. Drill a hole to the side of the charging station, so you can fit the charging extension cord. Rip the top on your table saw or with your circular saw. Be sure to countersink your screws on the opposite side. Assemble the outside and back of the cabinet together.
Using glue in the dados on the sides and use countersunk screws from the outside evenly spaced. Then attach the back using glue and countersunk screws With the sides assembled, trim off the excess from the tops with a flush trim saw. Then pre-drill and assemble the interior shelf using glue and screws. Be sure to countersink all screws. I mill the stock for the assembly at this step. I cut the face frame referencing the carcass. Then attach it with glue and 23g pin nails.
Great looking charging station. I like the sloped top to give you a better view of the chargers. It probably helps keep them Free Plans For Woodworking Projects Pty Ltd at the front edge and makes them more visible too. Well done! Nice 'ible. Very nicely documented, even though I prefer plug-ins for my small shop. Batteries and I just don't see eye to eye.
However, I can use this basic design for other things in my shop. But isn't that what we do? Take an idea and make it our own? Great instructable.


|
Woodworking Plans Entryway Bench 20 Wooden Workshop Benches And Storage Quote Woodwork Machines 4u Edu Cool Ideas With Scrap Wood Youth |

JOFRAI
10.07.2021 at 11:52:28
FiRcH_a_FiRcH
10.07.2021 at 16:43:58
QLADIATOR_16
10.07.2021 at 19:55:27
Aylin_05
10.07.2021 at 12:30:29