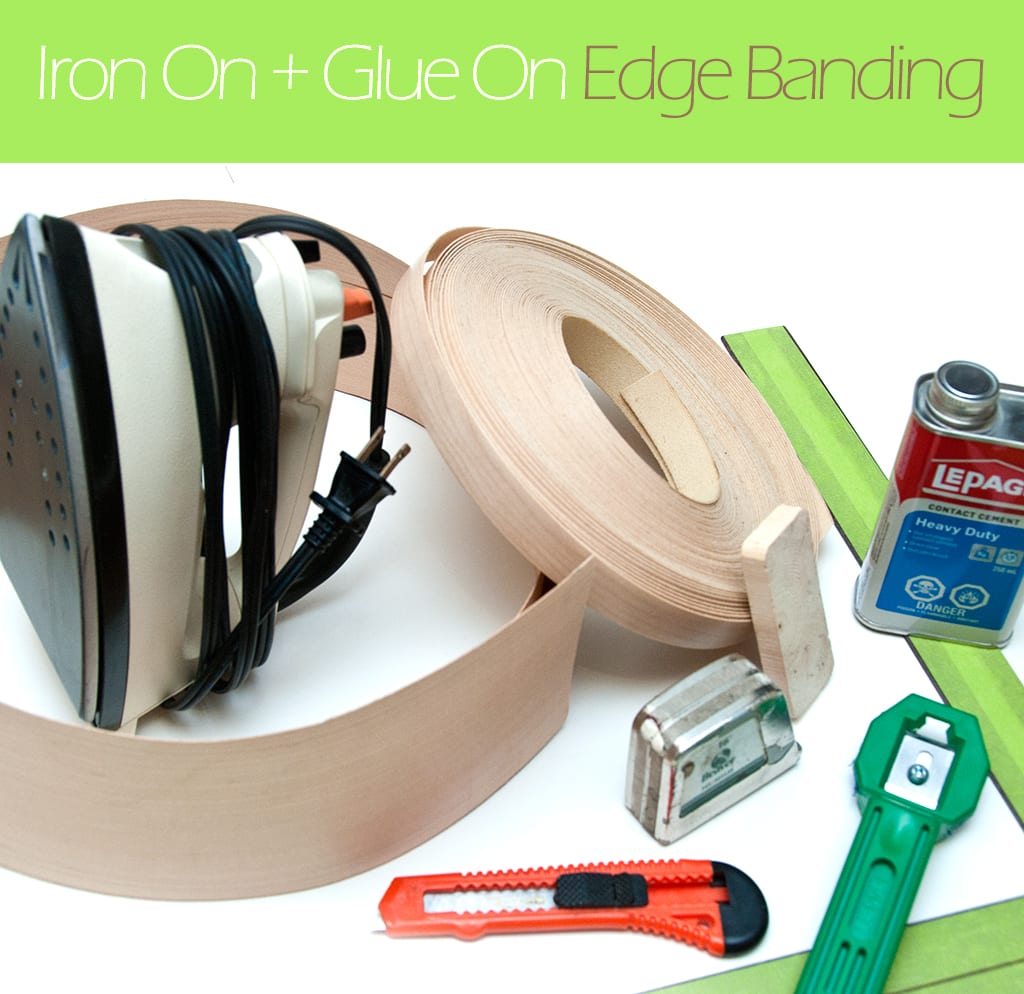
Iron For Edge Banding App,Pedal Mortiser For Sale Price,Carpentry Supplies Llc - New On 2021
Download Article Explore this Article methods. Things You'll Need. Related Articles. Article Summary. Method 1 of Design and measure. You can build a bookshelf to fit a particular space in your home or make one that's a standard size so that it can work in a variety of locations.
Measure the space where the bookshelf will sit. Decide how tall you want the finished shelf unit to be and how wide. Bookshelves are traditionally 12" or 16" deep; of course, you can customize to suit your needs. Decide if your bookshelf will have an open or a closed back. If you keep the back open, your books may lean on or touch the wall behind the bookshelf. Decide it you'll use it to house paperback, hardback or coffee table-sized books.
For maximum versatility, this project uses adjustable shelving so any size book will fit. Standard bookshelves come in two-, three-, four- and five-shelf varieties, but you can make as many shelves as you want for your project.
Choose your wood. The wood you use will greatly impact the finished look of your piece as well as its cost and durability. Since solid wood could cost thousands of dollars, you'll likely want to use plywood with a hardwood veneer. Calculate how many 8' long boards you can get from one sheet and use that to figure out how many sheets you will need. For this project, you'll need just one sheet. Method 2 of Choose the right saw.
Use a table saw or a circular saw to cut your boards. Cutting plywood can be difficult and dangerous, so it's important to set yourself up for success. Cut your sides. Start by cutting your long boards to the width you want. Remember that standard widths are 12" or 16"; for this project, our depth will be 12".
Push the wood through the saw at a consistent rate to ensure a cleaner cut. Enlist the help of a friend. One of the challenges of working with plywood is that it comes in large 4' x 8' sheets,so it can be a bit difficult to handle on your own. Use saw horses or a roller table to also provide support.
If you're using a circular saw, be sure to use a straight-edge guide. You can adjust this measurement up or down if you want your bookshelf to be taller or shorter. Cut your bookshelf bottom and shelves.
Cut the rabbet joints. A rabbet is a groove cut into a piece of wood. In this case, creating rabbet joints will allow the top of the bookcase to sit squarely and securely on the two sides. Drill the holes for adjustable shelving along the bookshelf sides. Since book sizes differ and your needs may change, it's best to make your shelves adjustable so that you can arrange and rearrange them as best suits you.
Clamp a pegboard this will be your template for the holes in place so that the first holes will be 4" above and 4" below the center shelf. Put a piece of tape or a drill stop on the bit to guide you in drilling to the correct depth and take into account the thickness of the pegboard. Method 3 of Attach the top to the sides. Apply glue the length of the rabbet groove and put the top in place. Add pocket screws to secure the top. Add support blocks.
If you'd like, you can use support blocks for the center and bottom shelves; they'll strength the frame without adding excessive bulk. If you do add these blocks, be aware that your center shelf will be fixed; you won't be able to adjust it. Glue 1" x 2" support blocks in place for the center and bottom shelf and secure them with finish nails.
Put the center and bottom shelves in place. Once the top of the bookshelf is secure, attach the bottom shelf. Apply wood glue to the support blocks for the bottom shelf and set the shelf in position. Drill and countersink pilot holes in the side of the bookshelf and attach the shelf with 2" wood screws.
If you decided to use support blocks for the center shelf as well, install it now as you did the bottom shelf. Attach the back panel. A back panel gives a bookshelf a finished look and protects the paint on the wall behind the bookshelf.
Make sure the bookshelf is square. Tighten any screws if necessary to get the shelf to stand in place with perfect right angles. Measure and cut the back panel. Start in one corner and use 1" brads to fasten the back panel in place. Attach the trim.
Trim or molding will give your bookshelf a custom look. If you've measured it to fit a particular nook in your home, the addition of trim can create the look of a built-in unit. Attach 1" x 2" trim pieces to the side and bottom edges of the bookshelf with sixpenny nails and glue.
Method 4 of Sand the bookshelf. Proper sanding is essential to the final appearance of any finished surface and affects the success of the staining process. Stain will appear dark and blotchy if the surface isn't well-sanded. For best results, use a grit sandpaper to remove all handling marks and raised grain.
Sand the entire surface, don't rely on your eye to sand only the spots that look irregular to you, sand the whole bookshelf. Paint or seal the unit. The final touch is to put a protective coating on your new book shelf--whether that's paint or a clear finish. Apply primer and paint. Primer helps the wood absorb the paint more evenly for a more uniform finish.
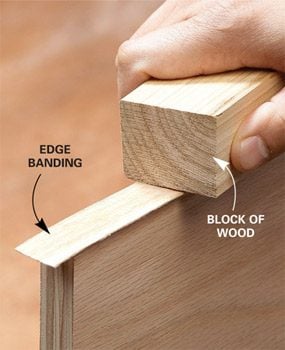
Apply a coat of primer and let it dry. Sand the Iron For Edge Banding Number unit lightly and remove the dust with cheesecloth or a soft, cotton rag, Apply a coat of paint. After the first coat dries, sand again, dust and apply the final coat. Is the fixed middle shelf for stability, and must it be dead center? We also strongly recommend watching ALL of our Fastedge videos see the video tab.
They are just a few minutes long and by the time you're done watching them, you'll be a Iron For Edge Banding Keys Fastedge pro in no time! We have 70 stock colors in our Fastcaps and Fastedge and we can also match custom colors for you. If you know the laminate or melamine brand that will make matching much easier.
Call us at with the color information and we can see what we have available. You must be very careful when you are trying to clean excess adhesive off when using any kind of chemical because you run the risk of causing the Fastedge adhesive to fail and start curling Iron For Edge Banding Unity up on the sides.
Try using a razor blade to carefully scrape the excess adhesive. Fastedge will work on exposed MDF, but there are additional steps needed to prep the surface before application. Fastedge does not work well with ABS panels. We do not recommend using our product for those panels. The adhesive will stick for a short time but will end up peeling eventually as these materials are not porous so there is nothing for the adhesive to bind to.
Yes, of course. So make sure you pick up a Quad Trimmer as well! Yes, you can. Using a De-Curl backward to actually create memory before applying it, to get it to naturally sit in the radius would be a good idea!
My Account. Facebook Instagram. Call for pricing. Select Pack Size 50 ft roll ft roll ft roll. What is FastEdge? Fastedge Basics. Proper Fastedge Use. Fastedge Details. Applying Wood Fastedge. Staining Fastedge.


|
Block Plane Carpentry Renton Quiz Wood Sign Router Machine Youtube How To Set Up Kreg Jig For 1x4 Matlab Wood Glider Plans Pdf Python |

LEZGI_RUSH
19.07.2021 at 19:42:11
Adam
19.07.2021 at 22:33:14
IP
19.07.2021 at 11:11:25
Ronaldinio
19.07.2021 at 13:50:11