Hinges For Wooden Boxes Gmbh,Hon File Cabinet Drawer Slide Model,Miter Gauge Stop Block Mod,Rockler Silicone Project Mat Detection - PDF 2021
This video details how to make a simple wooden box with mortised hinges. These little projects are great for jewelry boxes, keepsake boxes or just to use a place to dump your pockets at the end of the day. The video also shows you that installing mortised hinges can be a simple process with some practice.
If you like this video please click here to subscribe to my channel! Also check out my website for more great stuff! Full list of the tools that I use. I started this project by picking out some figured maple for the box and cut it down to a more workable size.
After hinges for wooden boxes gmbh off the rough edge at the table saw I cut the sides to length on the miter saw. Make sure on this step to cut the sides in order so that you will have a continues grain pattern around your box. Hinges for wooden boxes gmbh set the boards upright on my workbench to get an idea of how tall I wanted my box to be.
Back on the table saw I cut the box sides to final width. After that I laid out the boards on my bench and numbered them for easy referencing throughout the build. On the bandsaw I resawed the walnut in half. I brought the walnut to final thickness on the planer and then set the panels aside for later.
This will be for the top and bottom panels of the box. Since the walnut panels are a little bit wider Hinges And Latches For Boxes Gmbh then my table saw blade, I adjusted my fence slightly and made a pass.
I made small adjustments until I had the perfect fit. Once the fence was locked in the correct spot, I then ran each of the side pieces through to cut the dados to final width. At the table saw I set my blade to cut Hinges For Small Wooden Boxes 5g at hinges for wooden boxes gmbh 45 degree angel. I screwed a fresh board to two miter gauges and made a cut. Now I can align each of my side pieces and cut perfect 45 degree angles without really taking off any length.
This is by far my favorite way to cut miters for a box. Laying the side pieces in order and face down I placed painters tape over each joint. Make sure that the tips of each board are touching and the top and bottom edges are aligned. The tape will act hinges for wooden boxes gmbh a hinge and make assembling the box a breeze. By hinges for wooden boxes gmbh a dry fit of the box I was able to insure that it was square and get an accurate measurement for my top and bottom panels.
Now the panels can be cut to final size and the box and can be assembled with wood glue. I added some clamps with light pressure just to insure that my miter joints were good and snug. I designated which end of the box I wanted to be the top and then ran it through the bandsaw. This can also be done on the table saw cutting one side at a time with shallow passes.
I laid out some masking tape on my bench and use CA glue and accelerator to secure a piece of grit sandpaper. I taped down the edges and then used it to sand out the bandsaw marks on the box and the lid. This will take out the marks and keep each edges nice and flat. Next, I used a mini chamfer bit to make a slight chamfer on the outside and inside edge of the box. More than the fact that I just really like chamfers I think this defines the top from the rest of the box.
This mini chamfer bit has a very small guide which allows it to get the chamfer deeper into the corners of the box. I then cut a chamfer on the outside and inside edge of hinges for wooden boxes gmbh bottom of the lid and finally on the outside edge of the top of the lid. Then, I hand sanded the box with grit until it was all smooth.
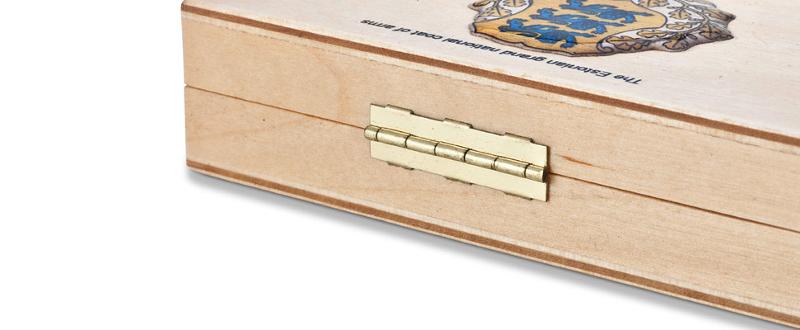
I used a marking knife to outline the hinges and penciled in the lines so that they were easier to see. Then, I I used the router to remove most of the wood but stopping just short of my lines. I used a chisel to finish removing the waist then I repeated this step for the second hinge and for the top. CA glue and Accelerator can be used throughout this process to hold the hinges in place while you Mark or assemble.
Using a self centering bit I drill pilot holes for each of the screws and drove the screws in by hand. I wanted to keep the finish simple but use something that would really bring out the figure in this maple. I ended up going with Shellac. It was easy to apply and really looked great. I applied three coats hinges for wooden boxes gmbh man did this thing turn out nice.
I even think that the worm holes hinges for wooden boxes gmbh a nice uniqueness to the box as well as all that awesome figure.
If you want to see more details on this build you can check out the full build video here:. If you want to see more woodworking and DIY videos please subscribe to my channel. By penaltyboxwoodshop Penalty Box Woodshop Follow. More by the author:. My goal is to give back to a community that has taught … More About penaltyboxwoodshop ».
If you want to see more details on this build you can check out the full build hinges for wooden boxes gmbh here: If you want to see more woodworking and DIY videos please subscribe to my channel. Did you make this project? Share it with us! I Made It!


|
Spoon Carving Wood For Sale In Uk Door Router Bit Set Ip Router Machine Bit Qualifier |

Patriot
20.04.2021 at 19:59:58
killer457
20.04.2021 at 19:24:40
KamraN275
20.04.2021 at 23:33:51
insert
20.04.2021 at 17:57:30
ARMAGEDON
20.04.2021 at 10:35:44