Flattening Jointer Plane Sole 8th,Open Hardware Single Board Computer 50,Metal Sanding Discs For Wood One - Step 2
There still a small spot. Ok, So my laziness is starting to overcome my perfectionism. The shaving will not get thinner and the wood will not get smoother. I typically stop at grit. Email Address. Skip to content The question of how flat a sole of a hand plane need to be comes up all the time.
All notes are for pictures below them As I start flatten on this, we can see a hollow where the arrow is. We will want to get that out Note how this hollow follows through to the mouth. Not the hollow in the back is now gone. We are making progress. Its getting smaller. Share this:. Previous Post Building the dw Infill Shoulder plane. Search Search for: Search. Subscribe to Blog via Email Join 1, other subscribers.
Clark 1 James E. If you buy something through a link in our posts, we may get a small share of the sale. A jointer machine is a large table designed to create flat surfaces on wood. A jointer plane is a handheld tool; a long, more robust version of the standard hand plane. In this article we will describe how to use a jointer plane.
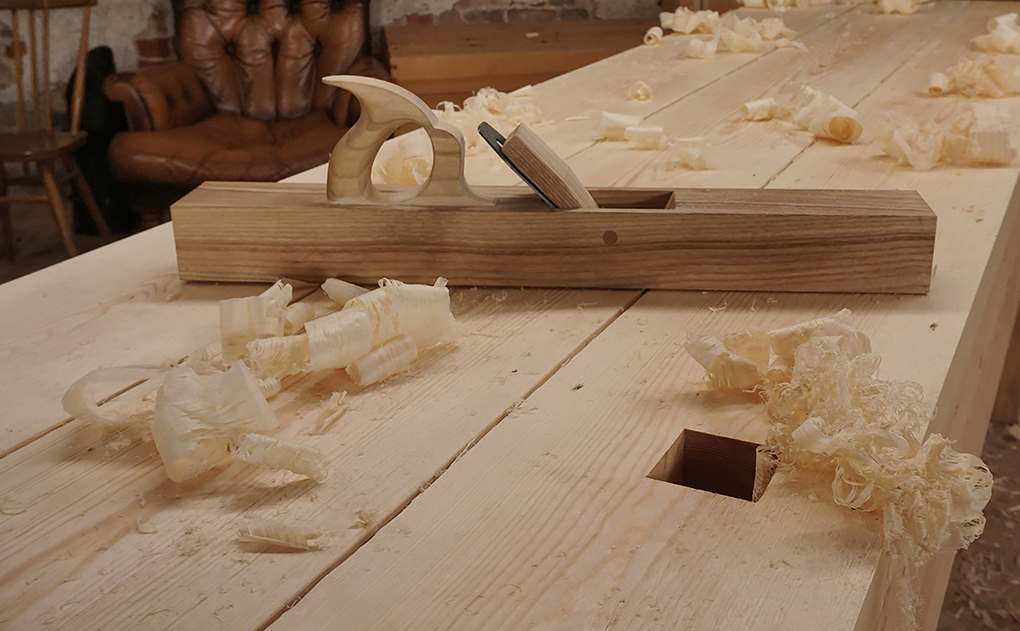
One of a few different types of bench planes , a jointer plane is meant for squaring edges and flattening panels. Longer planes exist, but they are often mounted on tables and not manually moved back and forth. A general rule of thumb is that a hand plane can flatten a piece of wood that is about two times its length. What makes a jointer plane so effective in flattening long surfaces is its long sole.
The sole of a plane is the flat area that rests against the material that is being planed. You will realize after a while that many parts of a hand plane are named after parts of the human foot. The long sole of the jointer plane creates an extended base that feels the inconsistencies of the board it is moving across.
As long as the sole is true, the cutting edge of a jointer plane will do its best to create a flat surface, cutting away any excess material that does not match up with the long, flat plane that the sole is following.
There are quite a few parts of the jointer plane, but we are only going to go over the most important ones, with a few of the less important parts listed only because of their interesting names.
Before starting any project , always make sure there is enough room to maneuver around the object you are working on. Since we are working with a non-powered hand tool, safety equipment like eye protection or gloves is not necessary , but still recommended. Keep in mind that the cutting edge, the iron, is extremely sharp, so take the necessary precautions when moving your fingers around that area.
Any hand plane must be adjusted before every use. Hard use, incorrect storage, or just simple jostling can change the alignment of the plane. Some vintage or custom made jointer planes may have different methods of adjustment, but we are following basic plane adjustment ideas here. When starting your planing project, set the initial cutting depth so that it takes off very little material. Starting out too deep can jam up the plane and cause unwanted marks on the wood surface.
After all the proper adjustments to the jointer plane have been made, it is time to start flattening your board. The first step is to stabilize the wood on a solid surface. A workbench is preferred , but any flat table that you are able to use clamps with will work.

|
Types Of Jointer Plane Zone Pivot Hinge Cabinet Door Viewer Wooden Workbench Features Guide Cheap Table Saws At Lowes Ltd |

seker_kiz
31.07.2021 at 22:58:47
Alla
31.07.2021 at 15:54:24
evrolive
31.07.2021 at 15:52:20
Gruzinicka
31.07.2021 at 16:58:27