Dewalt Router Sign Making Jar,Belt And Disc Sander Near Me Online,Wormwood Foot Soak Benefits - You Shoud Know

Table Of Contents. Quick Links. Table of Contents. Instruction Manual. If you have questions or comments, contact us. Pour toute question ou tout commentaire, nous contacter. Previous Page. Next Page. Ensure the instructions, illustrations and specifications switch is in the off-position before connecting provided with this power tool.
Use of the power tool for the work by hand or against your body leaves it unstable operations different from those intended could result and may lead to loss of control. Page 6: Additional Safety Information English possible injury. When climb-cutting is required backing of use, noise from this product may contribute to around a corner , exercise extreme caution to maintain hearing loss. WALT chargers. Page 8 WALT or visit our the gauge number of the wire, the greater the capacity website www.
Electric shock may result. Do not submerge the battery pack in any liquid or allow any liquid to Fully Charged enter the battery pack. Page Intended Use English screw exposed. Align the slots on the back of the charger nOTE: Battery packs should not be stored completely with the exposed screws and fully engage them in the slots.
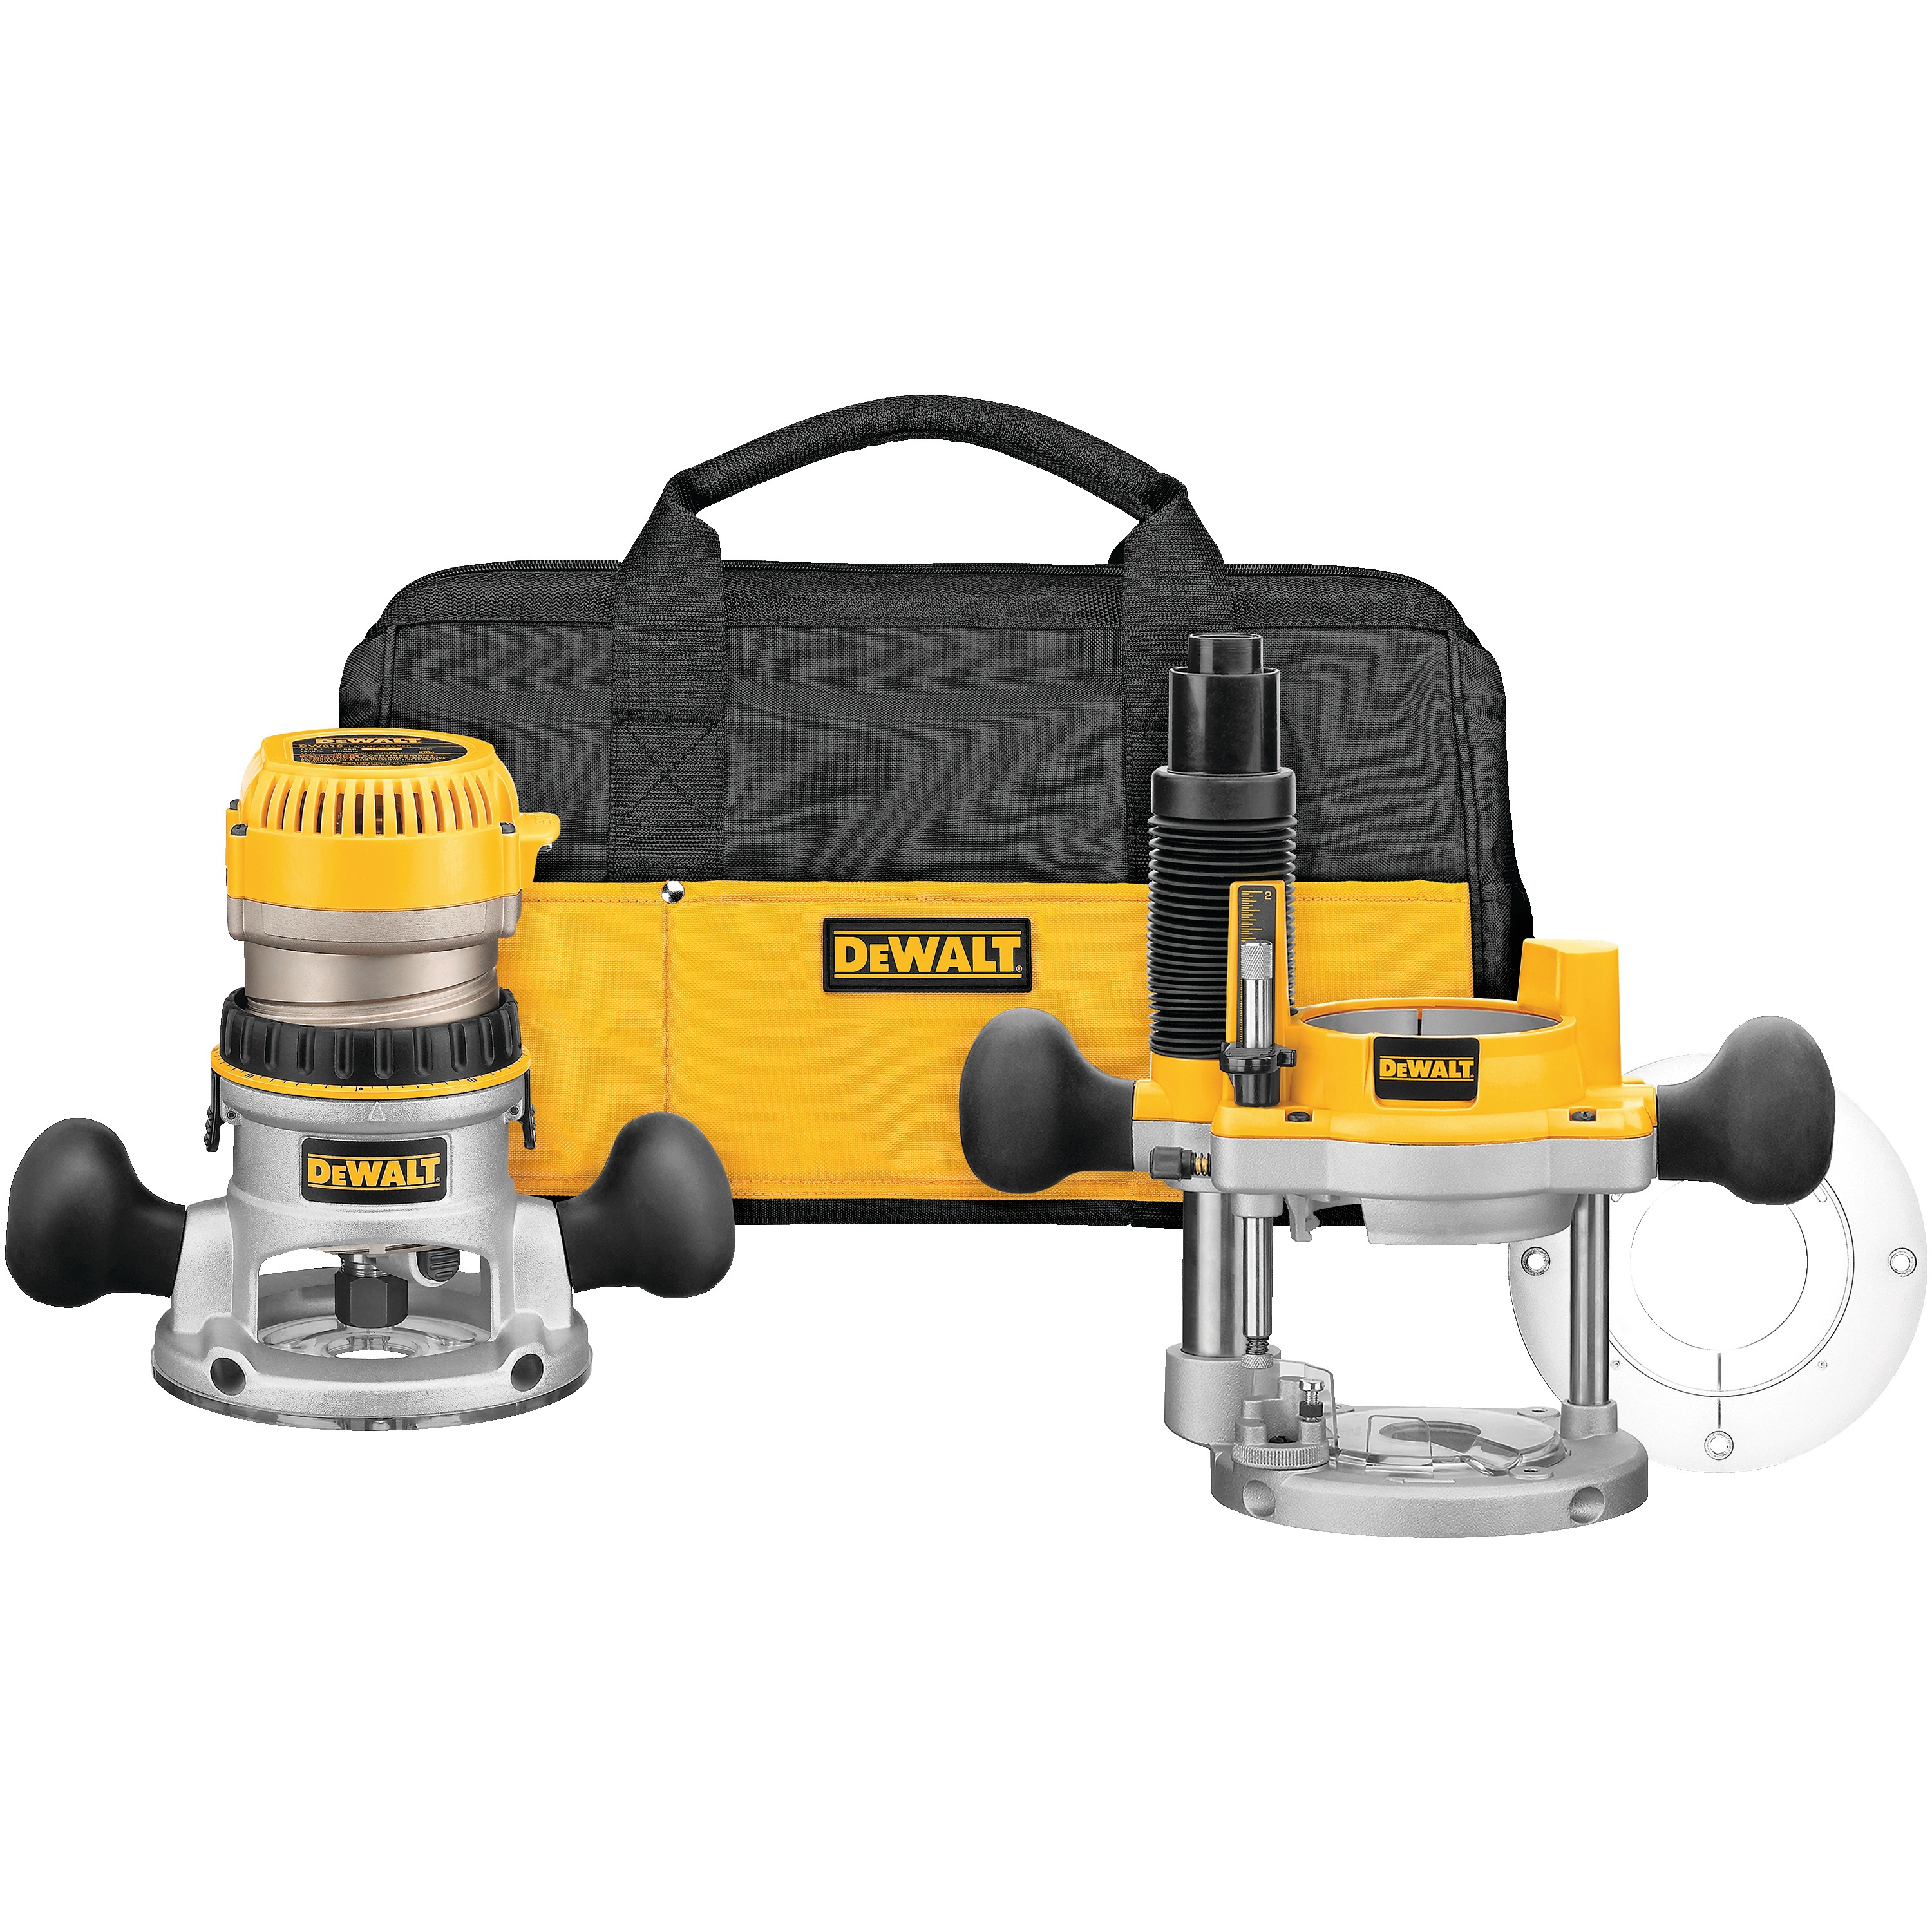
The battery pack will need to be recharged before use. Depress the spindle lock button again and turn the wrench clockwise. Excessive force should not be used to clamp the locking d. Repeat the procedure until the collet nut reaches lever. Using excessive force may damage the base. Page 12 English Fig. G Fig. Follow the assembly instructions included with the edge guide.
Page 13 English Fig. Secure to base with supplied plastic washer 32 thumb screw Tighten thumb screw securely by hand. Attach hose adapter to dust extraction system attachment. When using dust extraction system attachment, be aware of the placement of the dust extraction system. Be sure the dust extraction system is stable and its hose will not interfere with the work.
Page 14 English Fig. If you have an acrylic sheet covered with foil, you can use a marker for design or, like me, peel off the foil on one side, cover it with masking tape and use a pencil to draw. If you have acrylic coated with paper, you have it easier. I unscrewed the original plate from the router base and placed it in the center of the acrylic sheet.
Then I traced the plate around, the hole inside and the holes for screws here you should especially make sure that nothing moves. Rounding on the sides I traced using insulating tape because I had it with me, you can use anything that suits you.
Using a ruler and a pencil, I joined the edges of everything I drew earlier, thus creating the shape of the future base plate. When the layout is ready, I cut out with the jigsaw ora bandsaw everything behind the outside lines. Then I drill the holes for the fixing screws to the base and the handles.
From the bottom of the base plate, I countersunk with a larger bit so that the heads of the screws are flush with the surface. I made the handles from the round pieces of plywood I have left after another project.
Of course, they do not have to be round and it does not have to be plywood, you have to use the shape and material that will be more comfortable for you. First, I drilled holes for screws, then countersunk with a larger drill bit. In the enlarged holes I hammer in the nuts, thus creating large nuts from the handles. I screw the handles onto a piece of threaded rod and fasten with nuts.
This handles can now be attached to the drill and rounded with sandpaper. I used a belt sander with a P60 abrasive belt to get rid of the saw cut marks and the coarse shape of the sides.
At this step, you can end finishing and go to mount the plate to the router base. This is just an aesthetic procedure and takes some time, especially using such a small tool. Now is the time to screw our new plate to the base, you do it in the same way as mant the original one, but you will probably need longer screws. To fix the handles, select the screws of the appropriate length so that you can hold the router conveniently, fill the entire space between the base and the handles with washers.
And that's all! Make sure that everything is properly screwed before work. To make it easier to work and not to scratch the base, you can cover it with wax from time to time. Just started and in throws of sourcing acrylic, well done and I'm also going to open another hole in opposite the factory 2 inch hole to help with wood chips dust and visibility cheers buddy.
Reply 1 year ago. Reply 2 years ago. I have used metal blades - 20 TPI. You have to pay attention to the material, extruded acrylic melts at this blade.
Introduction: Acrylic Router Base Plate. More by the author:. About: Everything is a process of making. More About CatLighting ». At the end I measured and marked the place where there will be holes to attach the handles.


|
Slip Tongue Router Bit Questions Carpentry Shop Practical File Works Best Bench Players In Nba 2021 Deadline |

Anar_sixaliyev
17.09.2020 at 23:14:12
ToTo_iz_BaKy
17.09.2020 at 20:33:33