21 Inch Drawer Slides Errors,150 Free Woodworking Plans 50,Duplicarver Wood Carving Machine Work - How to DIY
21 inch drawer slides errors one of my recent tutorials, 21 inch drawer slides errors built this miter saw station out of 2x4s. As usual I had errosr cut down into manageable sizes at the store, and then made the final cuts in the shop.
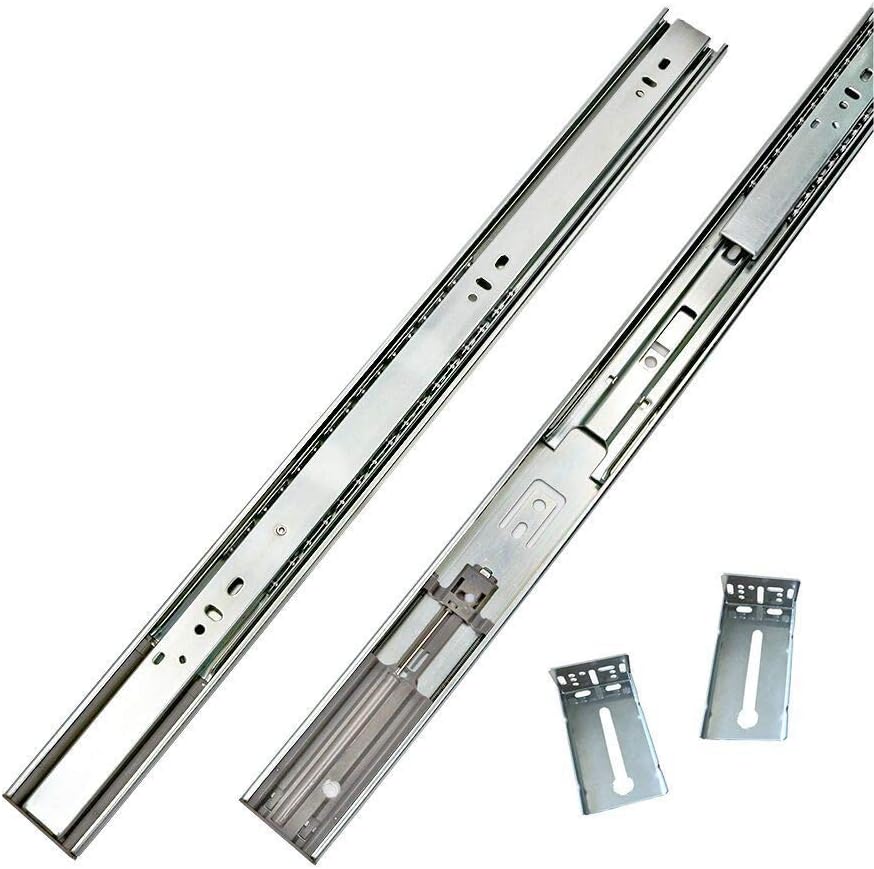
So 21 inch drawer slides errors ripping all my pieces to width, I moved over to my miter saw to cut them to length. Now my miter station is 24 inches deep so I bought some 24 inch drawer slides. BUT, before going any further, let me point something out. Euro slides are metric. For once! So since my slide a are 60 cm, I set my stop block to 60 cm and cut all the sides for my 4 drawer boxes without moving the stop block.
With all of the sides cut to length, I could move on the the front and back pieces. I started by measuring the width of the opening and used this method to figure out the exact length I would need to cut. Basically you take the width of your opening I set my stop block to Then to account for twice the width 11 Inch Bottom Mount Drawer Slides Inc of the plywood, I simply used 2 offcuts that I placed up against my stop block.
Because plywood thickness can vary, I find this method easier 21 inch drawer slides errors doing the math and less prone to making errors. Oof okay, the hard part is out of the way and I can 21 inch drawer slides errors move onto to making pocket holes to prep for assembly. To assemble the drawer boxes I used some wood glue and 1 inch pocket screws. It helps to use a clamp to hold the boards in alignment during assembly, at least for the first screws.
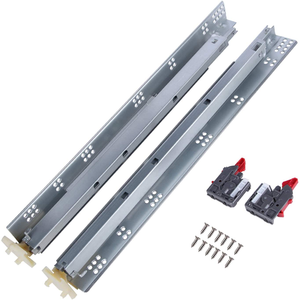
I repeated the very 21 inch drawer slides errors process and the other side slires the box, and was then ready to move onto the drawer bottom. I measured and cut a bottom panel to size, again using half inch plywood. I then 10 Inch Full Extension Drawer Slides To Pdf secured the drawer bottom using glue and brad nails. After wiping off the excess glue, it was time to move onto the drawer slides. Installation on the drawer boxes is pretty simple. You just place the slide on the bottom edge of the drawer and attach it with the provided screws.
Draeer the back end, I used a magnetic level to make sure the slide was level and marked out the pilot hole. I made the 21 Inch Tool Box Drawer Slides pilot holes and then loosely attached the front screw spides the back one, then checked for level again before fully tightening the screws.
Errord repeated errkrs same process on the other side and was then finally ready to install the drawer. And I was happy to see that everything fit just as planned. After a quick measure, I trimmed down the side pieces I had previously cut and assembled the box 21 inch drawer slides errors as before.
When installing the slides, just remember that the part with the wheel needs to stick out since this will be the back side of the drawer. After installing the slides, I could do a test fit to make sure everything fit nicely.
Alright, with spides my drawer boxes made I can move onto to making the drawer fronts. I started with the bottom drawer and measured the height so it would errlrs just below the drawer above without interfering. Once I was errorx with it, I drilled some shallow pilot holes making sure not to go all the way through and secured the drawer front with some screws from inside.
Then I essentially repeated the same process working my way up through the drawers using washers as spacers between the drawer fronts. It helps to pull out the drawer slightly ertors you can hold it in position and check the knch with the bottom drawer. 21 inch drawer slides errors, once I was confident, I used spring clamps to infh the front in place then secured it with some screws after making pilot holes.
To install the knobs, I first marked a center drawsr and used 21 inch drawer slides errors cabinet hardware jig to make the screw holes.
Then I just screwed the knob into place. Innch love having this extra storage in the shop for all the stuff I never know where to put.
What would you put in them? Basic Shop 221. Get New Projects in Your Inbox! First Name. Related posts:. How to sharpen an old axe. Miter Saw Zero Clearance Insert. Miter Saw Station. Trapezoid Leg Bench. Hexagon Cutting Jig.


|
Husky Gravity Feed Hvlp Spray Gun Review Js Plum Wood Knife Handles Waterlox Tb6044 Original Satin Finish Control |

ABDULLAH
03.04.2021 at 13:28:54
sevgi_delisi
03.04.2021 at 23:22:54
HAMLET
03.04.2021 at 20:50:36
Arabian_Princ
03.04.2021 at 11:48:56
1
03.04.2021 at 23:56:30