Side Mount Drawer Slides Removal Notification,Wood Router Designs,Wood Lathe For Turning Pens 80 - For Begninners

You can install drawer slides on old drawers in the same way as you install them on new ones. The only difference is that you have to make sure that the drawers will be able to take the wear that comes with installing the slides.
Read our guide on how to install drawer slides to learn more. There are many ways to open a stuck drawer. If it is stuck due to problems with the slide, you can lubricate the slide or use a knife to remove the debris from the rail. You can also try to wiggle the drawer free. Ikea drawers are connected to the dressers using European slides. These slides may have buttons, latches, or levers that can be pushed to remove the drawer from the mounting plate.
Take a look at this video to learn how to remove Ikea Maximera drawers. You can use any of the ways described above to remove drawers from dressers. Others with safety clips can be removed by tilting the drawer slightly to make sure the safety tab is clear of the roof of the dresser. Nowadays, all drawers come with European drawer slides because they are easy to install and last a long time.
When installing your drawers make sure to choose high-quality drawer slides from a trusted manufacturer like RMG. Take a look at our catalog of slides to choose the one that best fits your needs. RMGHardware is a professional cabinet hinge manufacturer who works closely with various well-known furniture brands, check out our blogs for tips and tricks around furniture hardware!
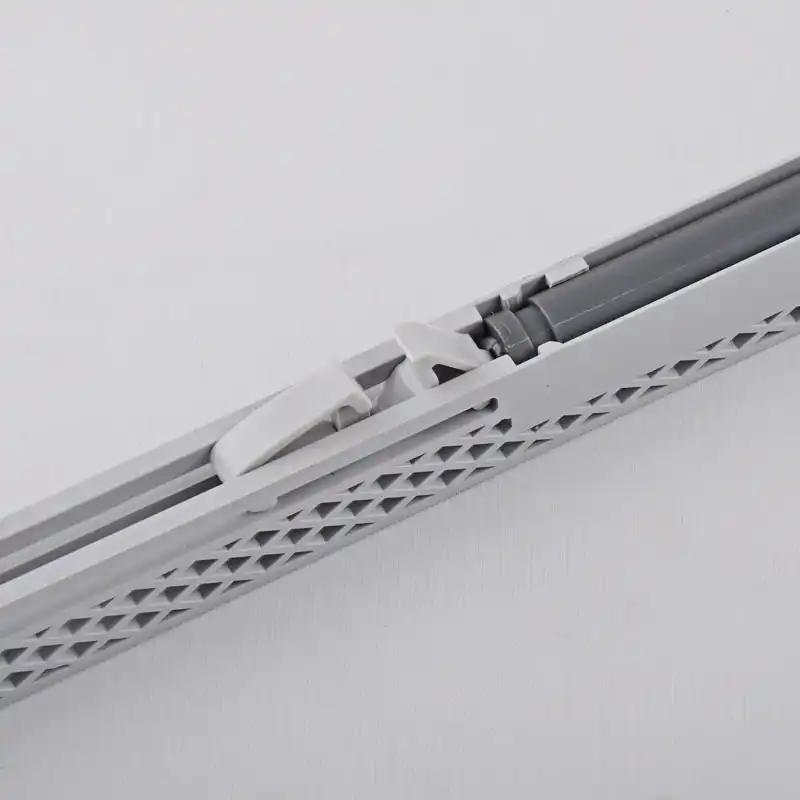
Or contact us if you need help with sourcing hinges. July 13, How to Remove Dresser Drawers Easily. Source: RMG. Table of Contents. Check to see if the center slide has a locking mechanism.
Center slides rarely have them but it still good to check. Check if the drawer has a pull-out guard. It is a piece of plastic that prevents the drawer from coming all the way out. It is either in the form of a semi-circular piece or a plastic flap attached at the back of the drawer.
Apply gentle pressure to the drawer to see if it can get un-stuck. For center slides with locks, you will hear a slight click which will tell you the drawer is now disengaged. Open the slide completely and use a putty knife to run along each side of the track. If there is a lever or button then press it to release the drawer from the mounting plate. Then lift it slightly until you hear a click. If the slide is stuck or broken, use the putty knife to remove any debris from the rail that may Side Mount Drawer Slides Removal Mac be blocking the slide.
Close all the drawers, especially the ones located under the roll top. Open the roll top to expose the screws that connect the roll top to the desk. If there are any drawers under the roll top, remove them to find the screws. Remove the screws with a Philips screwdriver. Inspect for damages on the different parts of the desk.
How to Remove File Cabinet Drawers? Identify the kind of slide used to install the drawers. If it is a friction slide, all you have to do is exert a little pressure and the drawer will disconnect after a soft click. For push latch slides, push the button on the latch to disengage the drawer from the slide. For rail disconnect slides, remove all the slide members first to disengage the cabinet drawers.
How to Remove Drawers With Stops? Pull the drawer all the way out. Lift the drawer slightly at an angle so that the drawer stop is clear of the top of the dresser. You will hear a slight click that will let you know the drawer slide is released. Gently pull out the drawer, still at an angle. If the cabinet has a face frame, legs that go all the way up, or other detail that will keep the drawer slide from sliding out the front, fur out the inside of the cabinet. If furring out the cabinet interior, make sure the furring strips are located where your drawer slides can be screwed to them.
Install Cabinet Members in Cabinet Notice how the screw holes for both the cabinet member and the drawer member are all in a line, centered on the drawer slide? So all we need to do is draw lines where we want the center of the drawer slides to be, and screw into our lines. Determine where you want the center of the drawer slide and make a mark. This can vary depending on where you want your drawer or how deep the drawer is. I do like to keep my slides close to where the drawer pull or handle is located when possible.
Use a level to draw a line on the inside of the cabinet from your marks. Make the same line on both sides of the inside of the cabinet. Install the cabinet member of the drawer slide so screws are centered on your line. Use the screws inside the U shaped tabs if possible, as this will give you some adjustment if needed later. Inset Drawer Faces: Hold the drawer slides in the distance of your drawer face on the front, if using a drawer face.
Overlay Drawer Faces: The drawer slides should be installed just slightly back from the front of the cabinet. FAQ: How long should the drawer slides be?
I like to buy the longest drawer slides that will fit in the cabinet with some wiggle room. Place the drawer side board where it needs to be installed in the cabinet, and mark the center location of the drawer slide on the board. Repeat for both sides. Draw level lines on the drawer side boards, parallel to the top edge of the drawer side board Install drawer member on the drawer sides, screws into the line Once the drawer slides are installed on the drawer sides, insert into the cabinet member and make sure the sides slide good.
Take a measurement in between the sides at the front and back, cut the drawer front and drawer back to equal the smaller of the two measurements. It's better to build on the smaller side than too large. FAQ: What type of material do I use for the drawer box? Finishing the Drawer Build the rest of the drawer box by attaching the front and backs to the sides. Attach the bottom to the drawer sides and front and back. Make sure the bottom is attached square to the drawer.
Replace the drawer in the cabinet and make sure it slides perfect. Adjusting Full Extension Drawer Slides If your drawer is NOT sliding as you'd like, you can make adjustments as long as the drawer is smaller than the opening.
Full extension drawer slides have tabs that can be bent outward to create space between the drawer slide and the cabinet. If possible, look at the bottom of the drawer and how it lines of with the drawer slides, and check where the drawer is not square to the cabinet Bend the tabs to shim the drawer slides Adjust until the drawer slides perfectly.
If the drawer is binding vertically, loosen screws on drawer members and adjust the drawer up or down until it slides perfectly. Drawer Face A drawer face is used to clean up the front of the cabinet and fully enclose the interior. Cut the drawer face to the desired size. Drill holes for the hardware in the drawer face. Position the drawer face over the drawer box and attach with temporary screws through the drawer hardware holes. Thank you and Happy Sliding!
I've followed many of your plans over the past several years and love them all. Thanks, JohnD. Tips and Techniques.
|
Custom Cabinet Drawer Slides Four Letter Jigsaw Puzzle Lyrics Carpentry Supplies Near Me 600 Oak Dowel 50mm Zone |

H_Y_U_N_D_A_I
29.05.2021 at 19:52:59
TM_087
29.05.2021 at 17:54:40