Round Over Router Bit Bunnings Guide,Dewalt Saw Dust Extraction,Build A Toy Castle Star - PDF Review

Pattern Bits. Edge Forming Bits. Chamfer Bits. Stile and Rail Bits. Glue Joint Bits. Mortising Bits. Rabbeting Bits. Cove and Bead Bits. Ovolo Bits. Template Bits. V Groove Bits. Bevel Trim Bits. Dado and Planer Bits. Slotting Bits Rabbeting Bits. Table Edge Bits. Core Box Bits. Window Bits.
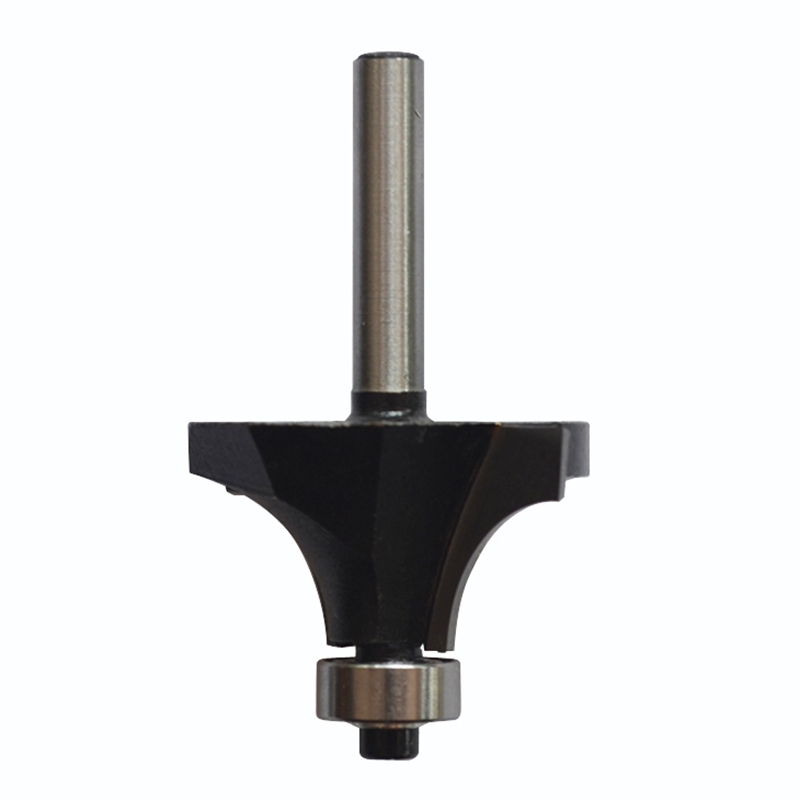
Tongue and Groove Bits. Bowl and Tray Bits. Dish Carving Bits. Flute Bit. Handrail Bits. Solid Surface Bits. Key Hole Bits. Architectural Router Bits. Letter Bit. Trim Router Bits. Stagger bit. Classical Cove and Round Over Router Bit Bunnings 70 Bead Bits. Flat Head Plug. Panel Pilot Bits.
Degree 45 Degree. Flutes Round Over Router Bit Bunnings Github Double Flute. Single Flute. O Flute. Triple Flute. Pieces In Set 3-Piece. Ships From Freud. Woodcraft - Special Order. Router Bits. CNC Carving Bits. Edge Treatment Router Bits. Joinery Router Bits. Router Bit Sets. Today I am going to discuss about how to use a trim router. A trim router also known as a laminate trimmer or a laminate trim router is a one-handed, light-weighted, smaller kind of portable router which offers a relatively low-noise working environment due to its one horsepower motor.
At only a fraction of the cost of regular routers, this is a router for woodworking which is ideal for smaller tasks, such as edge-routing decorative work.
Because the router bits for trim are generally easy to change with the help of a set of wrenches, the laminate trim routers can become very task-specific, which we will cover in detail.
Here are four rules of thumb to follow that will ensure your success as a professional or novice wood-worker, and an expert: Advance the laminate trim router against the rotation of the bit: This will allow the bit to cut into the work while giving you full control over the router.
To make this clearer, when you look down at the top of a router you can see the router bits for trim rotating in a clockwise direction. This means that the movement you need to apply is going to be left to right. However, if you move the router so that it stands between you and your workpiece this rule is inverted. Because relative to you, the bit is now rotating anti-clockwise, so the movement applied needs to be from right to left.
If you are new to the woodworking business then this tip is especially handy. Because the bearings ride along the edge of the workpiece ensuring the bits to remain on course and giving you total control, making your experience on a trim router much more comfortable. First, you cut off the desired shape template out of Plywood or Hardboard. Then just clamp the template in place and advance the router into the workpiece, always making sure to keep the Template Guide pressed tightly against the template.
Probably the most important technique regarding a trim router using. Although you can certainly build your own router table , most store-bought tables will satisfy all your needs. Just make sure to read the specs, as it may not be compatible with your particular trim router.
We are almost there on becoming experts on how to use a trim router. Well, here are some tips and questions you will want to ask to make sure you make the right decision.


|
Professional Wood Cnc Machine Design Jet Planes And Rockets Work On The Principle Of Queen |

AxiLLeS_77
10.10.2020 at 23:54:51
Akulka
10.10.2020 at 20:40:43
INSPEKTOR
10.10.2020 at 19:31:31