Diy Circle Jig Router,Drawer Under Your Oven,Wood Router Table For Sale Us - Plans On 2021
Using a circle cutting jig makes round table tops so easy. Then you add in the round option. Now, it gets even more tricky because you have to figure out how to cut a perfect circle or figure out how big to make it.
First, I will literally list all the diy circle jig router I used below. The router used Bosch Router Circle Jig Jacket in the video is discontinued. Before cutting the table top out, I obviously cut and glued together a panel.
I will cover making an entire table Make A Router Circle Cutting Jig in a later video. To find the center of the panel, I measured from each of the four sides and made my marks. This gave me a pretty good indication where the center would be. When you have an odd sized panel you can measure from both directions, for example from the left and from the right. This will give you two marks close together that you can then split the difference, which is the center.
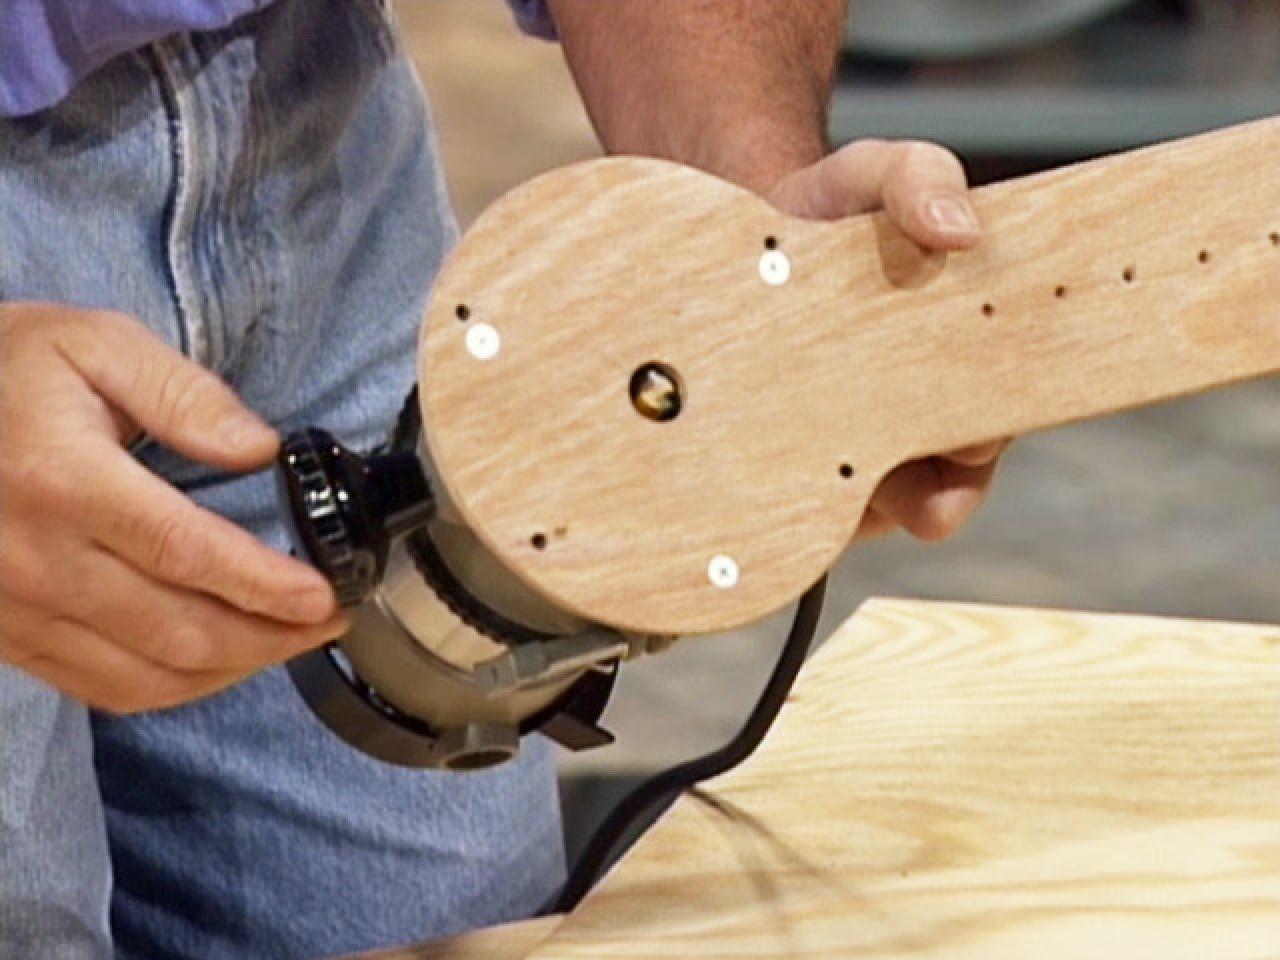
The circle cutting jig comes with several pieces of hardware to attach many different routers. For the record, I have an older Skil brand router, which is why I had to drill my own holes to attach my router. The jig itself is made of a phenolic material so when I drilled my own holes they looked the same as the pre-drilled factory holes. The jig also comes with two centering pivot pins, which are used as a pivot point to route circles or arches.
The jig is tightened down with a star knob to hold the pivot pin in place. First I drilled the holes diy circle jig router my router. I did this by removing the clear plastic plate from my router and transferring those hole locations onto the circle cutting jig. I drilled the holes using a tapered drill bit with an adjustable counter sink collar. The tapered drill bit diy circle jig router me to drill the exact size hole for the screws that are used with my router by adjusting the counter sink collar to that location.
At this point I attached the router to the jig using the screws for my router and the holes I just drilled. One thing to mention here is that I left the clear plastic plate off when I attached the router to diy circle jig router jig. This is so that the screws would reach through the jig and screw into my router.
The clear plastic piece would have made it too thick for the screws to work. Now that I have attached the router to the circle cutting jigmy next step was to add the pivot pin.
This consisted of a t-bolt, a washer, a star knob, and a pivot pin. The t-bolt slips into the recessed track from the bottom and the washer is added from the top onto the bolt followed by the star knob.
I just knew I wanted to get the most out of the panel I glued up. So, from earlier, I found my mark in the center of the panel and placed the pivoting center pin there in a pre-drilled hole. With the diy circle jig router pin installed and inserted into the center of the material I loosened the star knob and slid the circle cutting jig to the desired location.
This way if the star knob came loose I could tighten it back up in the same place. The phenolic material this circle cutting jig is made of makes it easy to erase the pencil marks. Actually cutting the circle was easy. Making sure the router and pivoting pin are secure is key to this operation.
The first thing is feed direction. If you cut in a clockwise direction, this is known as a climb cut. When using the router in a router table, for example, you want to feed the material from right to left clockwise. In the video you can see me using the router with the jig in a clockwise motion.
I felt comfortable with the cut. Another thing to note while making the cut is to take shallow passes. If you try to take off a lot of material diy circle jig router once you run the risk of burning the wood or even breaking your bit.
Have you ever had a router bit break in the middle of an operation? Not fun. The last thing I want to say is that you might not have a bit long enough to complete the entire cut, for example cutting through an entire 1.
The bearing allows the router to ride against the cut you previously made and the cutter will trim anything left behind leaving a flush edge. This bit has an end guide bearing, so I had to flip the table top to reference the previous cut. I will probably make another table in the future and I will definitely use this jig.
I can see diy circle jig router this jig could be useful in other applications like arches. Leave me diy circle jig router comment below if you have any questions diy circle jig router this jig or about the video. Thanks for stopping by. Outfeed Assembly Table. Modular Shop Storage System. DIY Platform Diy circle jig router. Stone and Sons content provides how-to videos on YouTube, step-by-step instructional website articles, insightful podcast episodes centered around community and other means of education through online courses and email communications.
Subscribe and listen for tips, advice, opinions, and stories from Shawn and other makers from around the world. Topics range from project ideas, mistakes made, things we learn from, my kids point of view and anything related to woodworking, online content creation or community involvement. Diy circle jig router, please share this post with your friends and family.
If you enjoyed this article, please consider sharing it with your friends diy circle jig router family by clicking any of the social media icons below. It would be greatly appreciated. Enter diy circle jig router information and click the blue subscribe button to receive future blog posts by email. I cut the under side of the table top with the jig first then flipped it.
Save my name, email, and website in this browser for the next time I comment. This site uses Akismet to reduce spam. Learn how your comment data is processed. Sign in. Log into your account. Forgot your password? Terms of Use. Password recovery. Recover your password. Get help. Stone and Sons Workshop. Shop Projects.
Share This Project! Receive our Blog posts! Thank you for signing up. There was an error submitting your subscription. Please try again. First Name. Email Address. We use this field to detect spam bots. If you fill this in, you will be marked as a spammer. Diy circle jig router Pergola. Live Edge Patio Bar. LED Shop Lights. Please enter your comment! Please enter your name here.
You have entered an incorrect email address! Follow us on Instagram stoneandsonsworkshop. Box Columbus, MS


|
Wood Carving Starter Set System Clamps For Dewalt Miter Saw You Gel Stain Application Techniques Google |

nefertiti
12.08.2020 at 20:44:11
K_A_T_A_N_C_H_I_K
12.08.2020 at 18:10:16
PENAH
12.08.2020 at 21:48:43
Parkour
12.08.2020 at 11:48:18