Corner Clamps For Wood Production,Lock For Kitchen Cabinet Door Joint,Vinyl T Mold Edge Banding Data,Marking Knife Sizes 33 - PDF 2021

View Full Details. Quick View Item Quick View Item 03W Quick View Item 07S Quick View Item 08A Details Reviews. Details Take the guesswork out of installing door and window casings with the heavy gauge steel and brass WoodRiver Miter Max Corner Clamp.
Reviews 5. Write a Review. Learn More. Customer Care Talk to a friendly customer care representative to help with your purchase. Talk to an Expert Get advice on the latest products and help with your projects.
Sign Up. Now that the base for the DIY wooden corner clamps is ready, the clamping system can be made. This requires different parts to both tighten the clamp and move the clamp to the desired angle for when two sheets of different thicknesses need to be clamped.
To make the clamping system, start by connecting the 2 pieces of wood that will form the Corner Clamps For Woodworking Harbor Freight Co Ltd inside of the corner. This piece will clamp the workpieces. To join these two pieces I used wood glue. To get around the drying time of the wood glue I used brad nails. This allowed me to immediately continue working on this part. In my case, there was no hole in the corner of these corner brackets, so I drilled a hole myself.
To make sure that the holes at the two Corner Clamps For Wood Queensland corner brackets were drilled in the same place, I placed the corner brackets together to drill through. In the center of this small piece of wood, a hole was drilled with a Forstner drill bit which has a diameter that is slightly flatter than the nut.
This allows the nut to rotate freely in the hole. Do not drill all the way through the wood, but at a depth that is slightly deeper than the height of the nut.
In the video you can also see that I am placing a washer in this hole, also provide sufficient depth for this washer. Be sure to watch my blog and video where I show you step by step how to build this DIY tilting drill press vise. Then you can make the part where the threaded rod goes through.
For this, I used 2 pieces of plywood that were glued together into a thicker block. The hole I drilled for this had a diameter of 10 mm, which is needed to place the t-nut.
Unlike the hole in the hinged part, the hole can be completely drilled through. With the vice, you can press the t-nut into the drilled hole. Do this slowly so that no cracks form. Tip: If you want to see how I built this star knob jig and if you want to see a demonstration you can check out this video I made a while ago: Star knob jig for the drill press.
With wood glue and brad nails you can attach a 6 mm MDF piece to the bottom of the block with the T-nut. If you consider buying a nail gun, be sure to watch my blog How to choose the right nail gun for your projects.
A complete nail gun guide. I have used my nail gun for almost every project since I bought it, so I can highly recommend buying one. The nut and knob were fixed to the threaded rod with epoxy two-component glue. To mix the epoxy two-part glue I use a plastic spoon and mix the glue on a piece of masking tape. The plastic spoon is easy to clean and the masking tape can simply be thrown away. One small trick I use is that I leave the masking tape to check how far the glue has hardened.
In this way, the glued part can cure without me touching the parts with the risk of moving and loosening the glue again. Only when I am sure that the adhesive has cured sufficiently do I remove the tape. Lately, I have been making a second video on how to mix epoxy glue. Make sure to check it out. It is a fun and educational video. While the epoxy glue is drying, the pivoting piece of wood can be attached between the corner brackets.
In the video, you also saw that I tried a way to clamp the nut in this block with a washer. However, this did not work with this system. A final step in making these DIY wooden corner clamps is to connect the clamping system to the base. Make sure the head of the screw is countersunk and not over-tightened so that the part can swing left and right.
Subscribe to my newsletter and be the first to be notified when I post new content on my website. If you want to clamp sheets of wood with the same thickness, make sure that the clamping system is in the middle of the jig. Place the two pieces of wood and clamp in place by tightening the knob. If you want to clamp sheets of wood with two different thicknesses, you lift the clamping system to the left or right, depending on where the thinnest piece of wood is located. Building a workshop can be tough and involves a lot of trial and error.
I know because I was there too. Thanks to the ultimate small shop , I gained better insights into building a workshop not seen anywhere else. Stop spending your budget on the wrong things. Let this fantastic training guide you and start saving money today. I already bought this personally and I have never seen anything better than this. The unit may range in size from less than an inch to several feet, with corresponding changes in weight to match.
Brainstorm the most common uses of your woodworking clamps to determine which size clamp will find the most use in your shop. Some C-clamps can fit into a pocket, while F-clamps or pipe clamps may be several feet long and weigh dozens of pounds.
Being able to easily move clamps around the shop, take to the job site, or store in your toolbox or tool belt when working on a job site can be an important consideration. Aside from portability and maneuverability, some clamps require two-handed operation, while others can be operated with one hand. Clamps are made from a variety of materials ranging from plastic to steel.
As with any tool , choosing clamps made from high-quality materials and properly maintaining them is the key to a long, productive life. Maximizing the life of your clamp means regular, basic maintenance. Keeping your clamp clean and dry will go a long way in getting the most use. Wipe your clamp clean of moisture, glue, and other debris after each use.
For clamps with metal parts, regular oiling is a must. If your clamps have wooden parts, wipe them down with linseed oil to prevent moisture penetration. When not in use, make sure clamps are stored in a safe, dry place such as a workbench or toolbox. Picking the right woodworking clamp is not as simple as it seems. Intended use, clamping power, durability, and construction quality are vital considerations when shopping for suitable clamps for your workshop.
The following is a list of some of the best woodworking clamps based on type. This versatile pair of clamps from WEN is perfect for dozens of household and woodworking jobs. The steel rail is 36 inches long, and the throat is 2. The quick-adjust feature allows you to adjust clamp length without pressing any buttons. Made of steel, these clamps are capable of holding up to their own pressure. The rod offers micro-adjustments as small as. And carpenters can adjust it even further with the micro-adjustment knob.
Nylon construction means oiling metal parts is not required, but keep in mind these clamps may not be as long-lasting as those of steel construction. The spring mechanism creates long-lasting pressure, and the ergonomic grips are comfortable on the hands.
The PVC-coated tips and handles help prevent slippage, while steel construction provides durability and reliability. A zinc coating helps prevent corrosion and rusting, making these spring clamps durable, but regular oiling and proper storage will go a long way in getting the most out of the clamps.
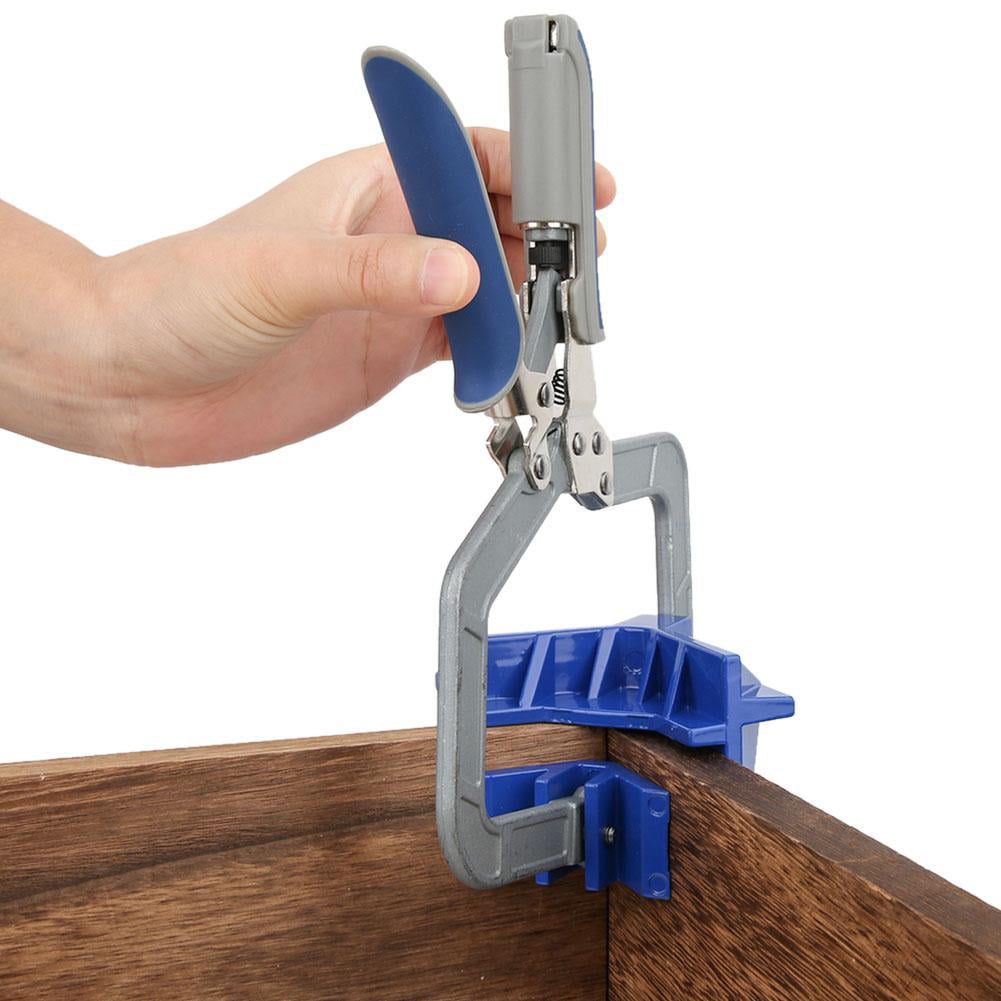
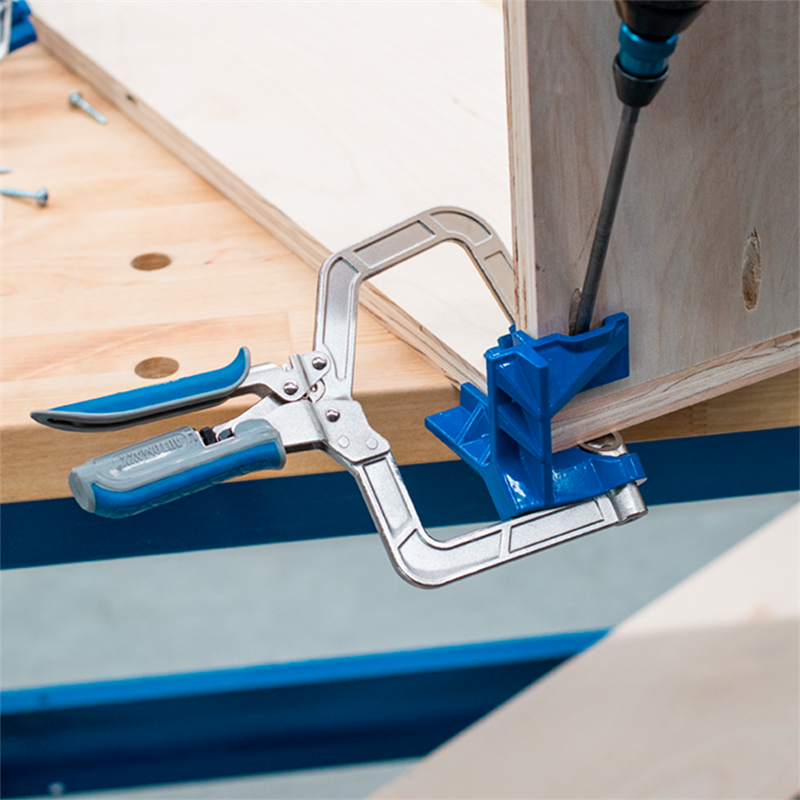
The Housolution corner clamp is exclusively made for creating perfect right angle joints. Constructed from durable premium aluminum alloy, the Housolution can accommodate material thicknesses up to 2. This clamp is primarily for those who need to create right angles and will not function for clamping needs outside of this category. For the carpenter who designs frames, cabinetry, butt joints, or other right-angled materials, the Housolution is an excellent choice.
The legs also provide extra height, making it easy to clear the material when turning the handle. Soft jaw caps come with this pipe clamp to help prevent surface marring. The BPC-H34 boasts a solid construction. The clutch plates are coated with zinc to prevent wear, the spindle is covered with black oxide to help ensure smooth operation, and the finish is powder coated to fight against corrosion.
Most pipe clamps do not include the pipe itself. The medium-duty Yost F strikes a nice balance between power and delicacy.

|
Cheap Unfinished Wood Projects 5g Build A Toyota Yaris Gr Woodcraft Catalog 01 Garage Shop Dust Collection System 30 |

OlumdenQabaq1Opus
03.02.2021 at 20:42:34
Tarman
03.02.2021 at 15:46:53