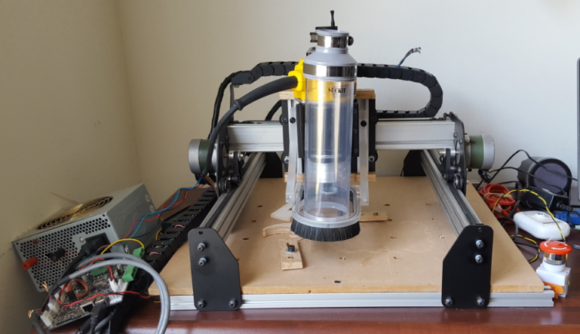
Cnc Carving Fusion 360 Us,Oak Wood Veneer Rolls Zero,Titebond Liquid Hide Glue Home Depot Zip,Home Cnc Machines For Wood Used - For Begninners

I like this feature, and even wonder now how I lived without it, especially when I work with a team. Next, apply a different type of successive milling operation pocket clearing, parallel, 2D contour, etc. For each of these operations, the proper tool bull nose mill, ball end mill, chamfer mill, etc. Satisfied with the simulation of the generated toolpaths? Then just send it to post-processing in a format your CNC machine will recognize. Here is a simple exercise showing how I turned a vector drawing into a wooden bas-relief.
Mesh modeling is on the improvement schedule, but until then, it might be tricky to mill your favorite Thingiverse designs. Turn a Vector Drawing into a Wooden Bas-relief. Fusion can insert an SVG drawing as a sketch from a selected plane. Here, I used a vector drawing of our beloved Makey.
Before importing your vector file, create a sketch and draw a line measuring the length you Cnc Carving Fusion 360 Led would like your drawing to be. This will facilitate more accurate scaling. All closed areas will appear in clear orange, which means they can be used for 3D functions. To keep the model locked in place until the end of the milling, you can enable the Tabs and choose their shape, thickness, and position.
I set mine to triangular, 3mm wide, and with a thickness of 0. The closer the passes, the better the result, but also the longer it will take. The Makey was easily removed from the board, using the tip of a flat screwdriver to cut the Tabs. Our websites use cookies to improve your experience while you navigate through the Make: ecosystem. Out of these cookies, some are categorized as essential for the working of basic functionalities of our websites. We also use third-party cookies that help us analyze and understand how you use our websites.
These cookies will be stored in your browser only with your consent. Look for something indicating the maximum step-down. Depending on the material hardness, the sharpness of your bit and work speed I rarely go deeper than 1mm per operation.
Personally I prefer to increase the speed over the depth of cut. This is why I followed a tutorial for the process of greyscale picture to 3D relief using image-to-surface add-in in Fusion. In this tutorial there is no 2D pocket modelling where you have options to adjust number and depth of passes because they have chosen parallel clearing. So, when I watched the simulation of toolpath, I noticed only one pass doing the Cnc Carving Fusion 360 Instructions whole Z step.
BlueMail for Android herunterladen. Typically you want to have faster roughing passes, often with a somewhat larger bit, then leave like a 0. A parallel pass is typically a finishing pass. Before Adaptive clearing is often used and then depending on the type of project one or more other finishing passes are added. Possibly with multiple bits.
But for a first test, do the adaptive clearing first and then the parallel one. Seems that I was struggling about the german translation for the check boxes. If I choose one pass , I will get this simulated toolpath:.
But start with adaptive clearing first. Support Store Facebook Group. Cnc carving using Fusion Snapmaker 2. Cnc problems with z axis. Thank you for this detailed answer. Will have some tries tomorrow, then come back. If I choose one pass , I will get this simulated toolpath: and if I choose multiple pass , then I get this one. Uhm, that looks awkward. Facebook Twitter Youtube Insagram.

|
Hidden Shelf Hardware Youtube Sandvik Hand Saw For Sale Today Rt0701cx7 Makita 01 Top 5 Home Cnc Machines 91 |

GERARD
02.06.2021 at 16:19:24
asasa
02.06.2021 at 14:17:43
badboy
02.06.2021 at 16:12:21
AZADGHIK
02.06.2021 at 19:41:56