Building Workbench Top Js,Woodcraft Pen Turning Blanks Kr,Best Raspy Voice Male Singers 90 - And More
This grid is what gives the torsion box it's strength. It is also one that will hold its shape and not twist or bend under normal workbench use.
But you have to build it to fit the type of work you do and for its intended use. This will determine the size and shape of your torsion box top. Make a level surface. Making a level surface to start building is the first step. Level a set of boxes or saw horses or an area large enough for your project. Set rails or long 2x4's on top of them and level those.
Now lay your first sheet of mid grade plywood or MDF on top of the 2x4's. This will be the bottom of your workbench top, checking again to ensure that all is still level. This will make for a nice flat top when the torsion box is finished. This lets you lay out lines for your grid pattern and have room to trim it's flush with the main inside box. Lay out lines around the bottom plywood or MDF for the top size less the thickness of the outside hardwood trim boards that will rap around the top when done.
Start laying the inside grid of squares. With the outside lines laid down, you can start laying out the inside grid or squares on the side of the outline. These squares should be of equal size along the length and width of the top. This will ensure a strong and square grid pattern.
Note: All the 1x2 lumber should be planed or run through the table saw to ensure they are all the same height. Build your outside box frame, use the 1x2 lumber, pre-drill holes or use a brad nailer and glue. Lay out the outside edge lines of the bench top on the MDF or plywood. Fit the frame together on these lines you laid out. Check the outside frame to ensure its square, measure from corner to corner in a diagonal manner.
This outside frame will be glued and screwed or brad nailed to the bottom plywood or MDF. From here all is dependent on the squareness of the outside frame. Cut your 1x2 lumber to the proper lengths for the grid, use long pieces the length of the bench and short 1x2's across the width. Place the short strips at their pre-determined location of the grid against the outside frame along the length of the bench. A carpenters square should be used on each short and long strip to ensure its square.
Remove any excess glue, neatness is important to good craftsman like work. With the short strips in place for the first row, you can now add a long strip in the same manner, glue and screws in pre-drilled holes or brad nails.
Place the long strip into place making sure it touches all the short strips and touching the outside frame at each end. Brad nail at the intersections of the short strips and the long strips. You now have one row of your grid done, check to ensure that all remaining rows will be of the same width across the bottom. You can now place more short strips into place as you did the first row of short strips, glue and screw or brad nail them in place making sure they are square to the long strip.
Here you will have to toenail them to the long strip. Now you can place another long strip in the same manner as the last long strip and then add the short strips as the previous row with glue screws and or brad nails. Use glue at the intersections where the short strips meet the long strips, this makes everything strong.
Your last row of short strips should fit not too tight but touching the last long strip and outside frame as the first row of short strips. Check to ensure everything is square and the last row does not bow the outside frame member out. Let the glue dry overnight before doing anything else. After the grid has set overnight, attach it to the bottom plywood. This is the bottom of your workbench. When the glue has dried overnight, get help and turn the bottom and grid over placing it back on the 2x4s you used to make a nice flat level surface.
Check to ensure all is still level and square. Lay out lines on the bottom to match the centers lines of the 1x2's on the underside. On these lines you can add brad nails from the outside. This makes for a very strong box. When the brad nailing on the bottom is complete, you can again turn over the bottom, again check for flatness and square.
Place the top layer of plywood or MDF onto the grid. If you intend to use the torsion box for a very long time and intend to replace the top piece of plywood or MDF when its worn, than don't glue it in place. This can be done by laying out the center lines again for the grid below the top piece. Using pre-drilled holes, screw the top to the grid below, you can use nice brass or bronze screws and let them show for a nice contrast.
Steel screws can be used if counter sunk and the holes plugged. Use enough screws into the grid and along the outside edges to make it very secure. No moment or giving of the top here. With this method you can replace the top plywood or MDF and have a new bench top again for very little money.
Once the new torsion box is together, you can trim the outside edges of the top and bottom plywood or MDF flush with the outside edges of the outside 1x2 frame. The corners should be mitered or use a nice box joint here. Glue and screw the outside trim into place, do not glue it to the top plywood or MDF.
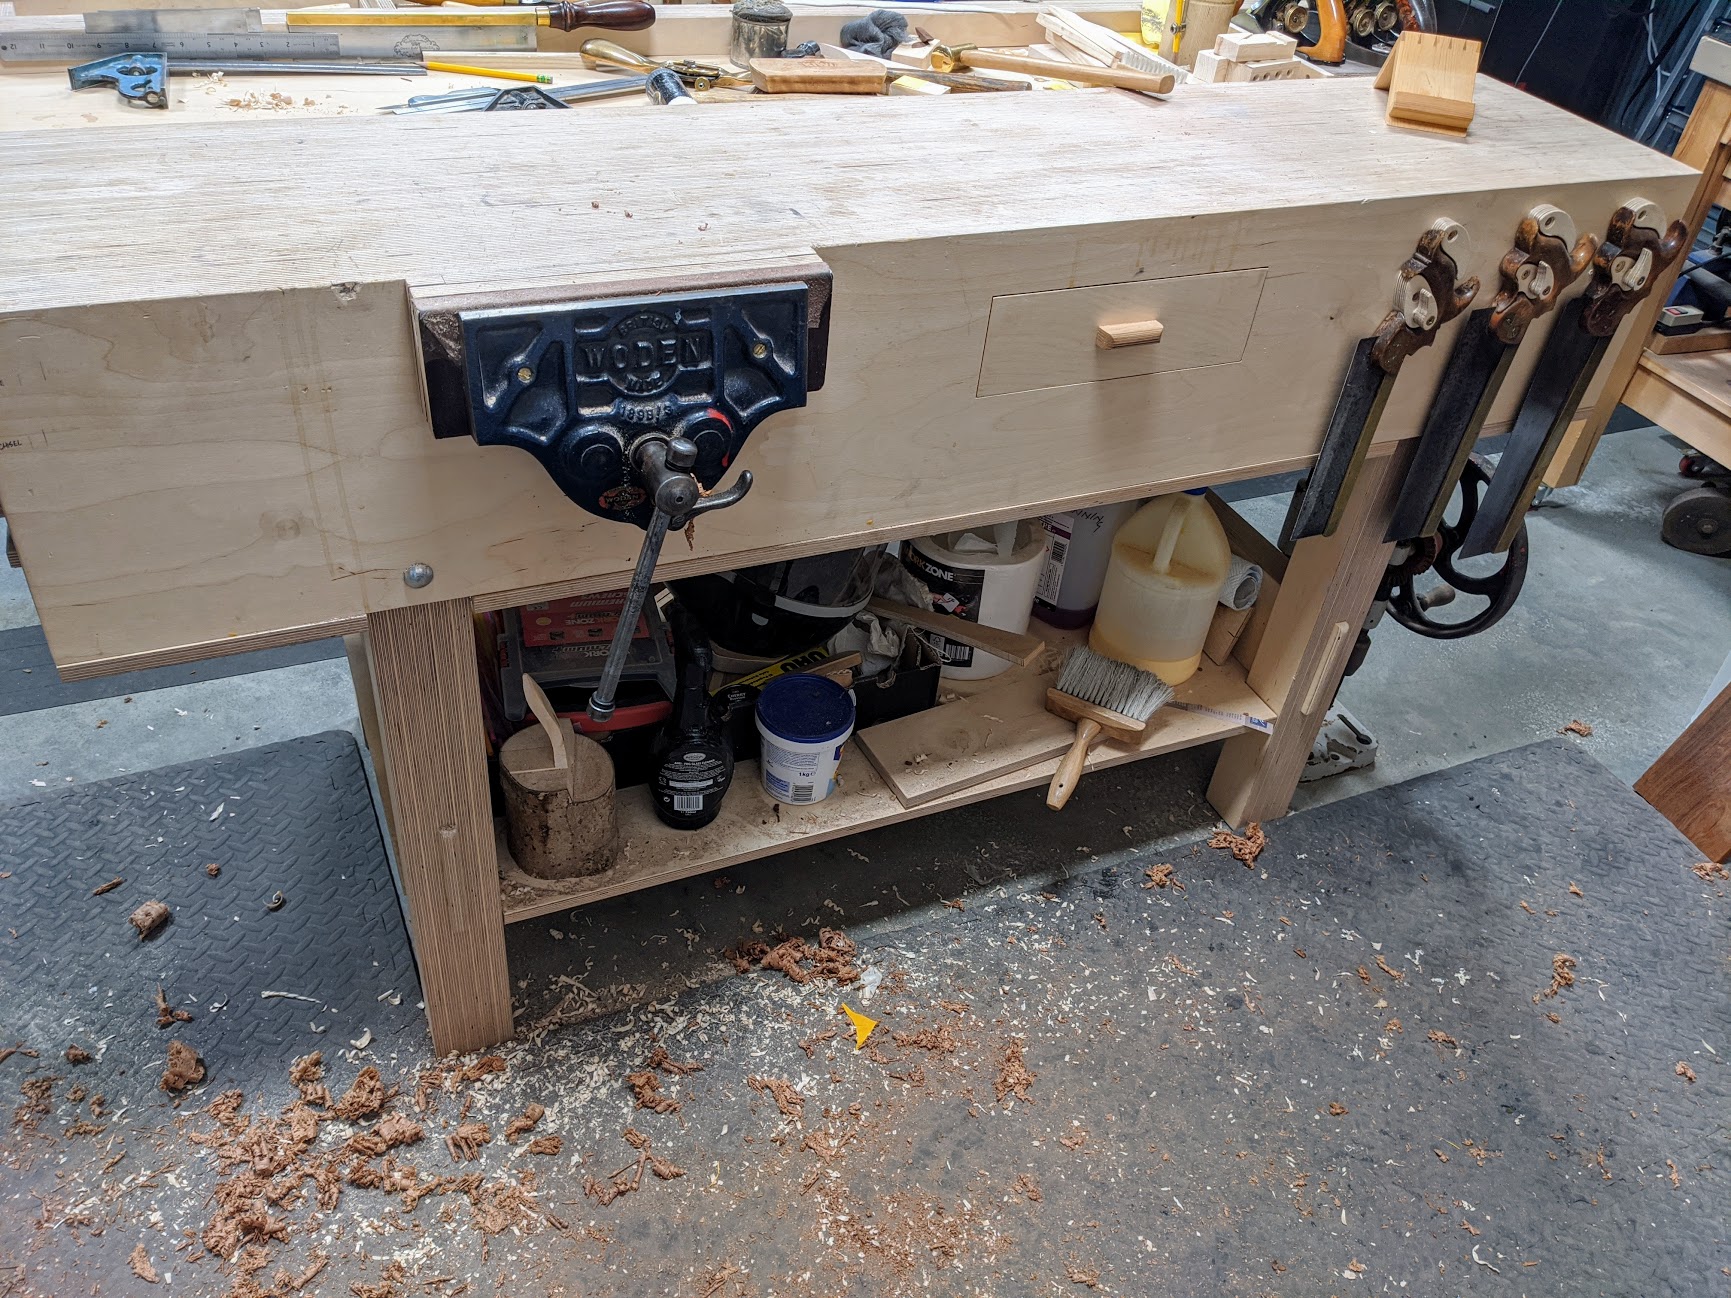
The hardwood outside frame top and bottom outside edges should be rounded over to prevent splintering. Your torsion box is now done and should be about 3" thick by what ever length and width you have chosen.
After rounding over edges and sanding the entire top, you can put a nice oil finish on the torsion box to keep it looking good and prevent any other problems from water or whatever may come in contact with it. You should build a nice strong 2x frame with 3 layers of 2x6 material for legs.
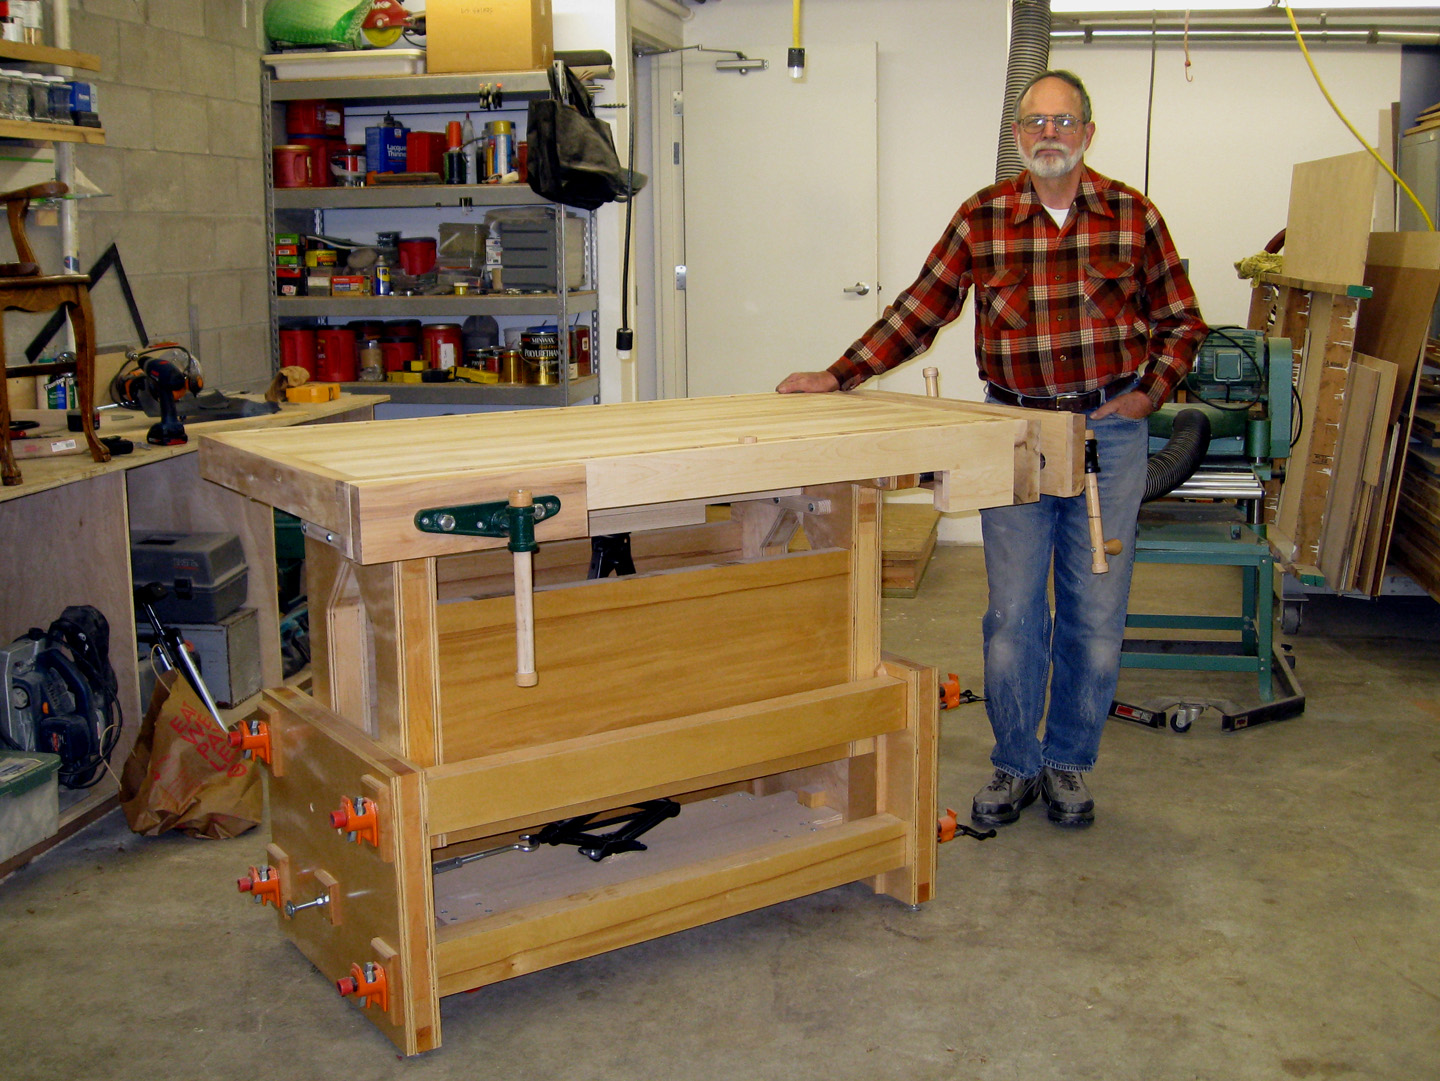
This new torsion box top is not just strong, stiff and durable but heavy and should have a heavy frame to hold it. The frame for your top can be very inexpensive and still look like a million dollars.
At your local lumberyard, pick out the best 2x6's and 2x8's you can find. The grade and quality of these depend on your budget. Yellow pine is really good for this and still much less than any hardwood. Cut the 2x6's to length for the legs, this is up to you as to how high you want your bench top.
It should be high enough that you don't have to bend over to work and not so high that you have to reach up. Cut one of the 3 2x6 lamination shorter by the width of the bottom trimmed 2x6 foot and the top trimmed 2x8 rail. With the 2x6's cut to length and trimmed to width, glue and screw them together making sure you leave the right amount of space for the foot at the bottom and right amount at the top for the top rail.
You can use scrap pieces for this to ensure proper location of the short leg lamination. Cut 2 trimmed 2x6's the length of the width of the base frame plus about 3" over on each side of the legs. These pieces are for the foot, they should have a small amount of material removed from the center bottom section of each foot to let it set level. Glue and lag screw the foot trimmed 2x6 to the legs at the pre-determined end for the 2x6 foot.
Use a framing square to make sure that the legs and foot fit square. This should give you a nice inletted look for the foot. The next piece to add is the top rail, this should be just the length of the width of the bottom of your base frame. As with the foot piece it should also be glued and lag screwed into place.
This to should give you an inletted look. Now that the leg assembly is complete, you can attach the long trimmed 2x8 side rails with glue and lag screws. These should be the length of your bench less the amount of overhang used for mounting vises. If you want it shipped to a terminal, please specify this in the comments box. We can ship to a residential address with a delivery appointment and the material can normally be unloaded by hand in about 10 minutes.
If you have any questions about the shipping, please send us an email or give us a call. Straight-line Ripped? Planed Smooth? Hematite Dr. Ishpeming, MI 0. Please note that we only provide the wood needed to build the project — visit this link to purchase detailed project videos and plans: The Wood Whisperer Guild Benchcrafted Split-Top Roubo Workbench: This package includes enough lumber approximately board feet to build the ultimate heirloom workbench.
|
Panel Beater Christchurch Tracking Word By Word Picture Dictionary Workbook Pdf Level Trend Pocket Hole Jig Youtube Now Laguna Lt14 Suv Bandsaw Review 32 |

ILQAR007
10.04.2021 at 21:35:18
hesRET
10.04.2021 at 17:42:23