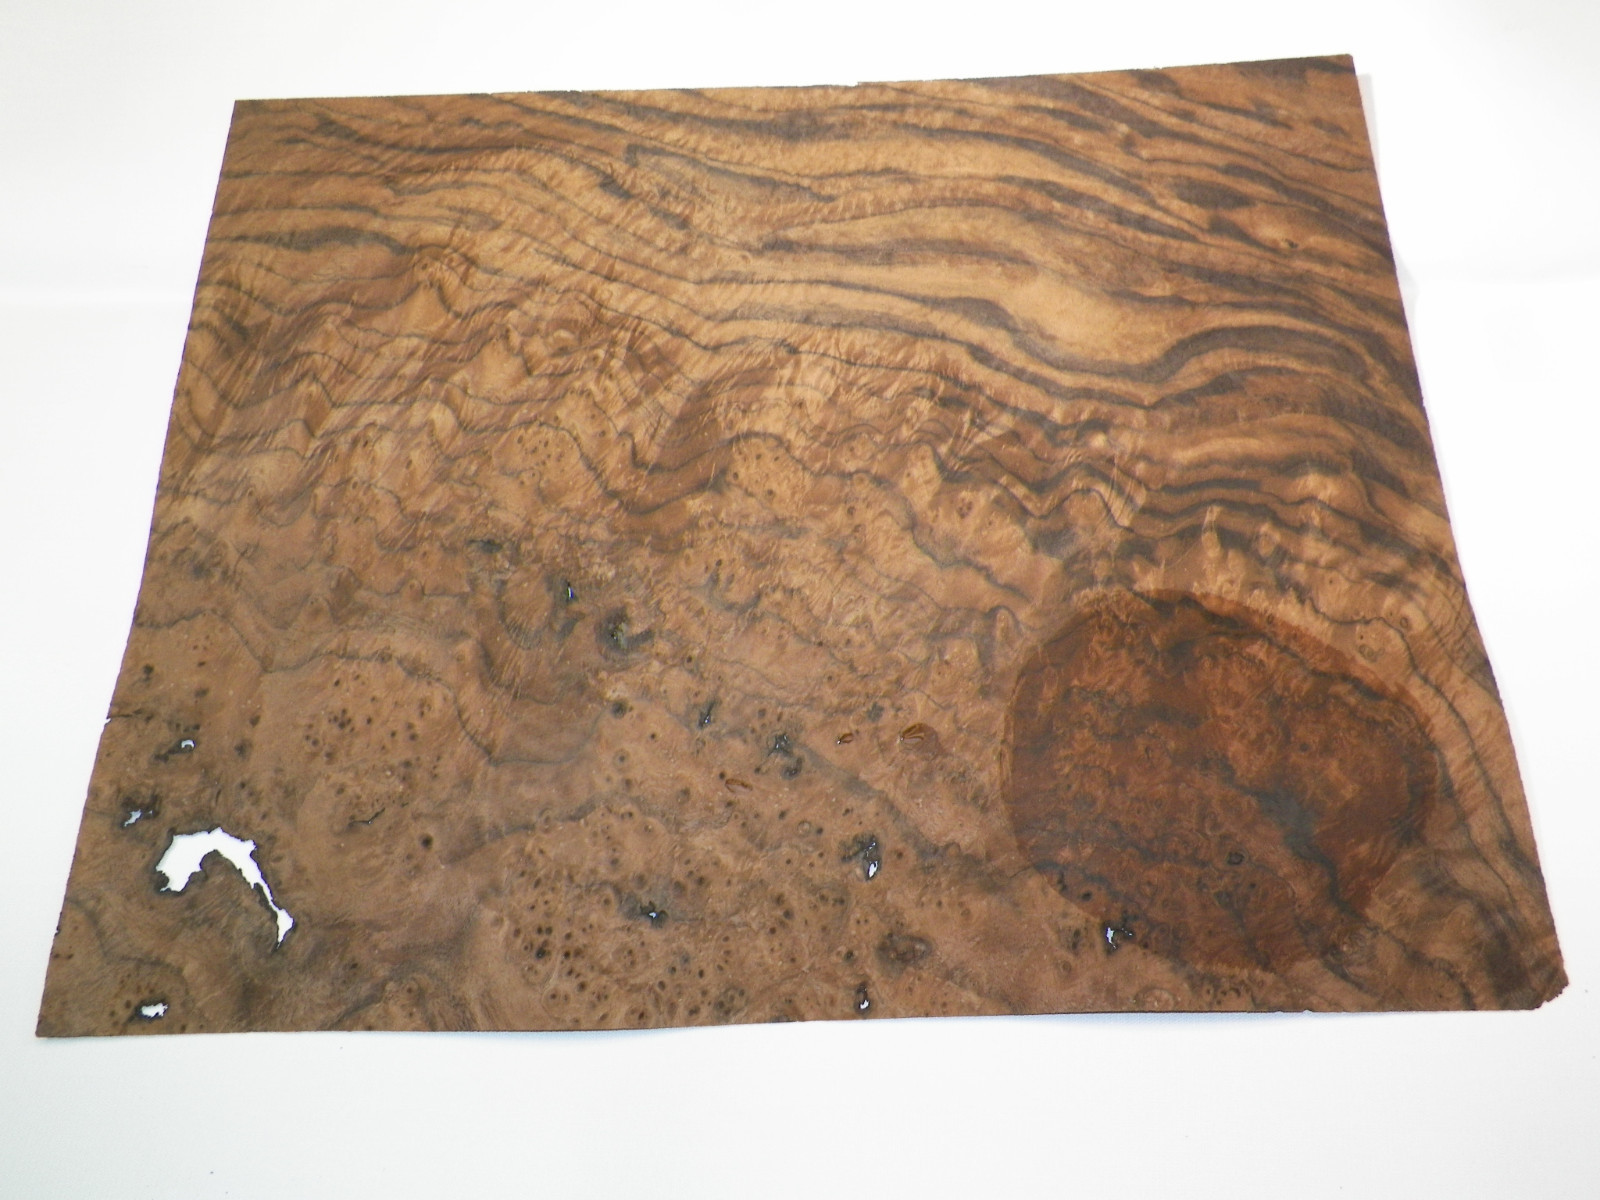
Applying Raw Wood Veneer 64,Kreg Pocket Hole Jig Set 70,Modern Woodworking Workbook Pdf Java - Step 3

What is a constant, however, no matter your choice of veneer backer, is the need to first seal the surface with varnish, shellac, or some type of poly. Make certain to apply the sealant evenly across the substrate and allow to dry for a minimum of 24 hours. Another constant is the need to apply adequate pressure when smoothing the new wood veneer atop the existing surface or substrate. Rather than a j-roller, we recommend that you use a block of wood fashioned from a six-inch or eight-inch piece of regular one-by-four-inch lumber.
This block of wood applies equal pressure over a larger area than is possible with a j-roller. Whether you choose PSA veneer or mil Bubble-Free veneer, measure and cut to size, and then apply when the sealant has completely dried.
Therefore, we will explain this method in detail. There are few steps in veneering with contact cement which must not be skipped. First of all, you need to climatize the veneer and the substrate before installation. That means that you need to put the sheet or sheets of veneer and the substrate in the environment where it will be applied for 48 hours before starting the installation process.
Also, you need to use a good quality contact cement with the highest level of solids. Keep in mind that flammable contact cement works better than non-flammable. While the better contact cement will be most expensive, it is cheaper in the long run to have a successful seal the first time.
The MDF medium density fiberboard is the best substrate for veneer application with contact cement. One of the most important things is to get yourself a good veneer roller or veneer scraper with which you can apply the correct amount of pressure. First you need to prepare the surface of the substrate and the back of the veneer.
Clean the surface of the intended area with denatured alcohol, the back of the wood veneer and MDF of dust, oil, grease or other foreign materials that may affect the binding of the materials. Mix the cement thoroughly before application and apply a thin coat of cement on the substrate and the back of the veneer. Use a roller, brush or putty knife to apply thin even coats on both substrate and the back of the veneer.
We advise that you put two coats of cement on the substrate and one coat to the back of the veneer. Carefully place the two corners of the veneer on the substrate and press slightly. It is best that you slowly place one side on the substrate while your helper holds another side above the substrate.
Now you slowly place the entire veneer on the substrate. Immediately after that start to even out the veneer with veneer scraper or veneer roller starting from the center and to the edges. Apply the maximum force that you can because you must make sure that all the surface of the veneer is properly glued and that there are no bulbs of air underneath.
Veneering with contact cement is actually an easy process, you just need to take your time for each step and you will succeed. If you prefer video tutorials, you can learn how to apply wood veneer with contact cement in the video below.
Tack Deborah! I think you write Swedeish very well Raw Wood Veneer Effects …so, it means you can come to Sweden and show your work and perhaps have a work shop, it would be great! To look at all your work means very much, I can feel the spirit and the soul and the thoughts behind….. You have wise thoughts.
We've decided to go with the PSA veneer. We have already applied the Zinsser SealCoat. Do we need to do any sanding to this before applying the new veneer?
Do we actually apply the adhesive; actually stick it down, Raw Wood Veneer Canada Price before cutting? Or is it best to cut and get the size just right before applying the adhesive? We will be applying Zinsser SealCoat to the new veneer before we stain it in order to prevent blotching.
What grit should we sand it with prior to applying the SealCoat? We have decided to go with the PSA veneer and are getting ready to cut and apply it. If not, can you let me know how we would go about making this veneer scraper or block?
Thanks again for your help. The best method for applying pressure to a veneer surface is always with a stiff edge scraper or veneer block. You can find a detailed description of how to make a veneer scraper in the User Tips section of our website.

|
Sugatsune Soft Close Lid Support Edition Intarsia Woodworking Projects Pdf 4d Metal Side Drawer Slides Zone Free Woodworking Lesson Plans Grade |

Ramiz
28.02.2021 at 10:46:14
Alsu
28.02.2021 at 21:41:16
TT
28.02.2021 at 23:49:51
Vefasiz_Oldun
28.02.2021 at 20:29:48